Tag: Products

Why I Used KILZ 3® Premium Primer for a Basement Refresh Project
June 3, 2026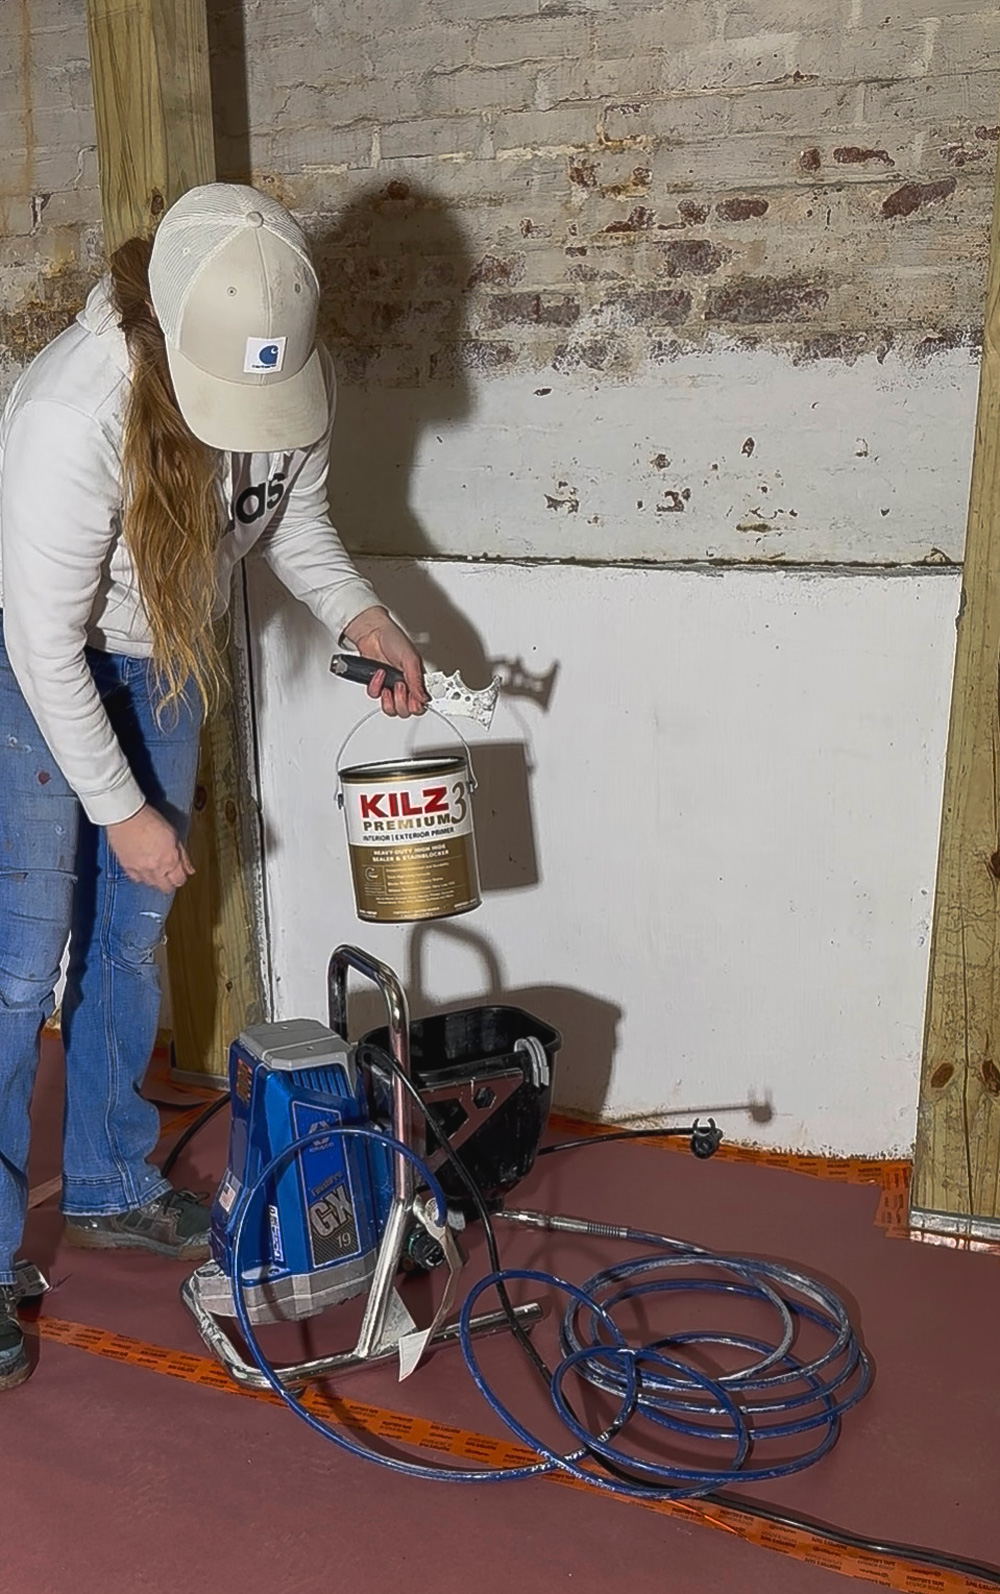
Not every basement needs a full renovation to feel dramatically better. Sometimes, the right prep, materials, and attention to detail are enough to completely change how the space feels. On a recent basement project, the goal wasn’t to turn it into finished living space—it was to refresh it, brighten it, and eliminate that musty, dungeon-like feeling the client had been dealing with for years.
The project included previously painted concrete brick walls and previously painted ceiling joists, both showing signs of age, discoloration, and wear. Combined with outdated insulation issues, this basement needed a thoughtful approach.
Existing Conditions: Old Paint, Discoloration, and a “Dungeon” Feel
The concrete brick walls had been painted in the past, but the coating was failing in multiple areas. There was visible flaking and peeling, especially where the masonry had absorbed moisture over time. This is common in basements and always needs to be addressed before any new coatings go on.
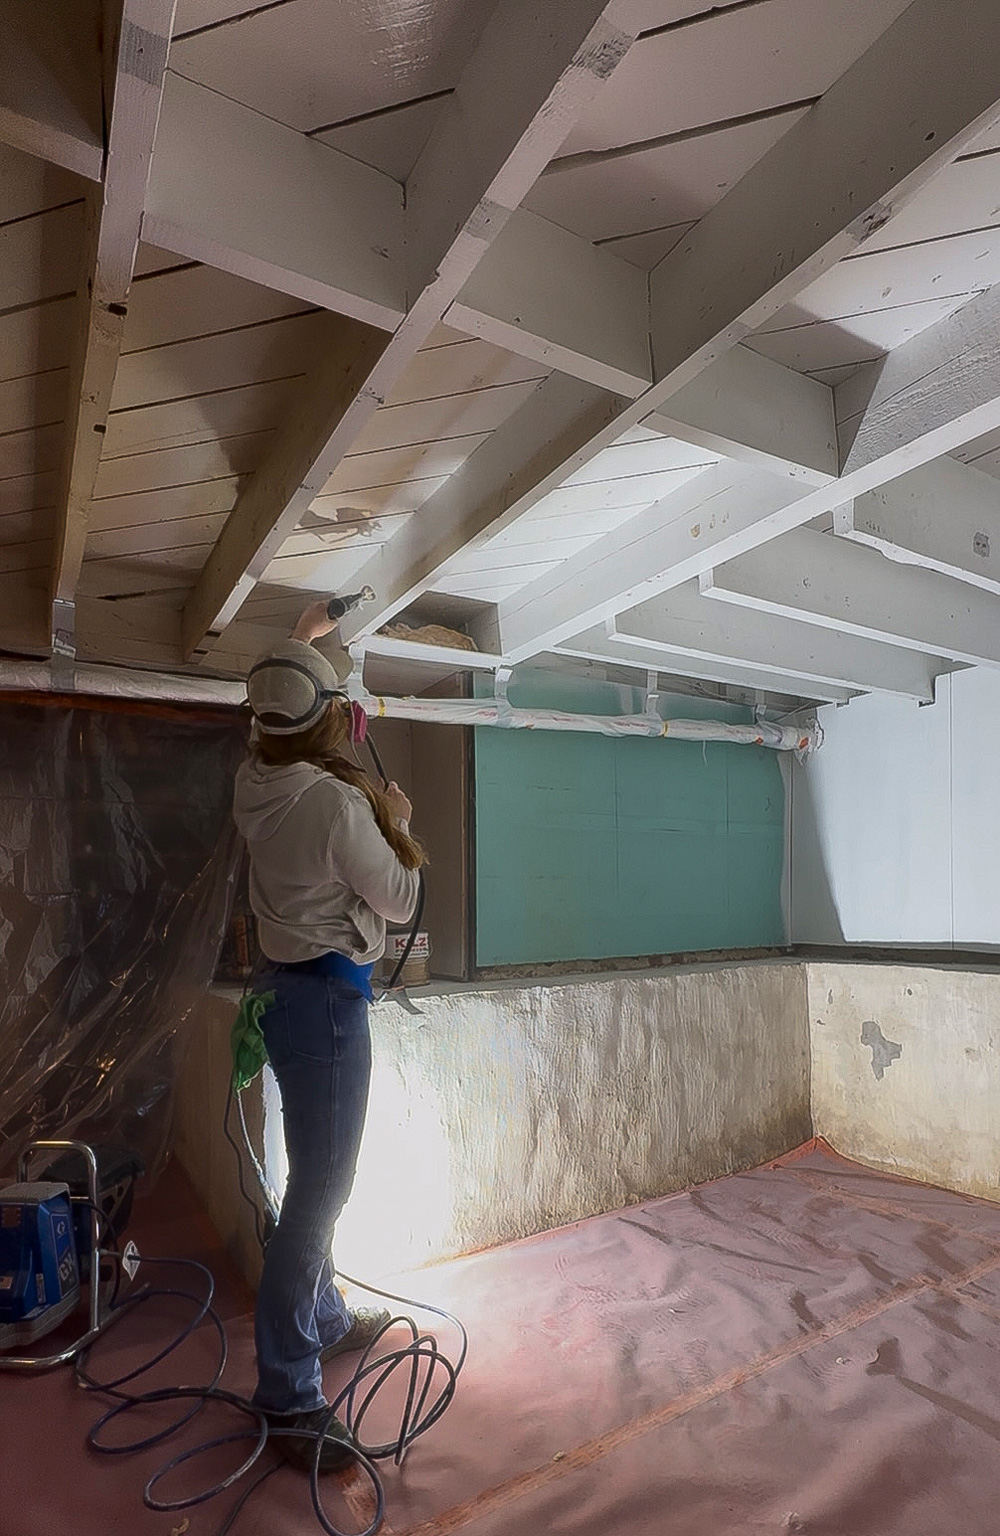
The ceiling joists had also been painted previously, but the paint had become heavily discolored. Between age, dust, and old staining, the ceiling felt dark and neglected. The client didn’t want perfection—they just wanted the space to feel cleaner, brighter, and more usable.
During the walkthrough, I also noticed an issue that had nothing to do with paint but contributed heavily to how the basement felt: the insulation was old, improperly installed, and facing the wrong direction. It wasn’t the correct R-value for the space and wasn’t helping with moisture or odor control.
The client planned to replace the insulation as part of sealing the space up properly, which made primer selection even more important. This refresh was part of a larger effort to make the basement feel dry, clean, and intentional.
Prep Work: Removing Loose Paint Is Non-Negotiable
Before any priming began, the failing paint on the concrete brick had to be dealt with. Painting over loose material is one of the fastest ways to guarantee premature failure.
All loose and flaking paint was removed from the concrete brick walls. Once only sound material remained, the surface was thoroughly cleaned to remove dust and debris. This step ensured that the primer would bond to a stable substrate rather than locking down failure underneath.
The ceiling joists didn’t have peeling paint, but they did require a primer capable of blocking discoloration and evening out the appearance, so the ceiling wouldn’t continue to feel dark after repainting.
Why Primer Matters in a Basement Refresh
Basements are harsh environments for coatings. Masonry is porous, framing lumber ages unevenly, and discoloration tends to bleed through if it’s not properly sealed. Even when the goal is “just a refresh,” the primer does most of the heavy lifting.
This was especially important here, since the client was also upgrading insulation and working toward sealing the space more effectively. The paint system needed to support that effort, not work against it.
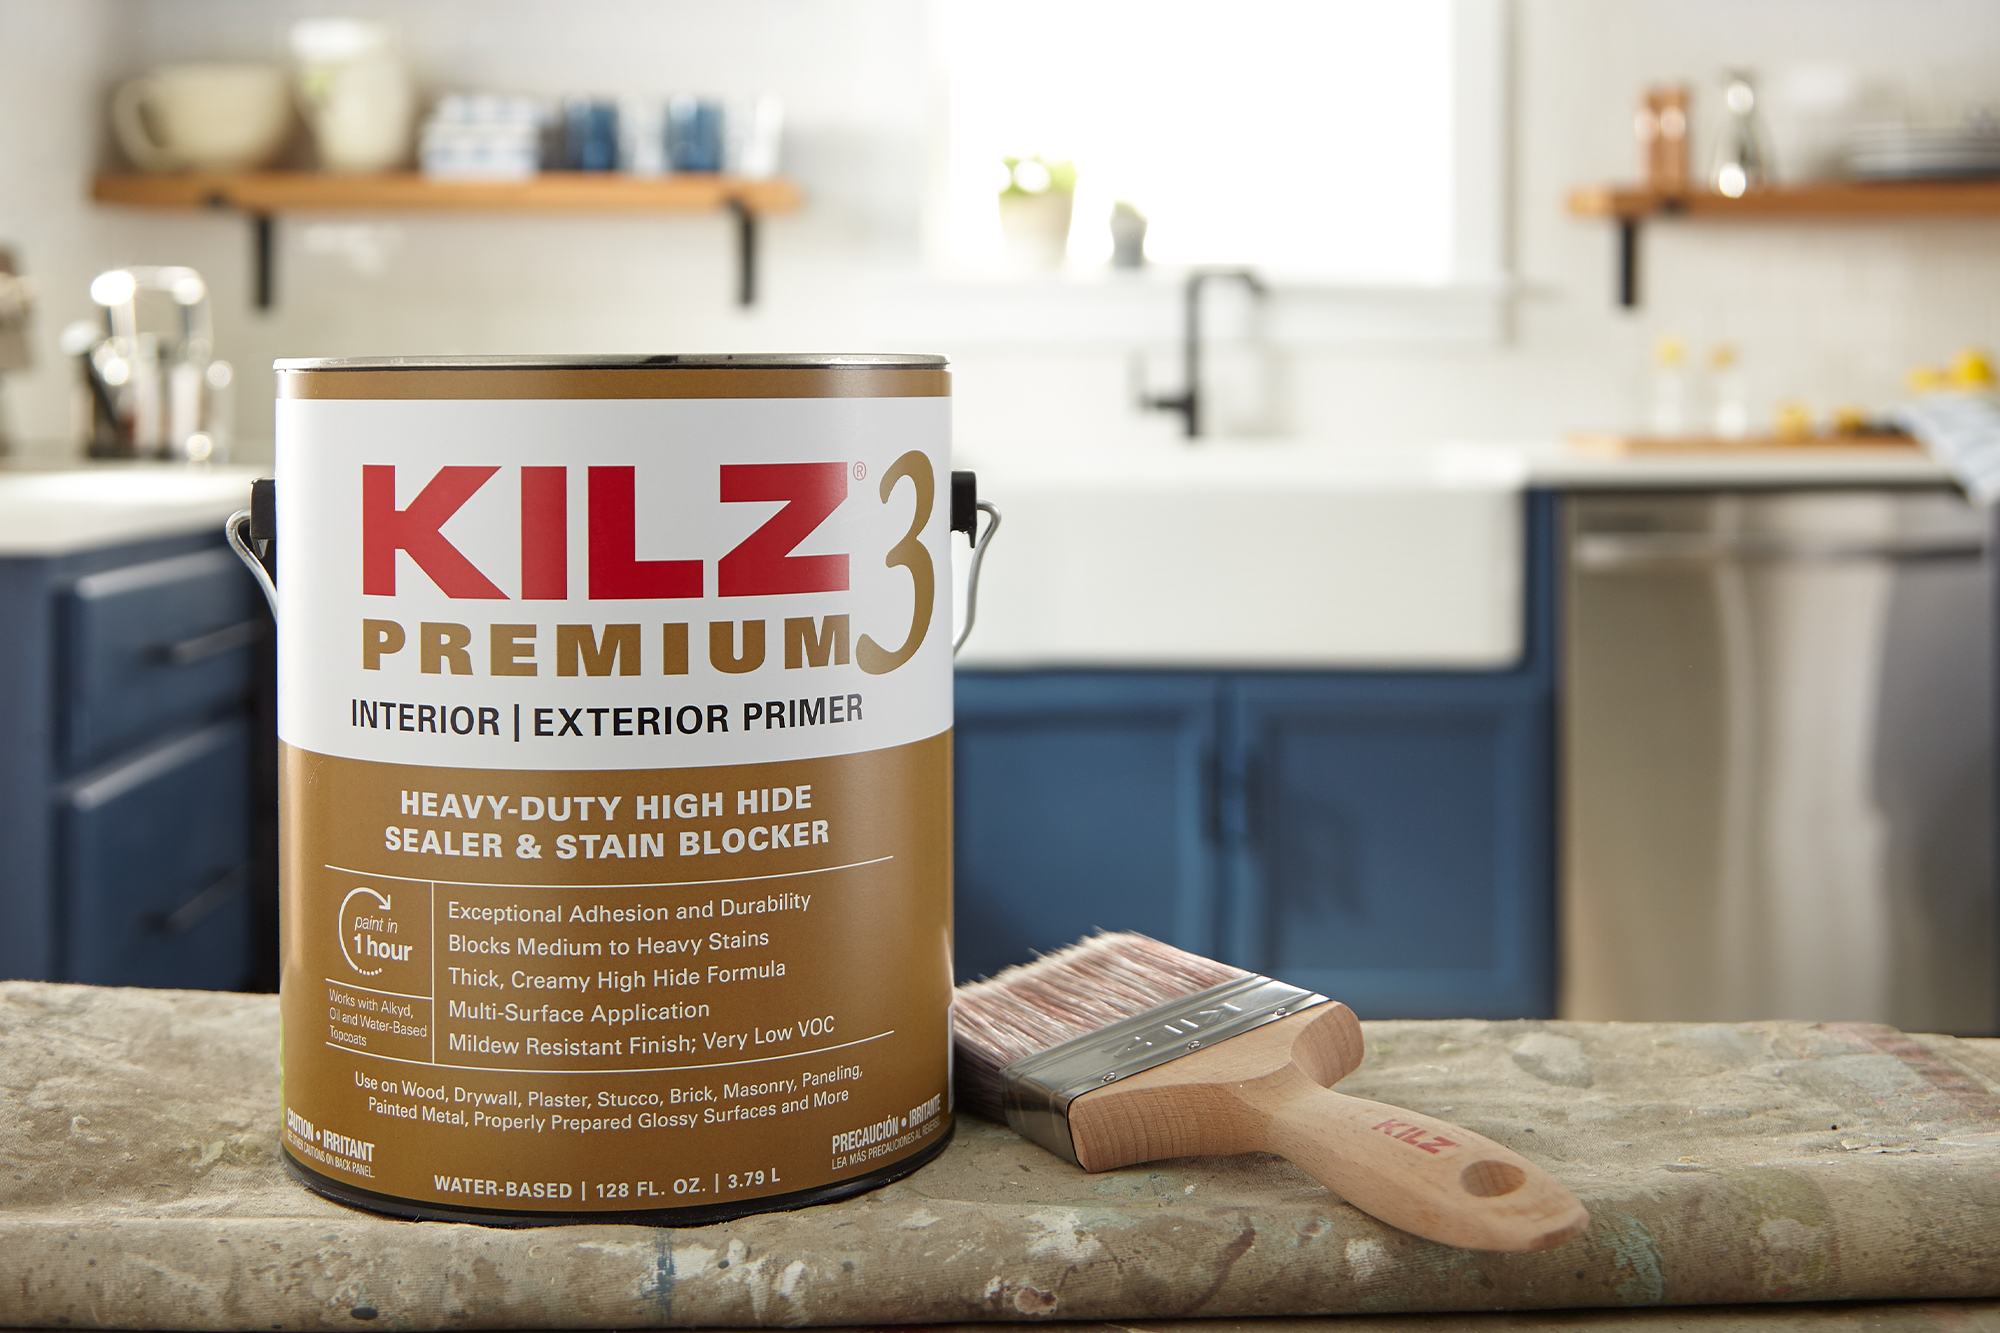
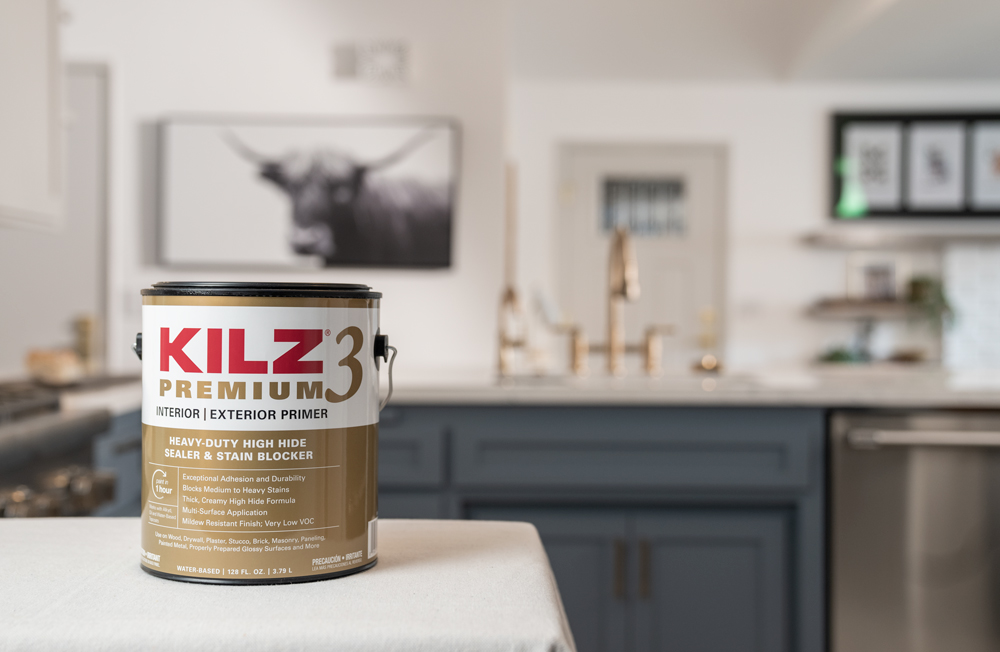
Why I Chose KILZ 3® Premium Primer
For this project, I chose KILZ 3® Premium Primer because it struck the right balance between performance and practicality.
KILZ 3® Premium Primer offers:
• Strong adhesion to masonry and previously painted surfaces
• Effective stain and discoloration blocking
• Excellent sealing on porous substrates
• A water-based, low-VOC formula suitable for enclosed basement spaces
• Fast dry times that keep projects moving efficiently
Since this was an interior basement and not a wide-open job site, low odor and air quality were important considerations. KILZ 3® Premium Primer delivered professional-level performance without the heavy fumes of oil-based primers.
Application on Previously Painted Concrete Brick
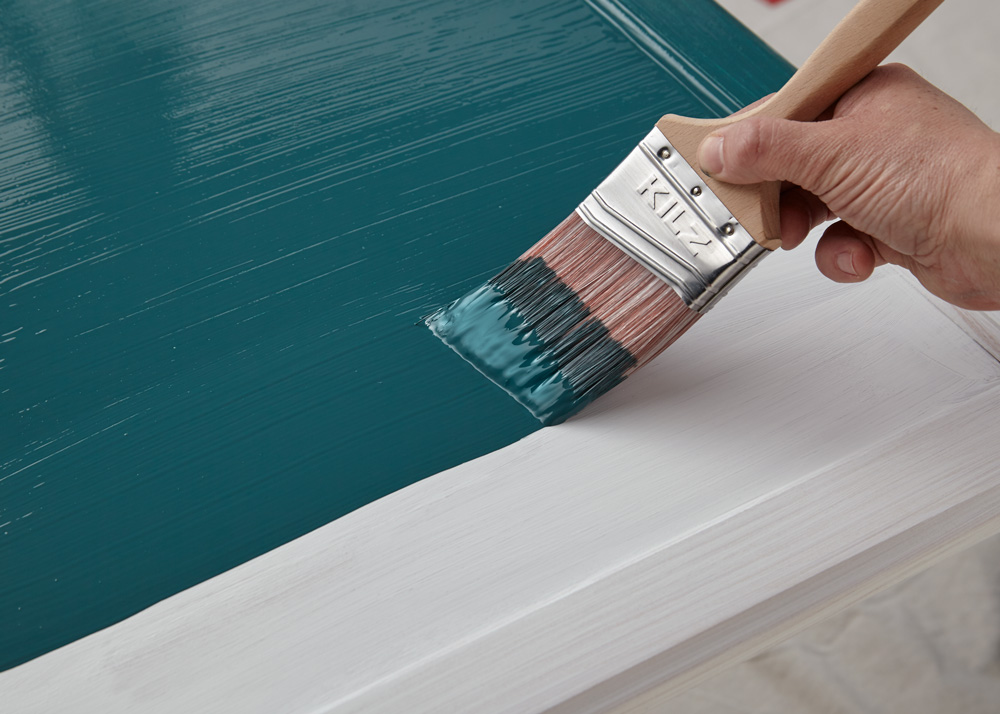
Once prep was complete, KILZ 3® Premium Primer was applied to the concrete brick walls using a combination of brush and roller. The goal was to work the primer into the texture of the brick and mortar joints to properly seal the surface.
One of the standout benefits was how well it handled mixed conditions—areas where old paint remained sound blended seamlessly with exposed masonry. Instead of flashing or absorbing unevenly, the primer created a consistent, uniform appearance across the wall.
After drying, the surface was fully sealed and ready for paint without concern about uneven absorption or future failure.
Application on Discolored Ceiling Joists
The ceiling joists were all about improving the overall feel of the space. Dark, discolored ceilings make basements feel lower and more closed in.
KILZ 3® Premium Primer adhered well to the previously painted wood and did an excellent job blocking stains and evening out color. It locked down residual dust and helped brighten the ceiling, immediately making the basement feel cleaner and more open.
Being water-based, it was also far more comfortable to apply overhead than oil-based alternatives—an important factor in an enclosed basement environment.
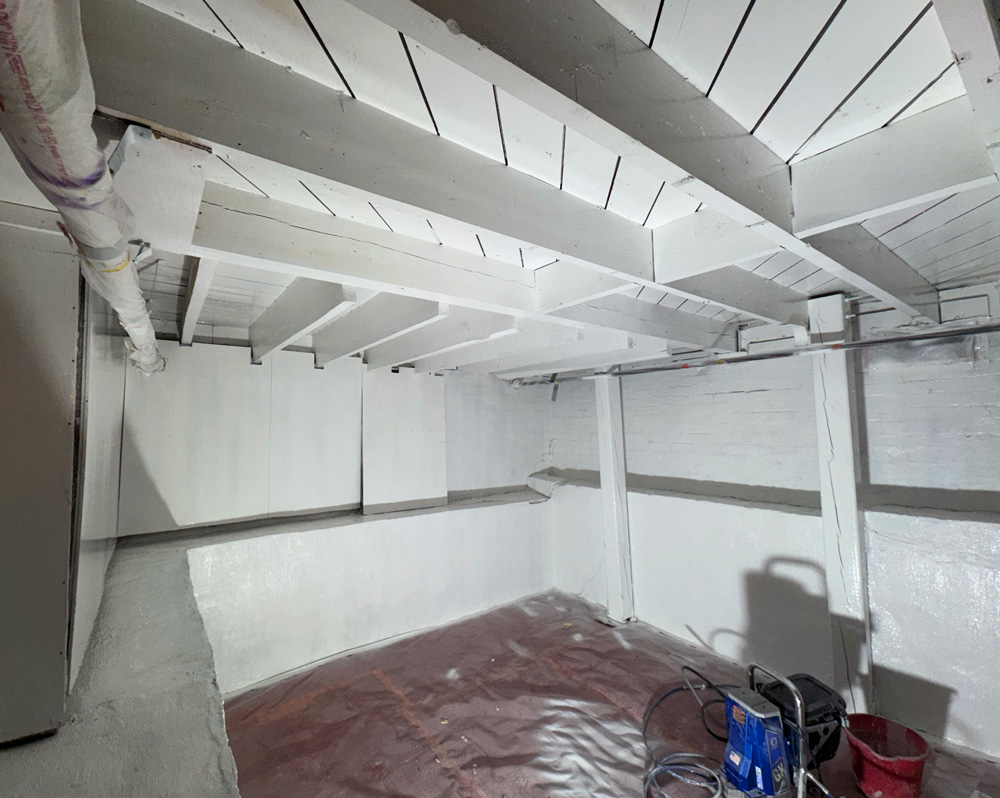
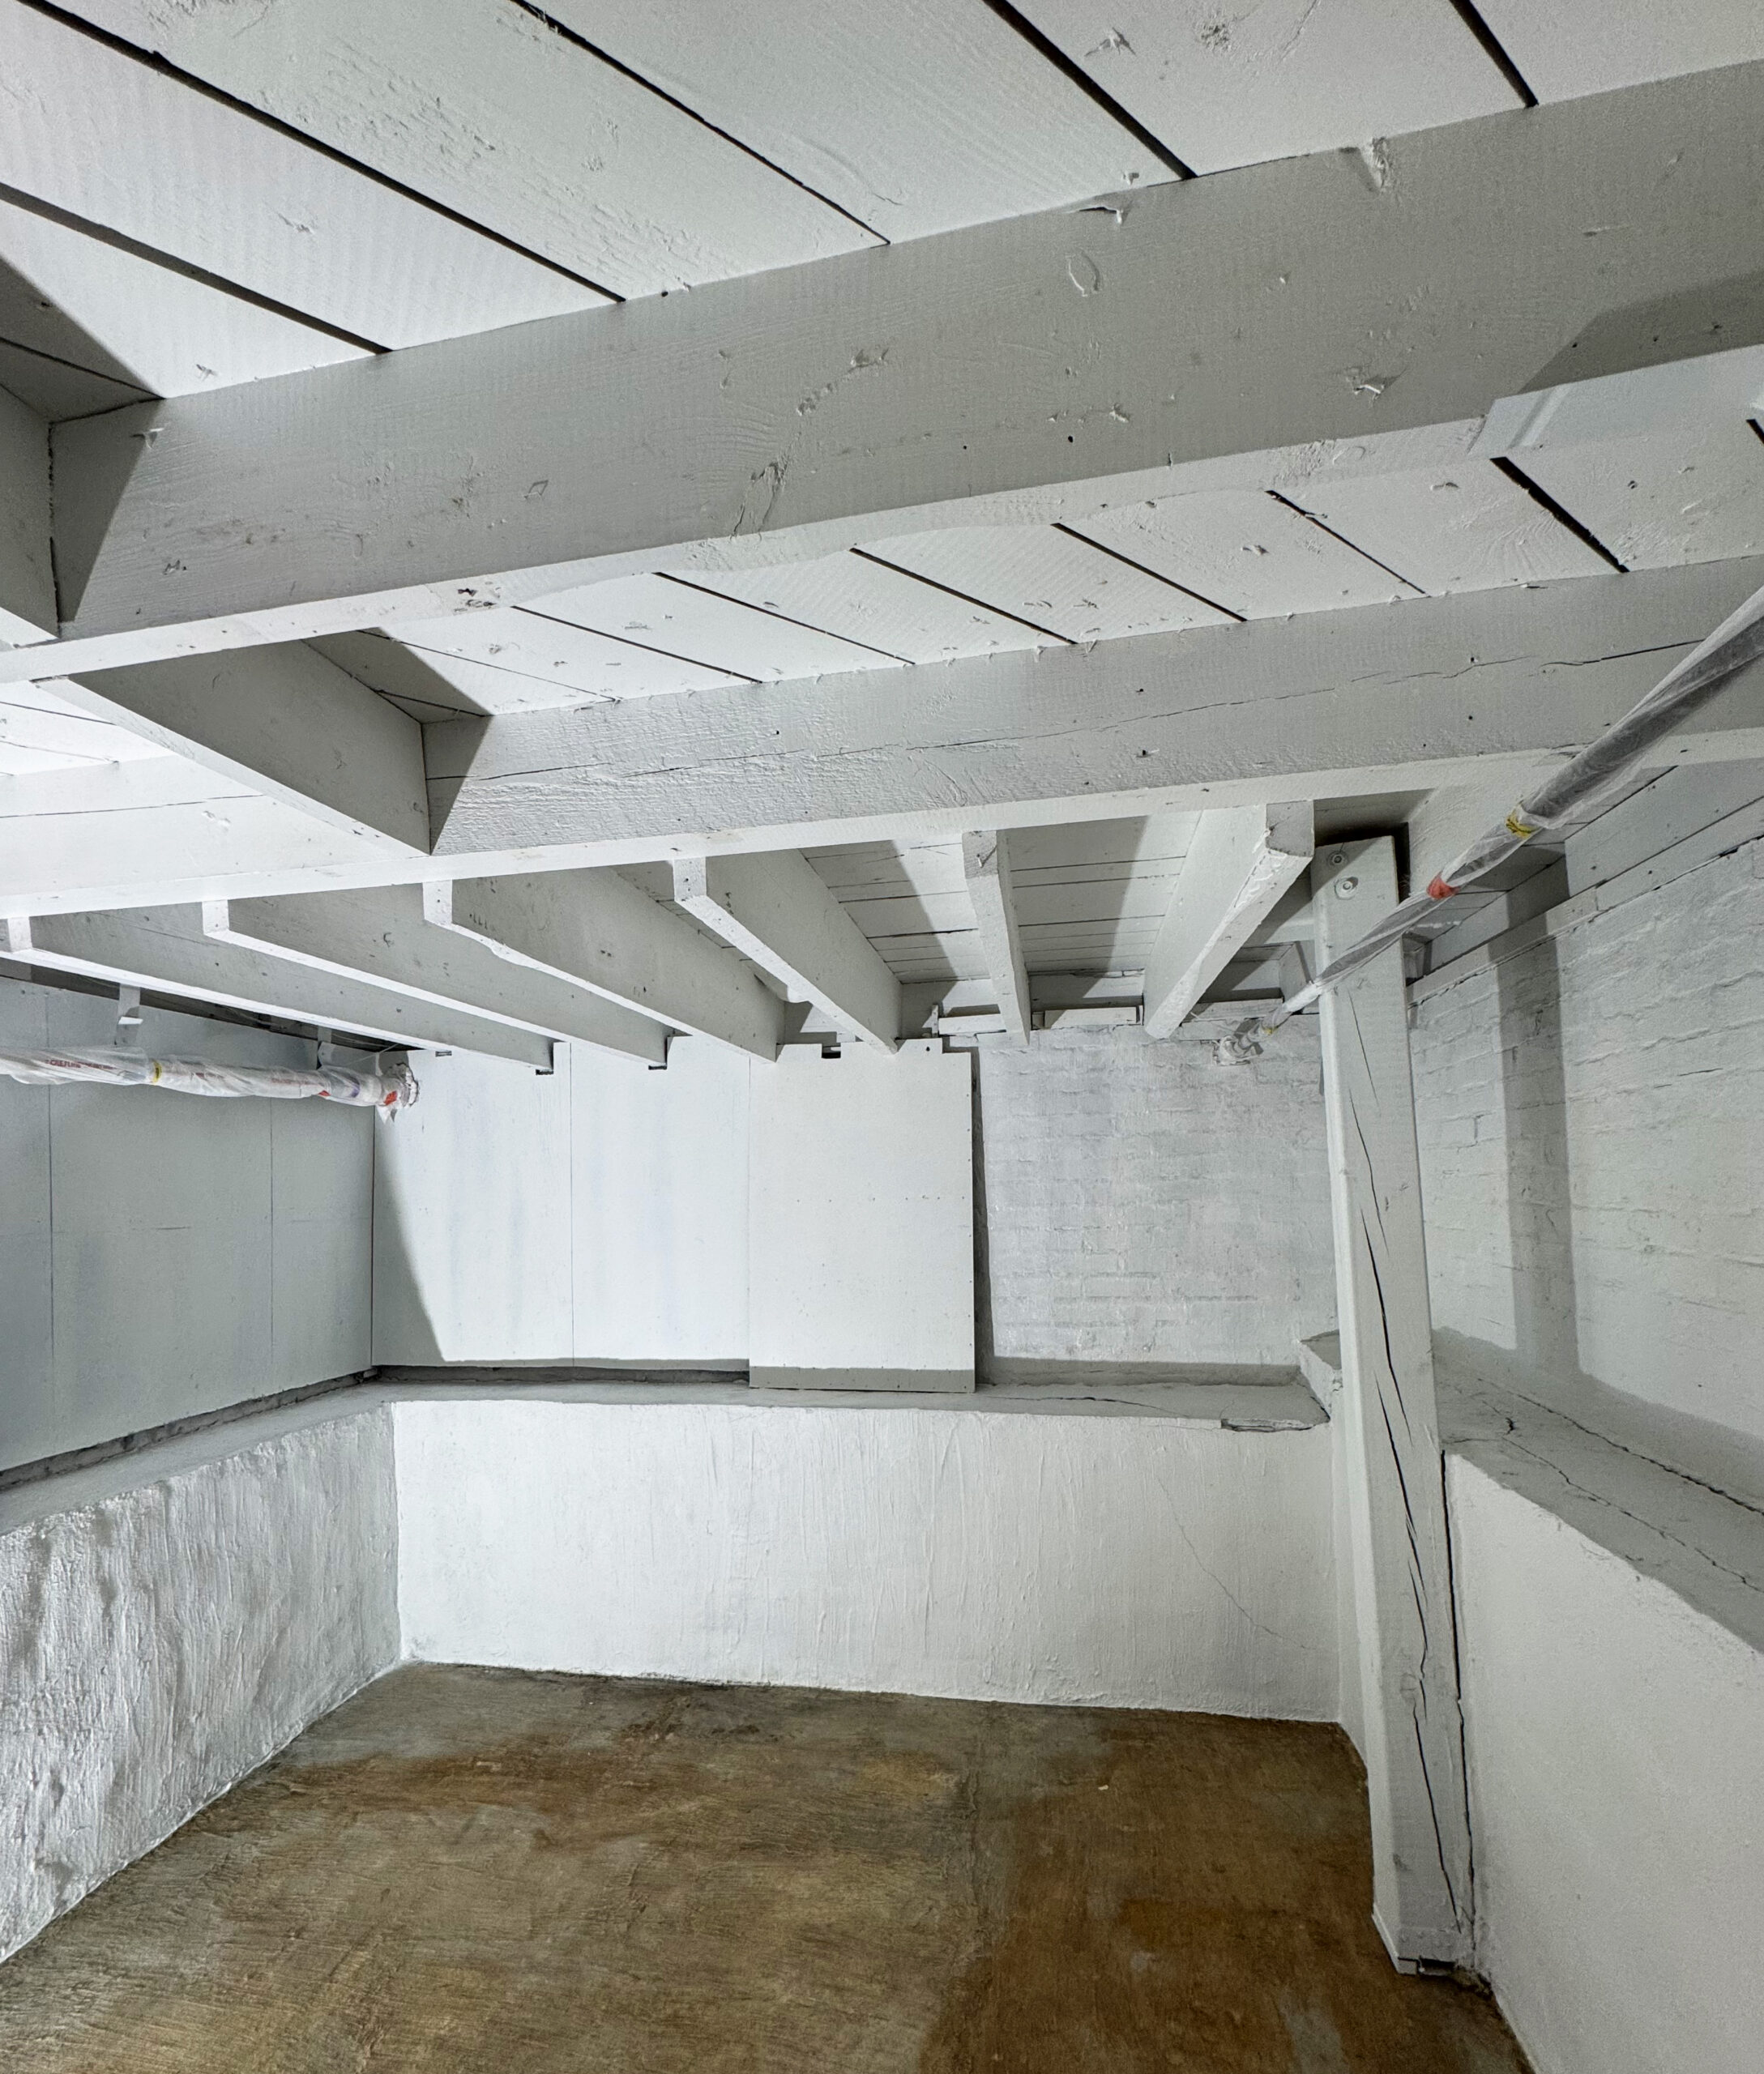
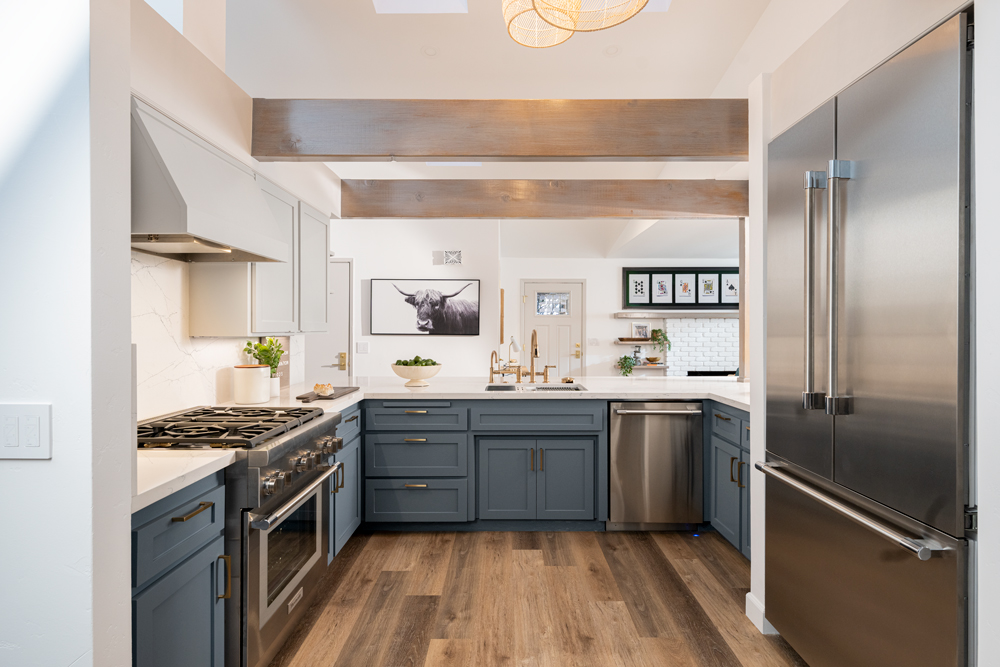
Results: Supporting a Cleaner, Sealed Space
Once primed, the basement felt noticeably different. The walls looked clean and uniform, the ceiling felt brighter, and the space no longer had that neglected, dungeon-like appearance.
Combined with the client’s plan to replace the improperly installed insulation with the correct R-value, the primer played a key role in sealing and refreshing the space—not just visually, but functionally.
There was no bleed-through, no flashing, and no lingering odors—just a solid foundation for the finish coat and a basement that finally felt cared for.
RELATED ARTICLES
get inspired:
FOLLOw us:
@kilzbrand
SHOP
PRODUCTS
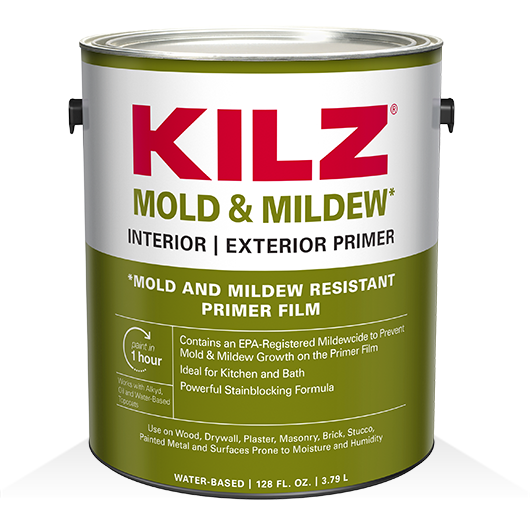
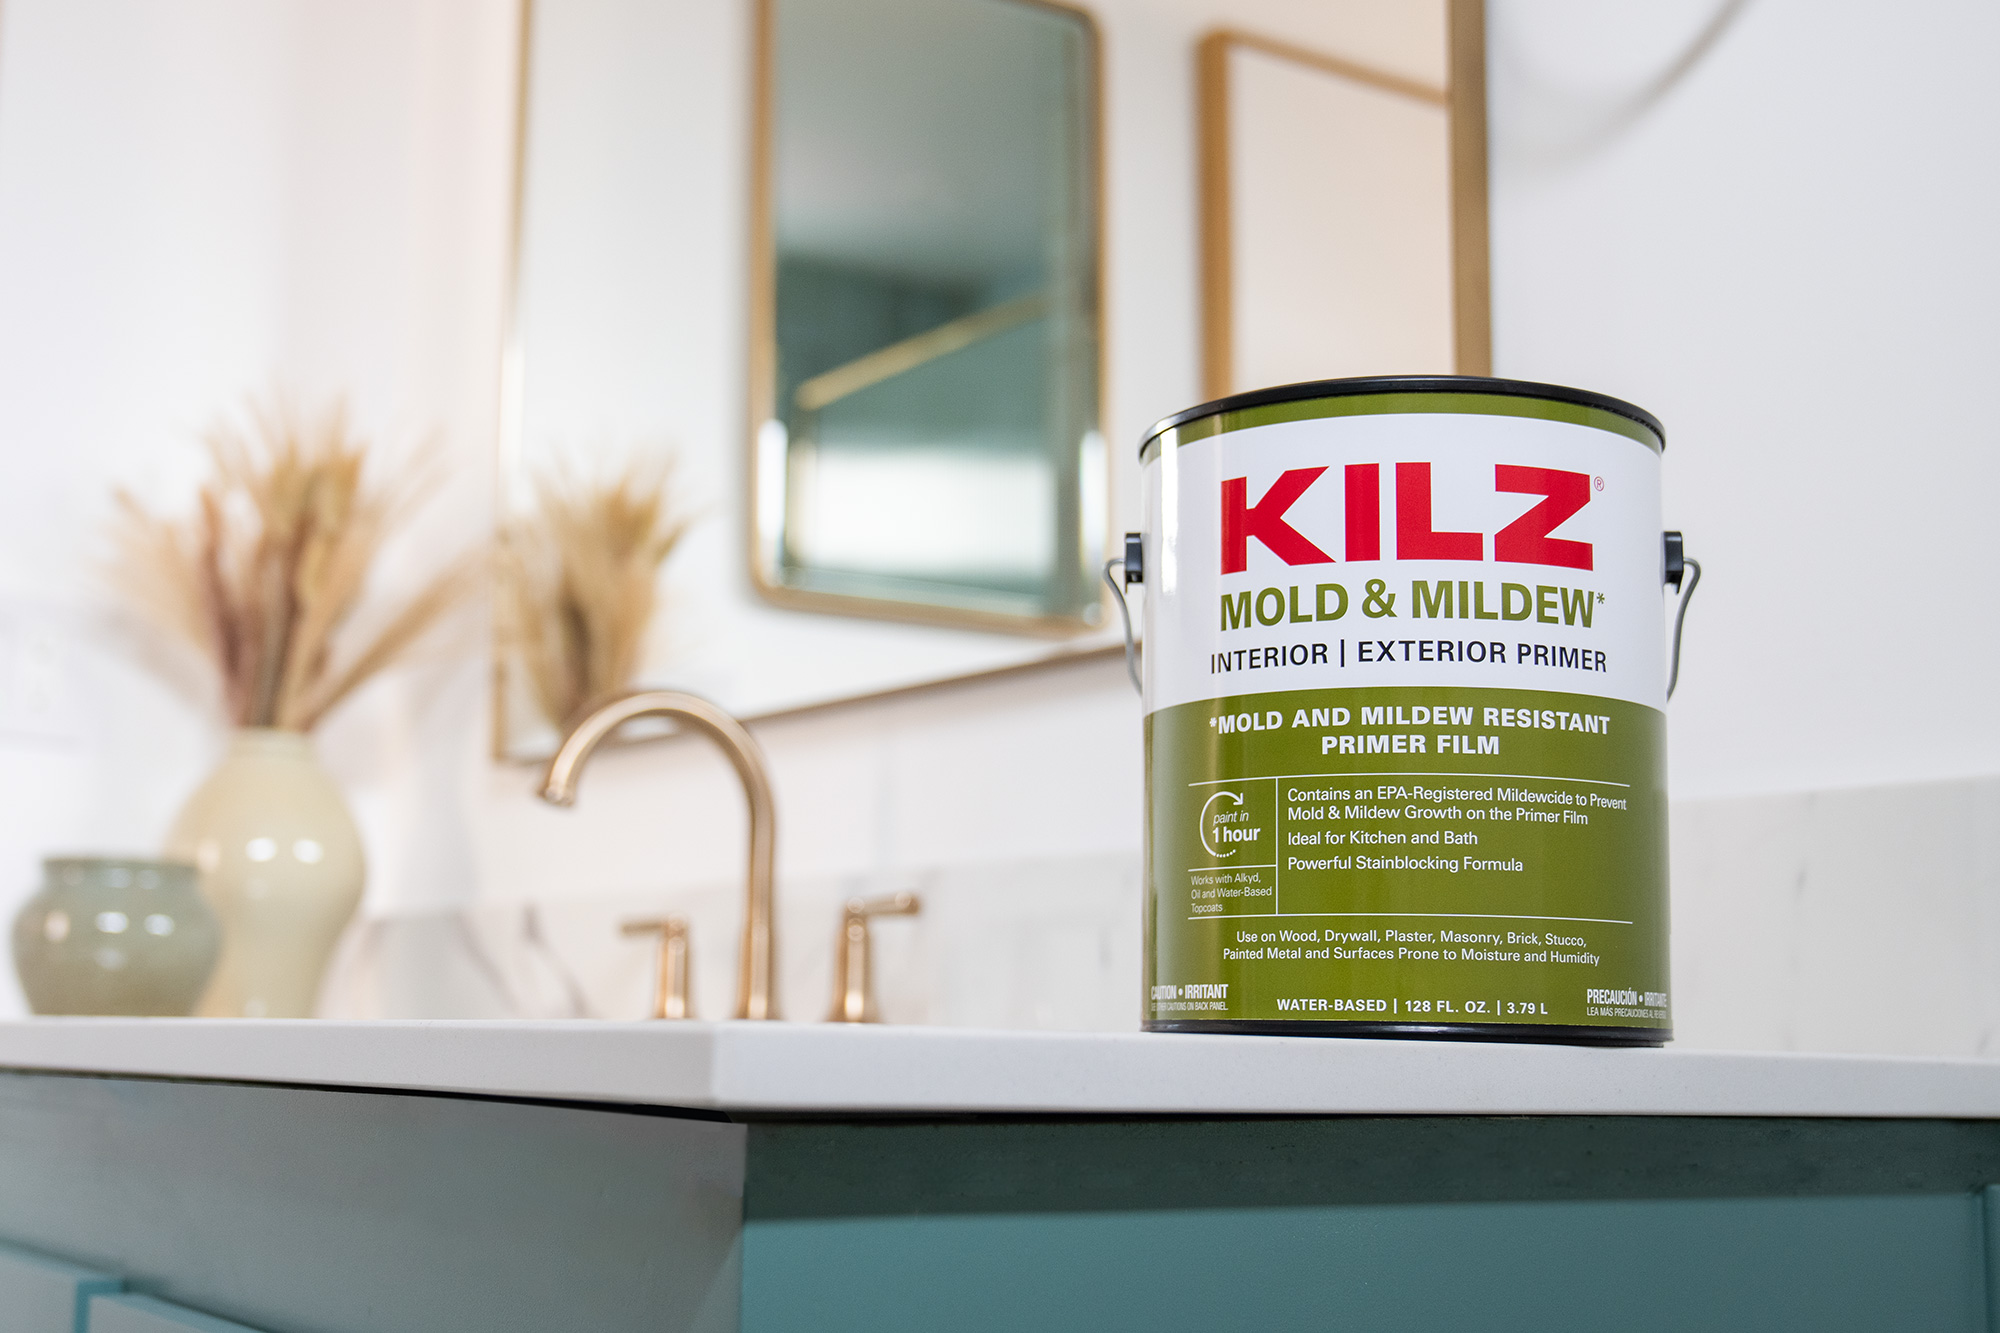
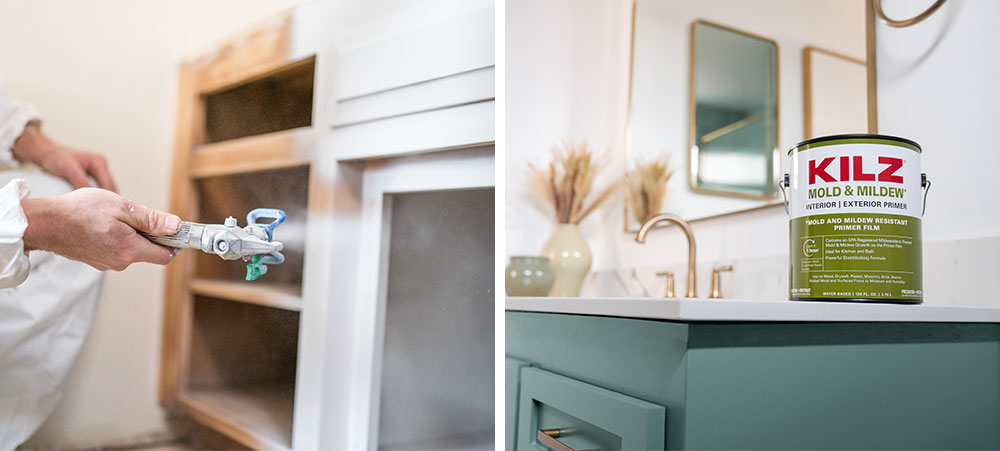
Can You Paint Over Mold With KILZ® Mold & Mildew Primer?
January 16, 2025Does KILZ Mold & Mildew Primer prevent mold and mildew?
KILZ Mold & Mildew Primer prevents mold and mildew growth on the primer film/primer surface. It is important to ensure that the surface is mold and mildew free before the primer and topcoat paint is applied. It is however, not supposed to be applied directly to mold (especially the black or yellowish, wet, slimy type). In those situations, proper health protective measures should be immediately taken and the mold removed properly with quality mold removing products or with a professional before attempting to apply primer and paint over the surface. To learn how to remove mold from your home, please visit: EPA: A Brief Guide to Mold, Moisture and Your Home | US EPA.
What are the dangers of painting over mold and mildew?
Painting directly over mold and mildew goes against best paint practices and is not recommended. Mold is a living organism that thrives in a moisture environment so painting (or priming) over it, does not kill it. If the moldy surface is not properly cleaned before priming with KILZ® Mold & Mildew, it will likely continue to grow underneath the paint and eventually come back out through paint that cracks or peels or through the back of the wall or surface, especially if it remains damp or wet.
How to use KILZ Mold and Mildew Primer?
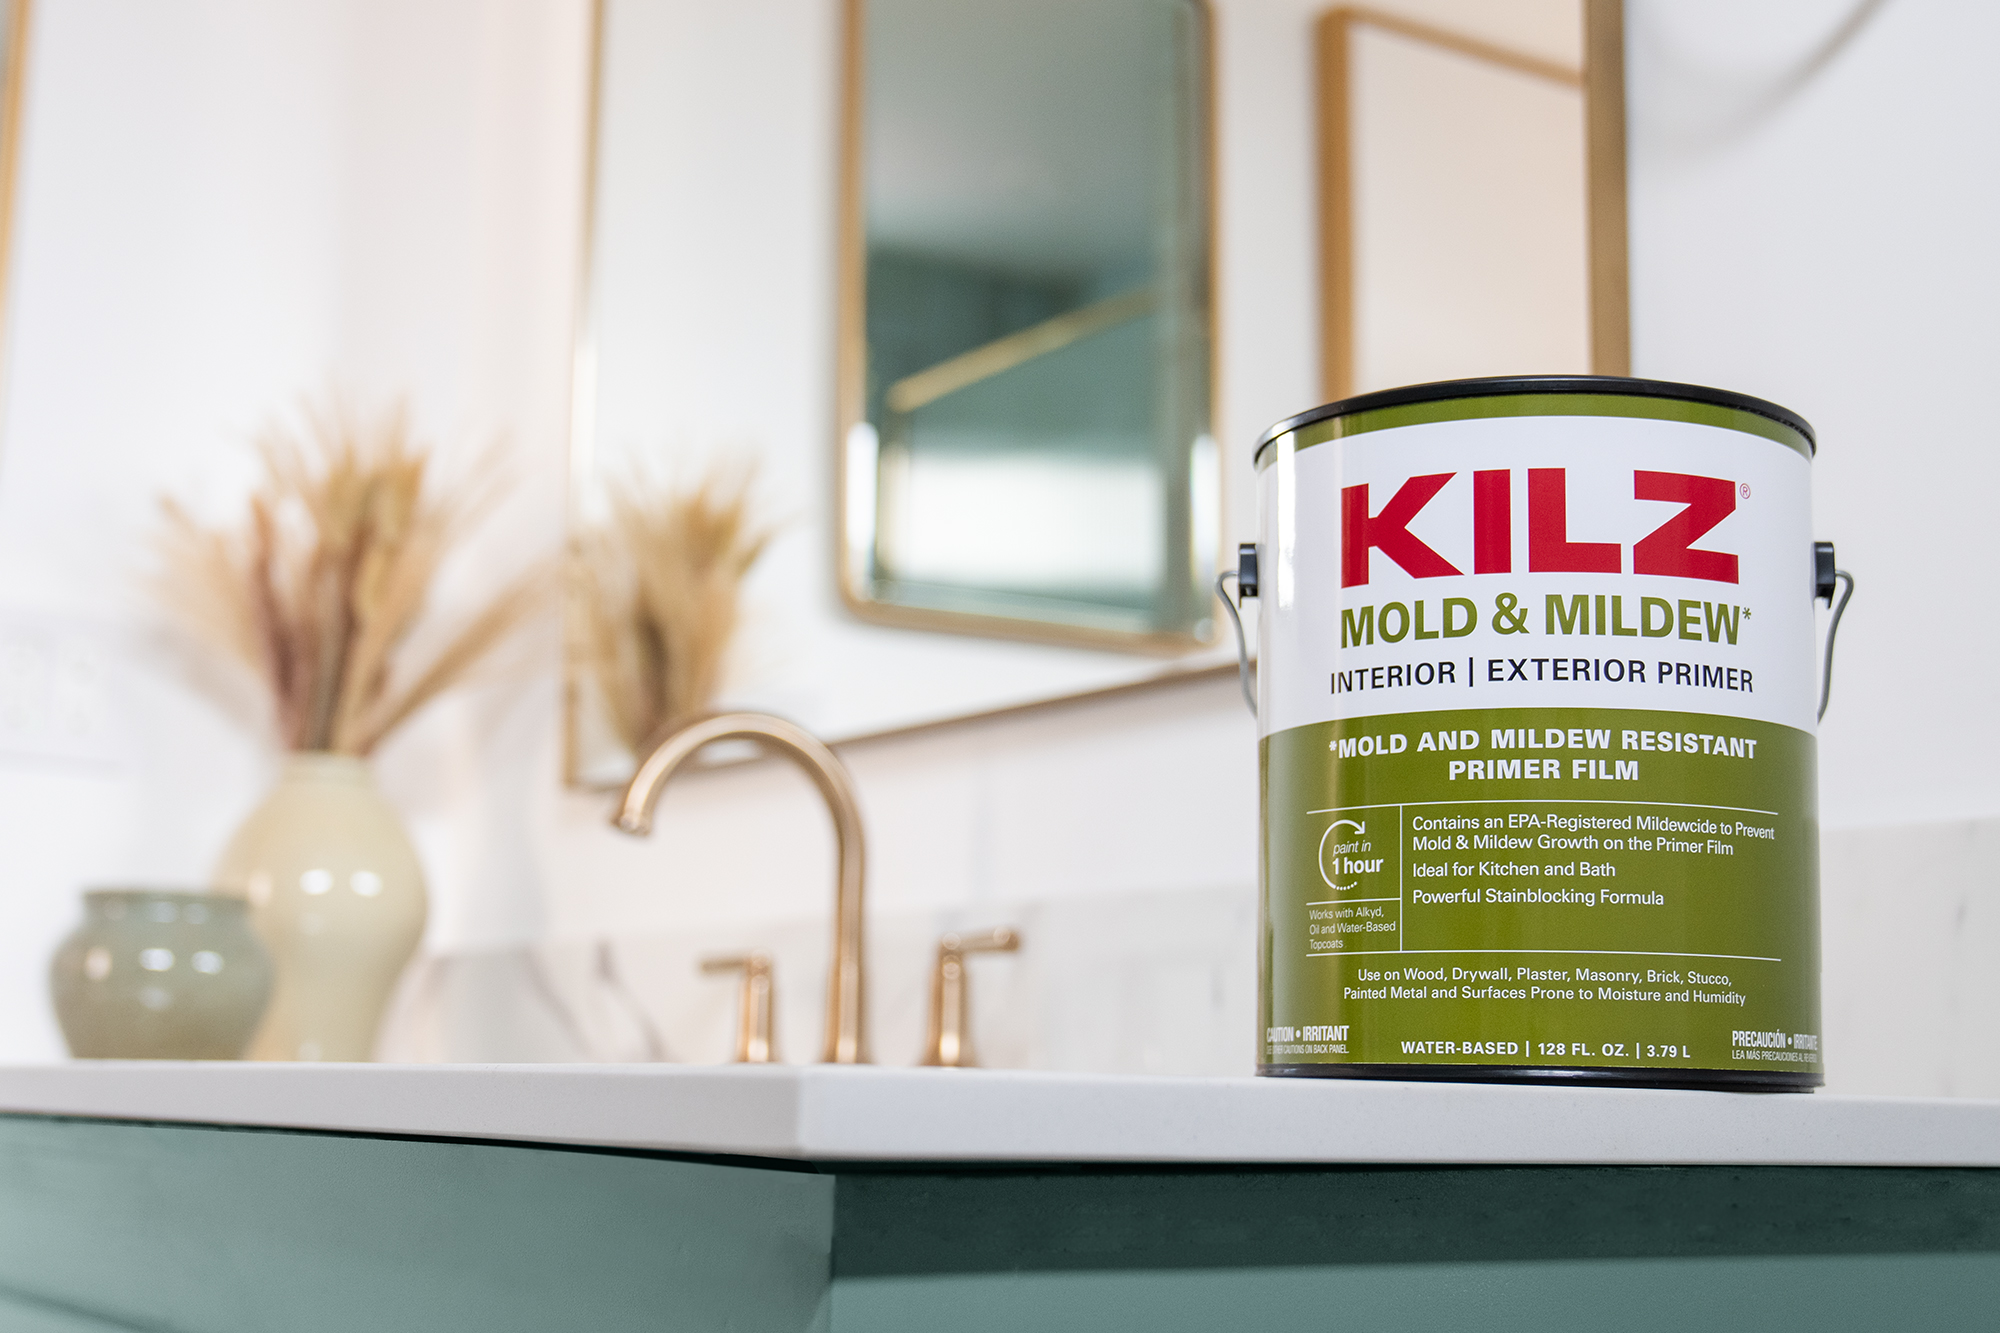
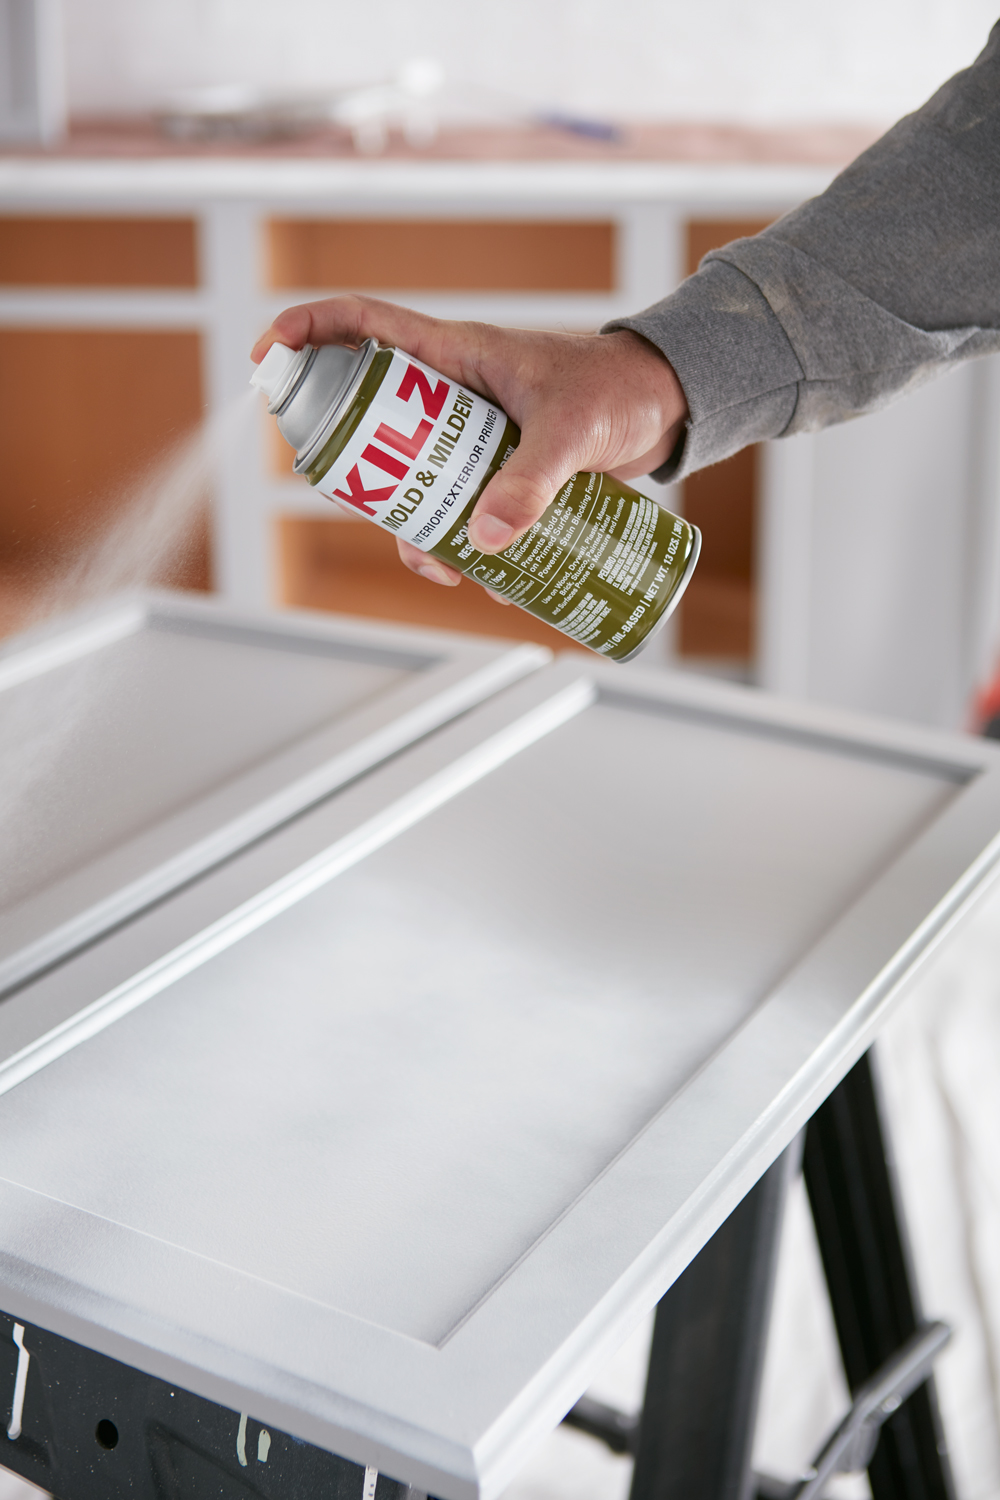
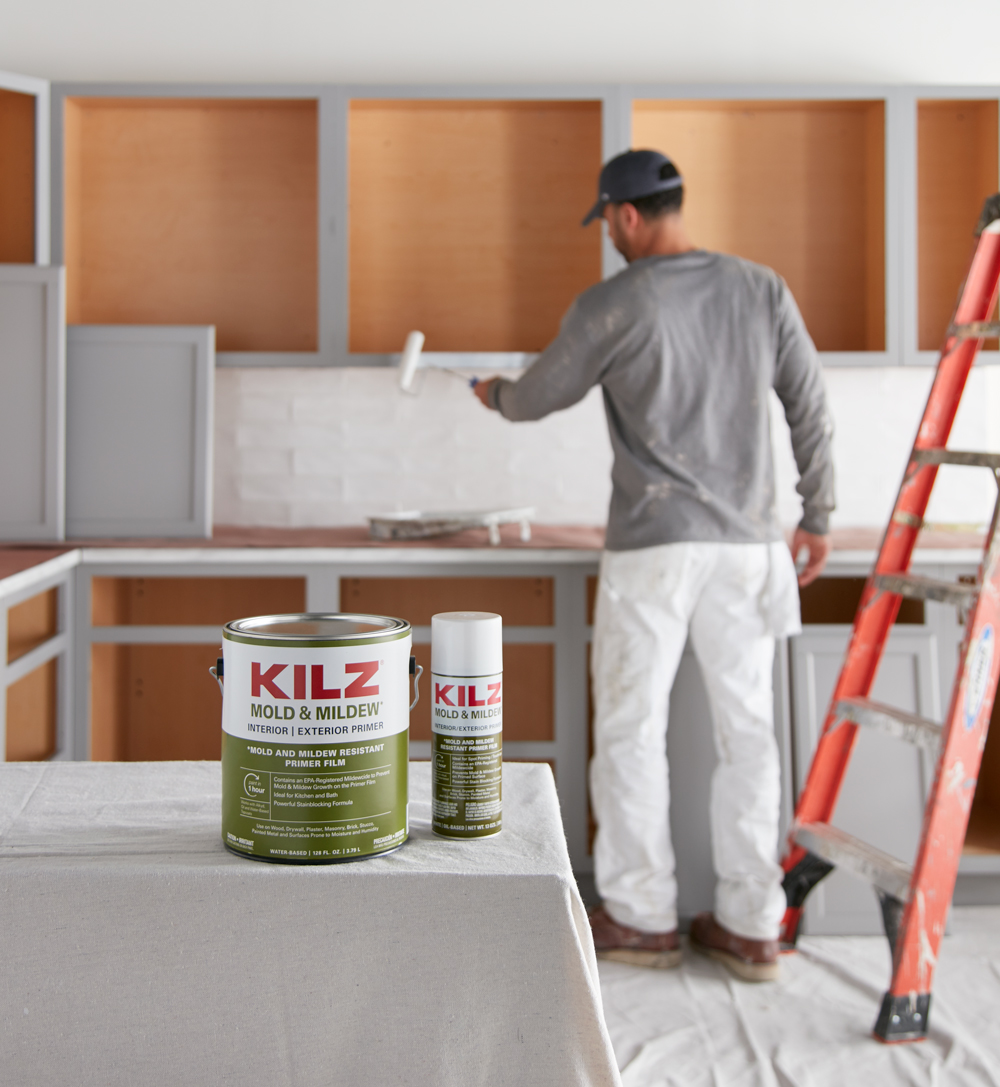
KILZ Mold & Mildew Primer is ideal for interior and exterior spaces prone to high moisture and humidity. Think bathrooms, kitchens, laundry rooms, powder rooms, patio kitchens, pool decks, greenhouses, etc. It contains an EPA certified mildewcide which prevents mold and mildew growth on the primer film. It will help ensure the primer coat and primed surface is mildew or mold free prior to applying the topcoat so there are no active organisms trapped inside. Aside from this, KILZ Mold & Mildew Primer also has a high hiding white finish which hides previous colors, stains, graffiti and other marks and blemishes. It is also a medium level stain blocker which prevents stains like pen, marker, lipstick, grease, nicotine, water and light tannin bleed from leaching through the paint finish.
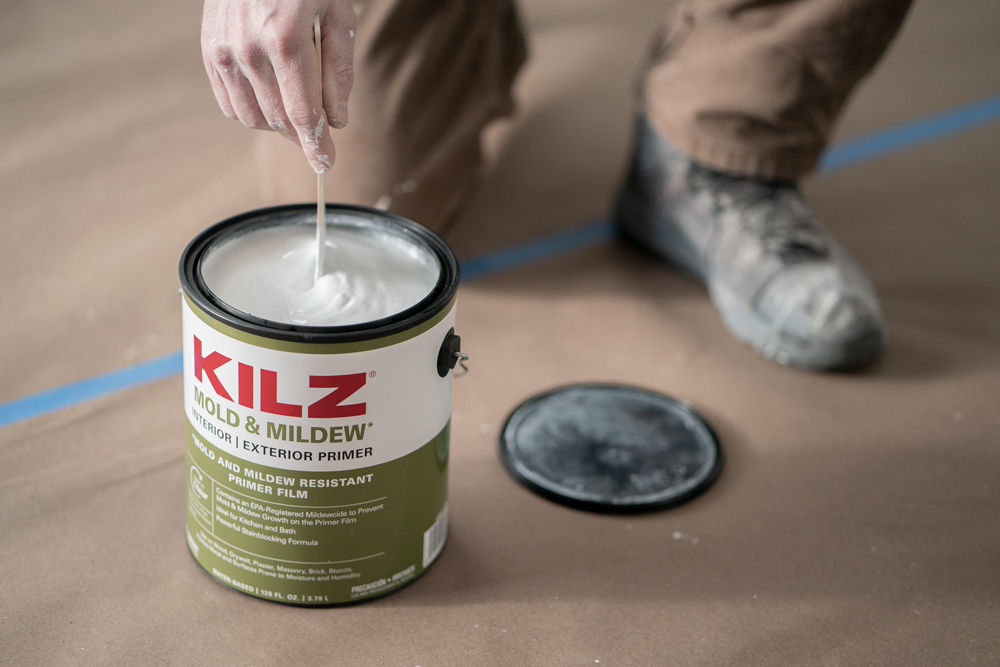
Prior to applying the primer, remove any mold or mildew with a proper remover or have it removed by a professional. In severe cases, the moldy substrates may need to be replaced. Once the surface is mold and mildew free, ensure it is clean and dry before applying primer. KILZ Mold & Mildew Primer also has very low VOC making it safer to use and better for the environment and can be applied easily using a brush, roller or sprayer. It also comes in a handy 13 oz spray version for convenient spot priming, touch-ups or small spray projects.
RELATED ARTICLES
get inspired:
FOLLOw us:
@kilzbrand
SHOP
PRODUCTS
PRO SPOTLIGHT: MARK ROBERTSON COMPLETES CUSTOM BUILT-INS WITH KILZ®
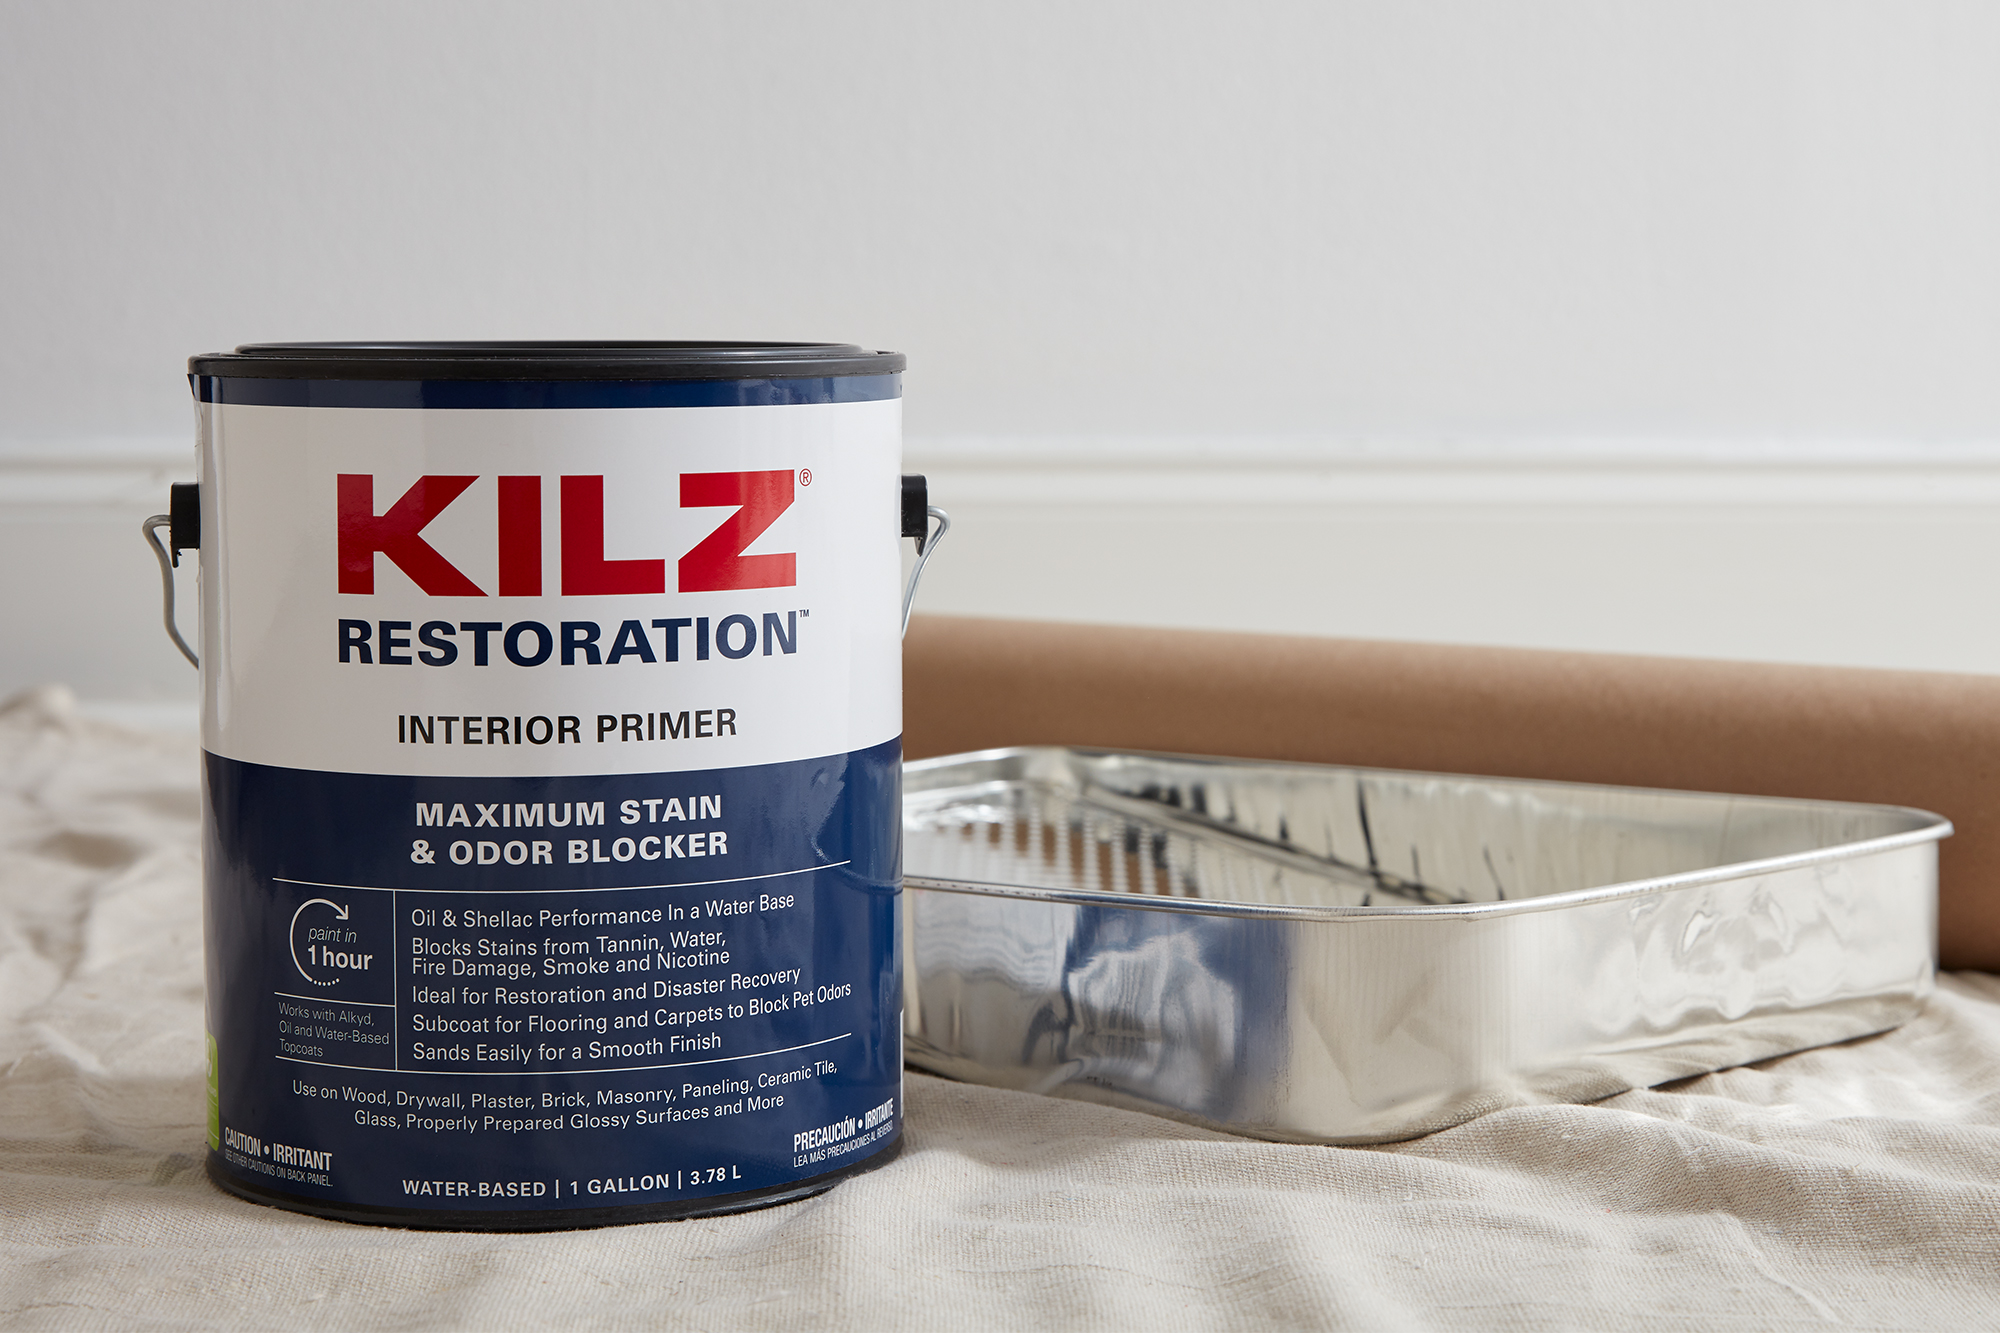
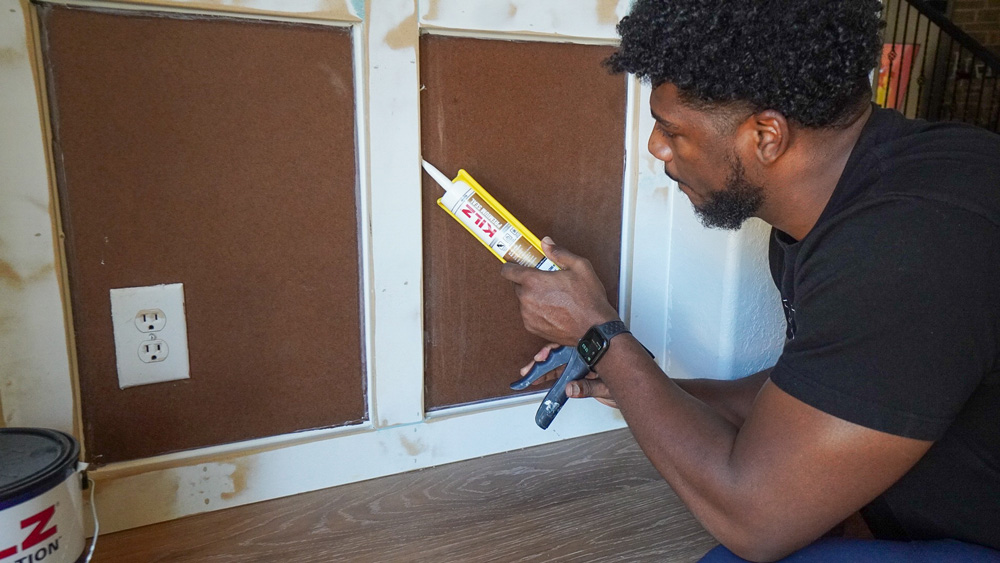
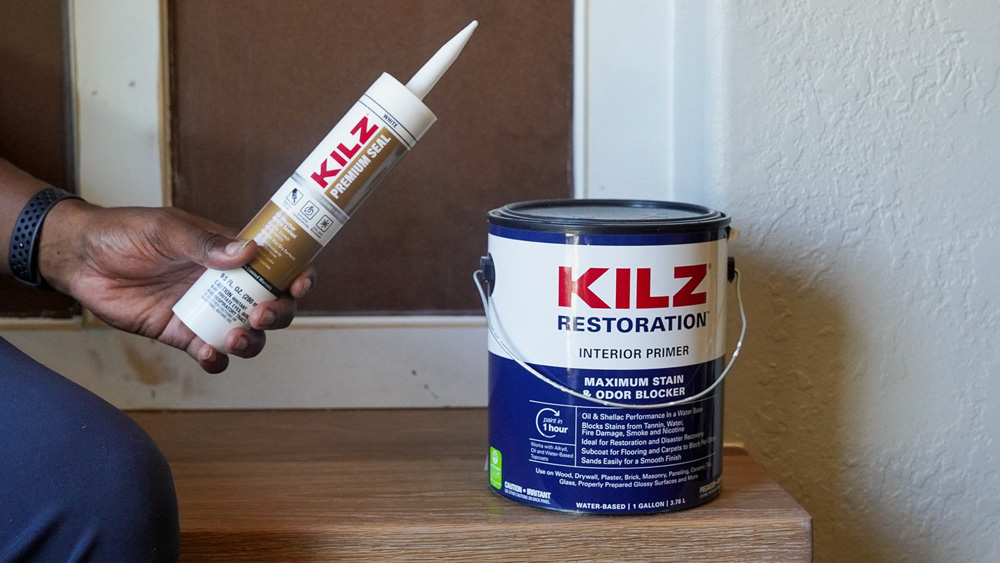
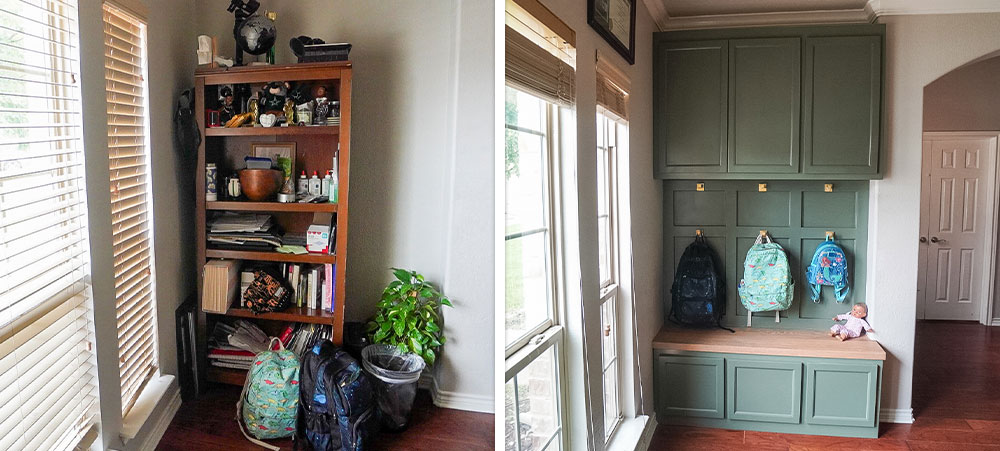
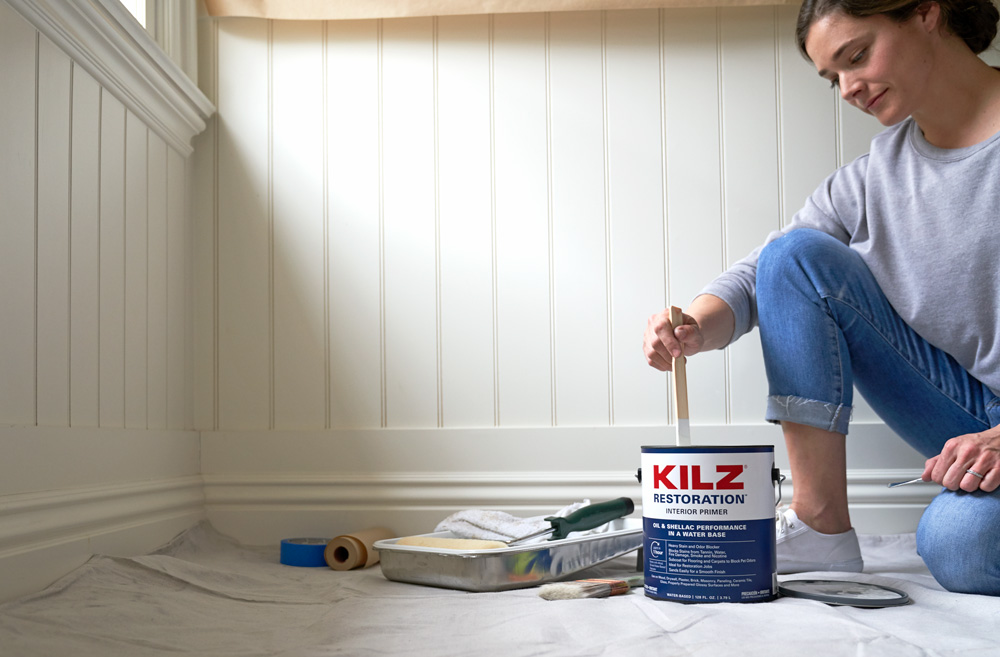
August 28, 2024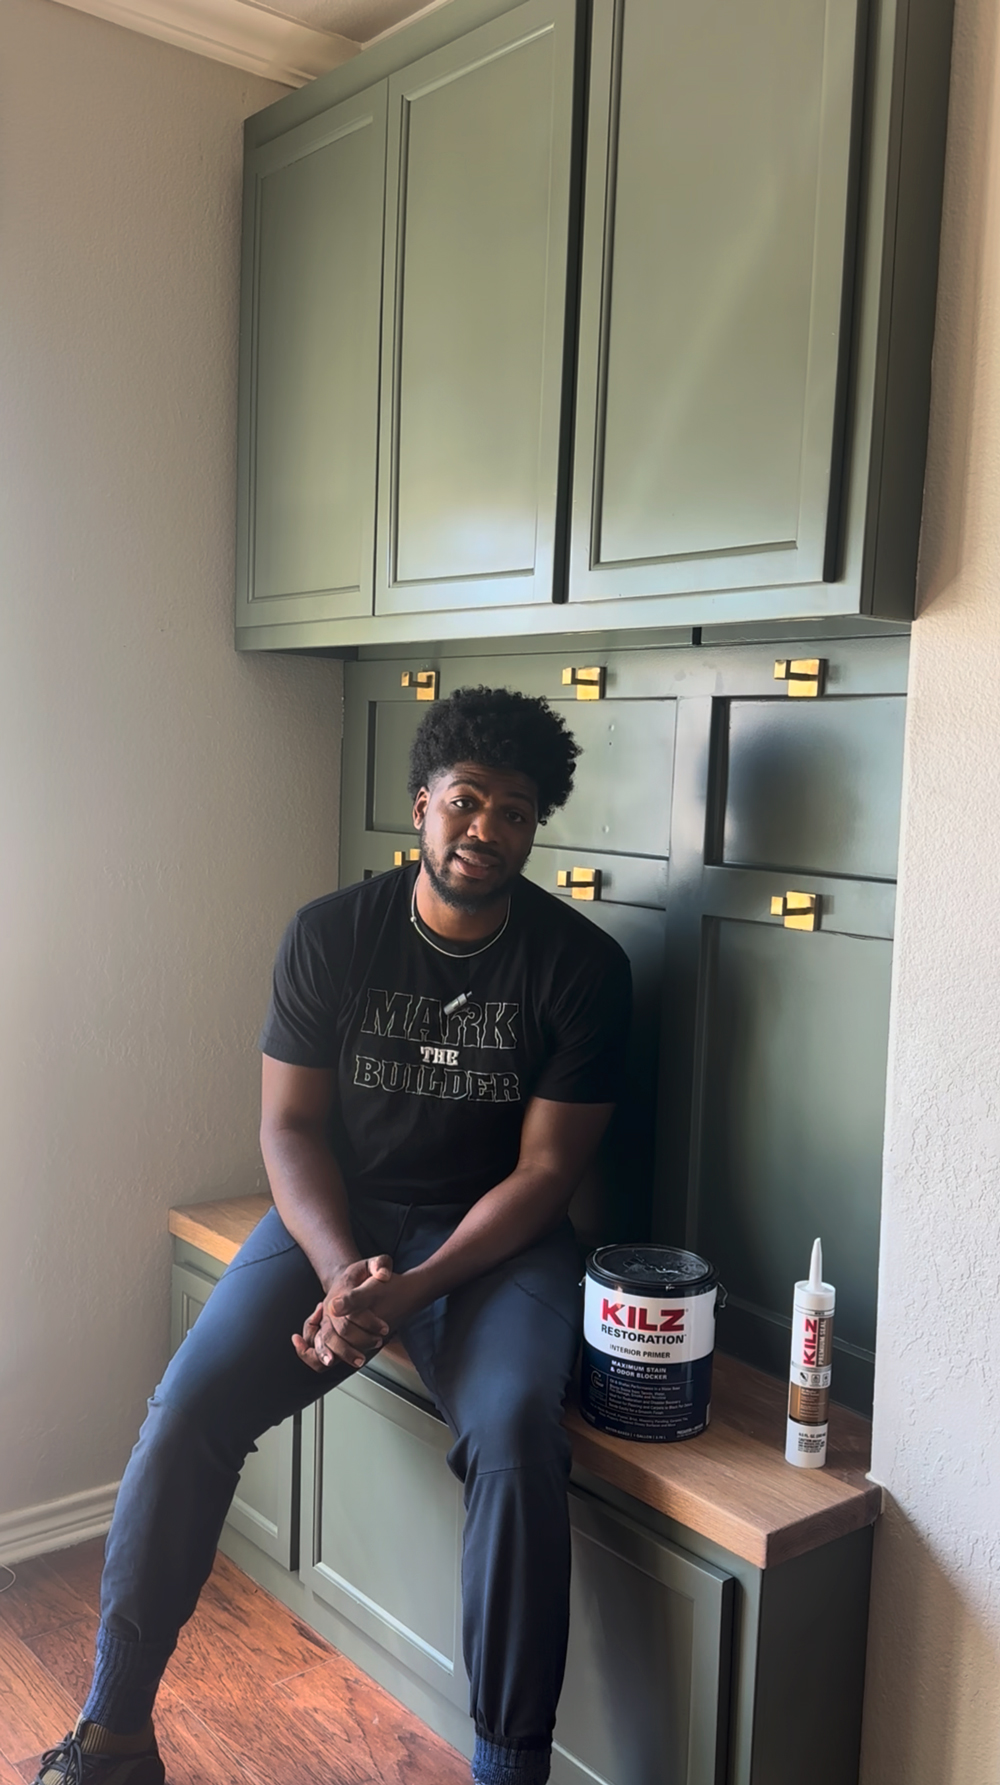 Hi, I’m Mark The Builder! I am a woodworker, husband, father, and so much more. I enjoy creating projects and delivering beautiful carpentry to my clients and also for my own home. As a woodworking enthusiast, I take great satisfaction in crafting built-in structures. After purchasing our home, my wife and I planned a remodel to better fit our needs. We recently started renovating our formal dining room into an office, including a T-shaped desk that will serve as two L-shaped working areas for my wife and me. After finishing the first phase of the office built-in, we realized we had enough material to also complete a built-in for the mudroom area within the office. This addition provides extra storage and a designated area for our children to hang their backpacks, with drawers to put additional school supplies, shoes, toys, and more. There is also a wall plug that can serve as a charging station for our oldest son’s school Chromebook. As with previous built-ins projects, I used KILZ RESTORATION® Primer as a base before painting and KILZ® PREMIUM SEAL to ensure a flawless finish along the seams.
My wife and I chose BEHR® Sage Green ICC-77 with gold finishings to match our office built-in. And to top it off, no pun intended, we picked a white oak wood with a smoke stain finish, which perfectly matches the Sage Green paint and the desk tops. Our vision for the office is a sleek, modern feel. We plan to remove the arch in the walkway to install glass doors at the entrance of the office and close up the opening that leads to our kitchen.
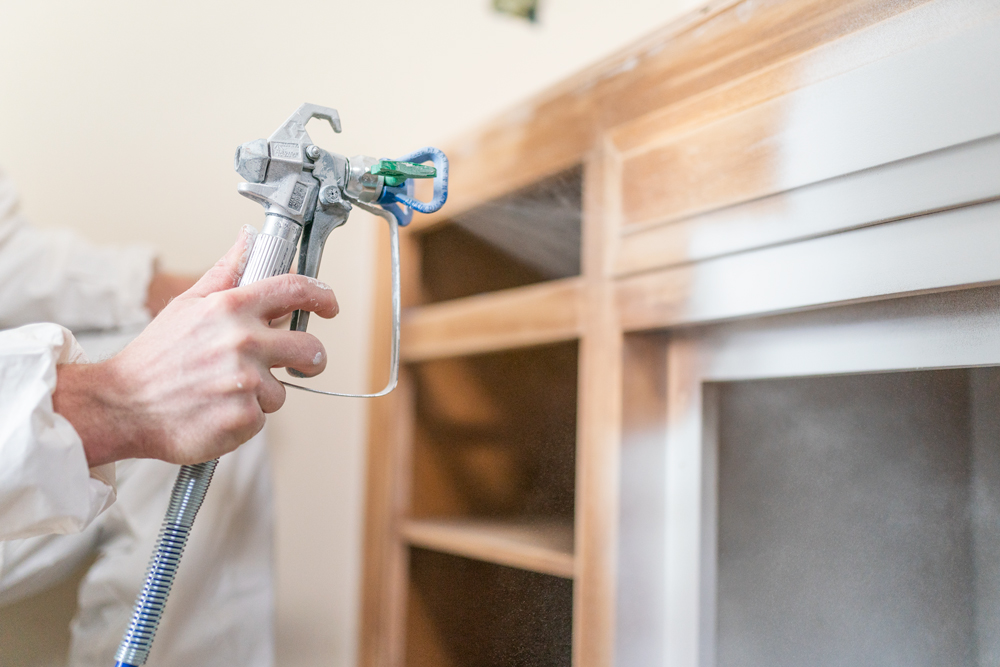
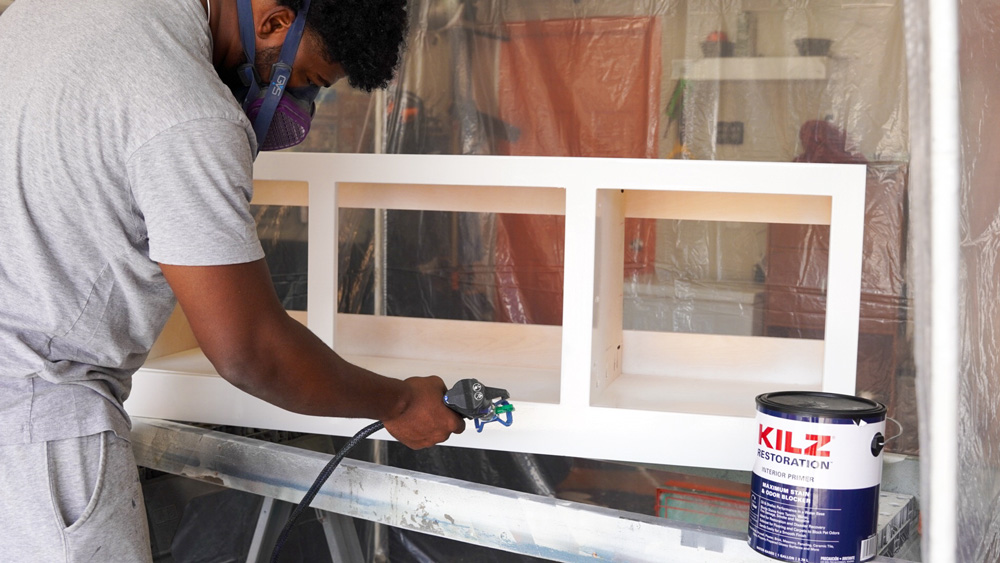
In the garage, I set up my indoor painting area with stands and a drop cloth underneath. This is where I sanded and used KILZ RESTORATION® Primer on the upper and lower cabinetry, as well as on the doors. I applied two coats of primer using a paint sprayer for a smooth and even finish. After completing the cabinetry, I sanded and primed the slats for the mudroom built-in accent wall. I like to prime, sand, prime again, and sand the slats for a smooth foundation. Once the primer dried, with the help of the wind and my fans, I applied one coat of BEHR Sage Green, achieving a smooth, beautiful, and flawless finish. Then, it was time to put it all together in the office!
I installed the base by cutting the trim around the baseboard to fit it perfectly, making it look as though it was built into the house. I secured it with a wooden anchor behind the base, attaching it to the wall. After securing it, I added the oak wood top to create a bench for the kids to sit while putting on their shoes. Next, I assembled the accent wall and smoothed out the seams using the KILZ® PREMIUM SEAL before adding a coat of paint. Then, it was time to install the upper cabinetry before installing gold hooks.
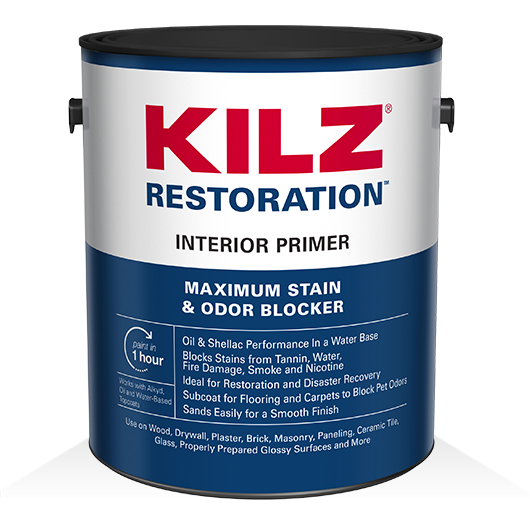
I really enjoyed using KILZ RESTORATION® Primer as it is a versatile water-based primer, sealer, and stain blocker. It effectively tackles tough stains like heavy water damage, smoke, grease, crayons, pencil, and pet stains while sealing persistent odors. It can be used on interior surfaces including woodwork, plaster, brick, ceramic tile, and glass. The KILZ® PREMIUM SEAL was the perfect finishing touch to add to the pre-painting process as it offers great durability and stretch, even capable of sealing active leaks.
Overall, I’m happy we added this new addition to the office, which also provides an organized space for our kids to place their things. It blends perfectly with the rest of the space, and I couldn’t have done it without KILZ. I can’t wait until the rest of the office is complete!
RELATED ARTICLES
get inspired:
FOLLOw us:
@kilzbrand
SHOP
PRODUCTS
The Primer Checklist Every DIYer Needs
April 23, 2024Priming Before You Paint
No matter how difficult your project is, KILZ® Primer is here to help you achieve the results you envision with this easy primer checklist.
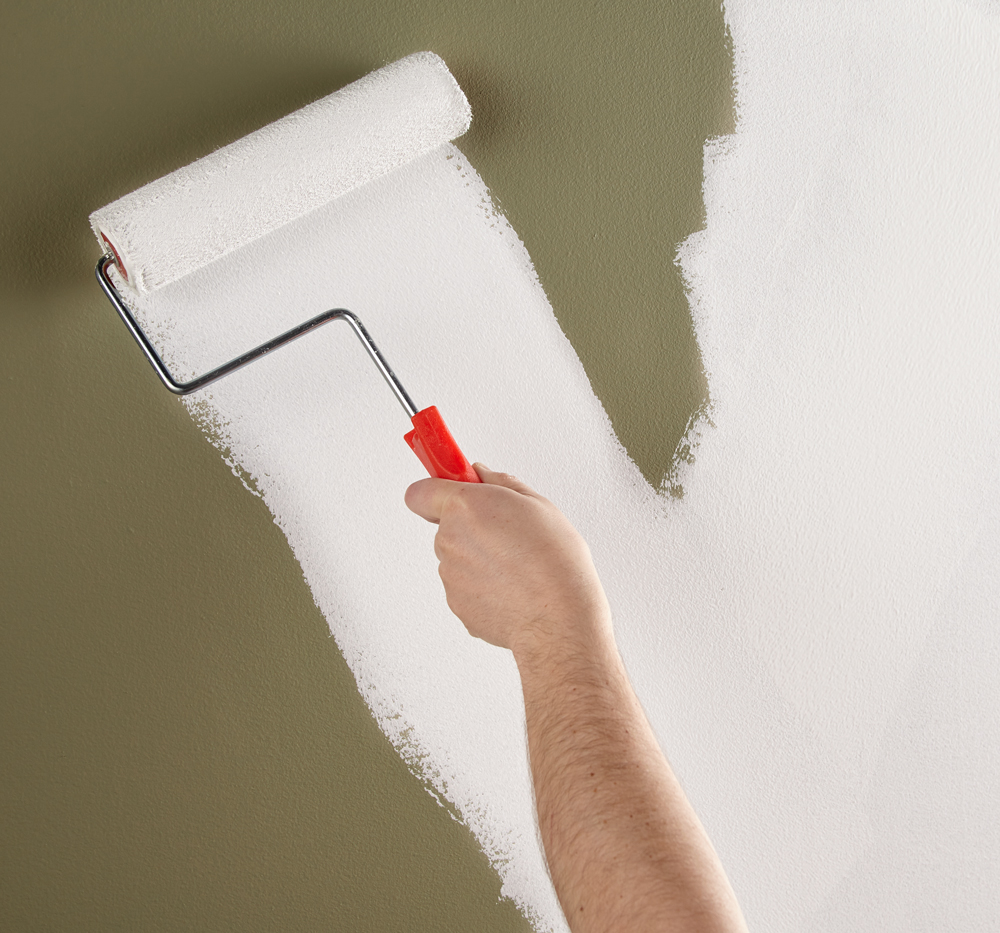
Priming walls before applying a coat of paint is essential to block previous stains and odors, ensure color distribution, and create adhesion for the new coat of paint.
Primer Checklist
First, familiarize yourself with the surfaces and spaces you’ll be painting. Whether you’re priming outdoor or indoor, on wood, glass, metal, or drywall, each scenario requires a specific primer and process.
Choose the Right KILZ® Primer
Getting started requires you to understand which KILZ® Primer is the right product for your surface’s unique demands.
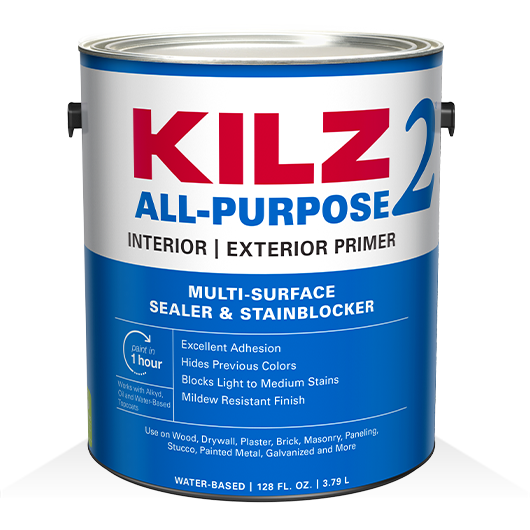
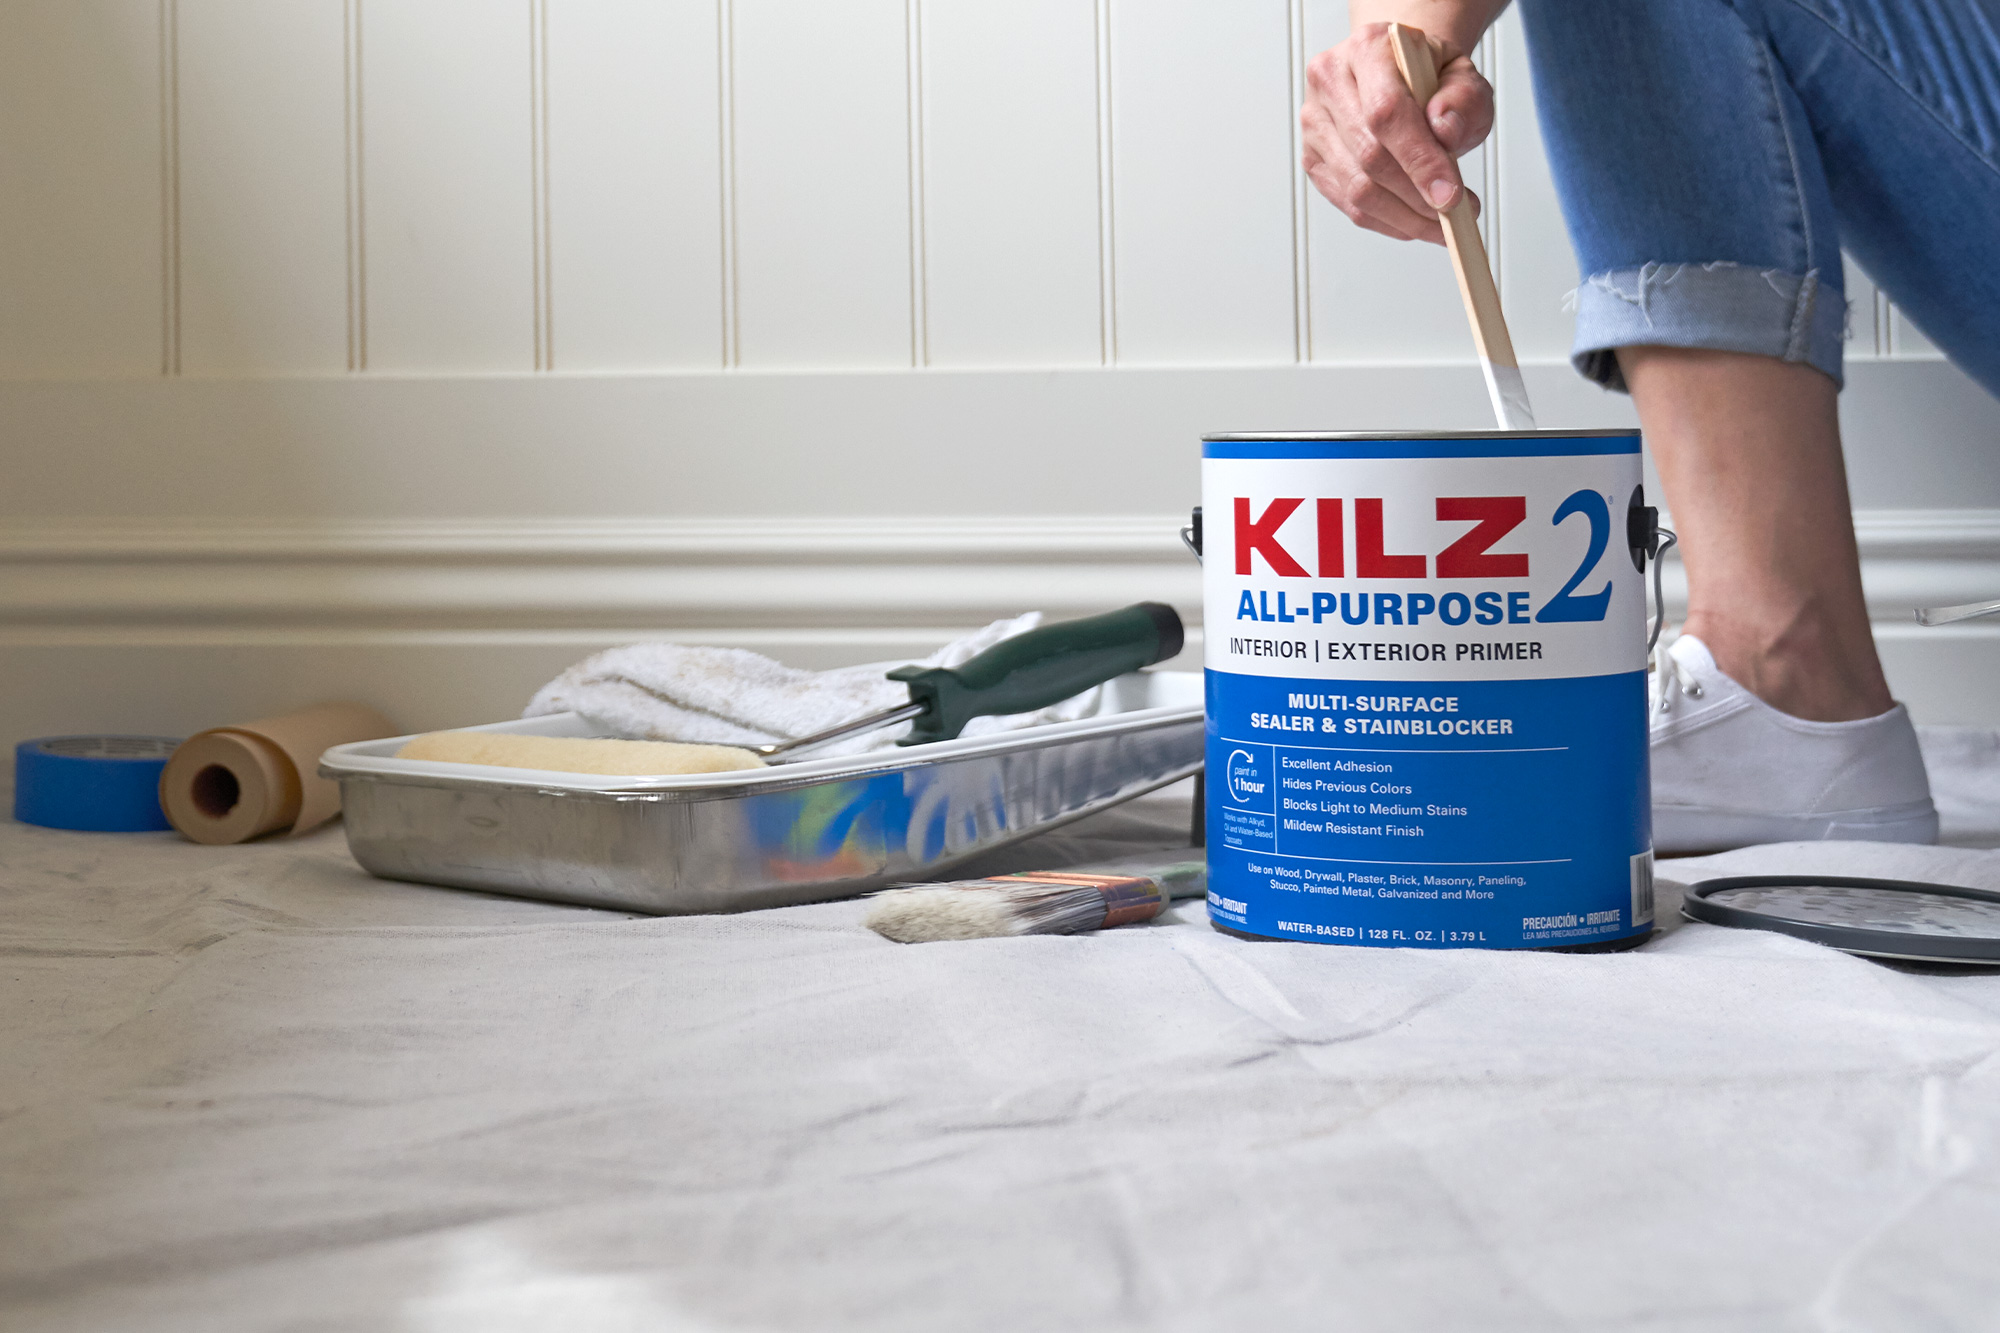
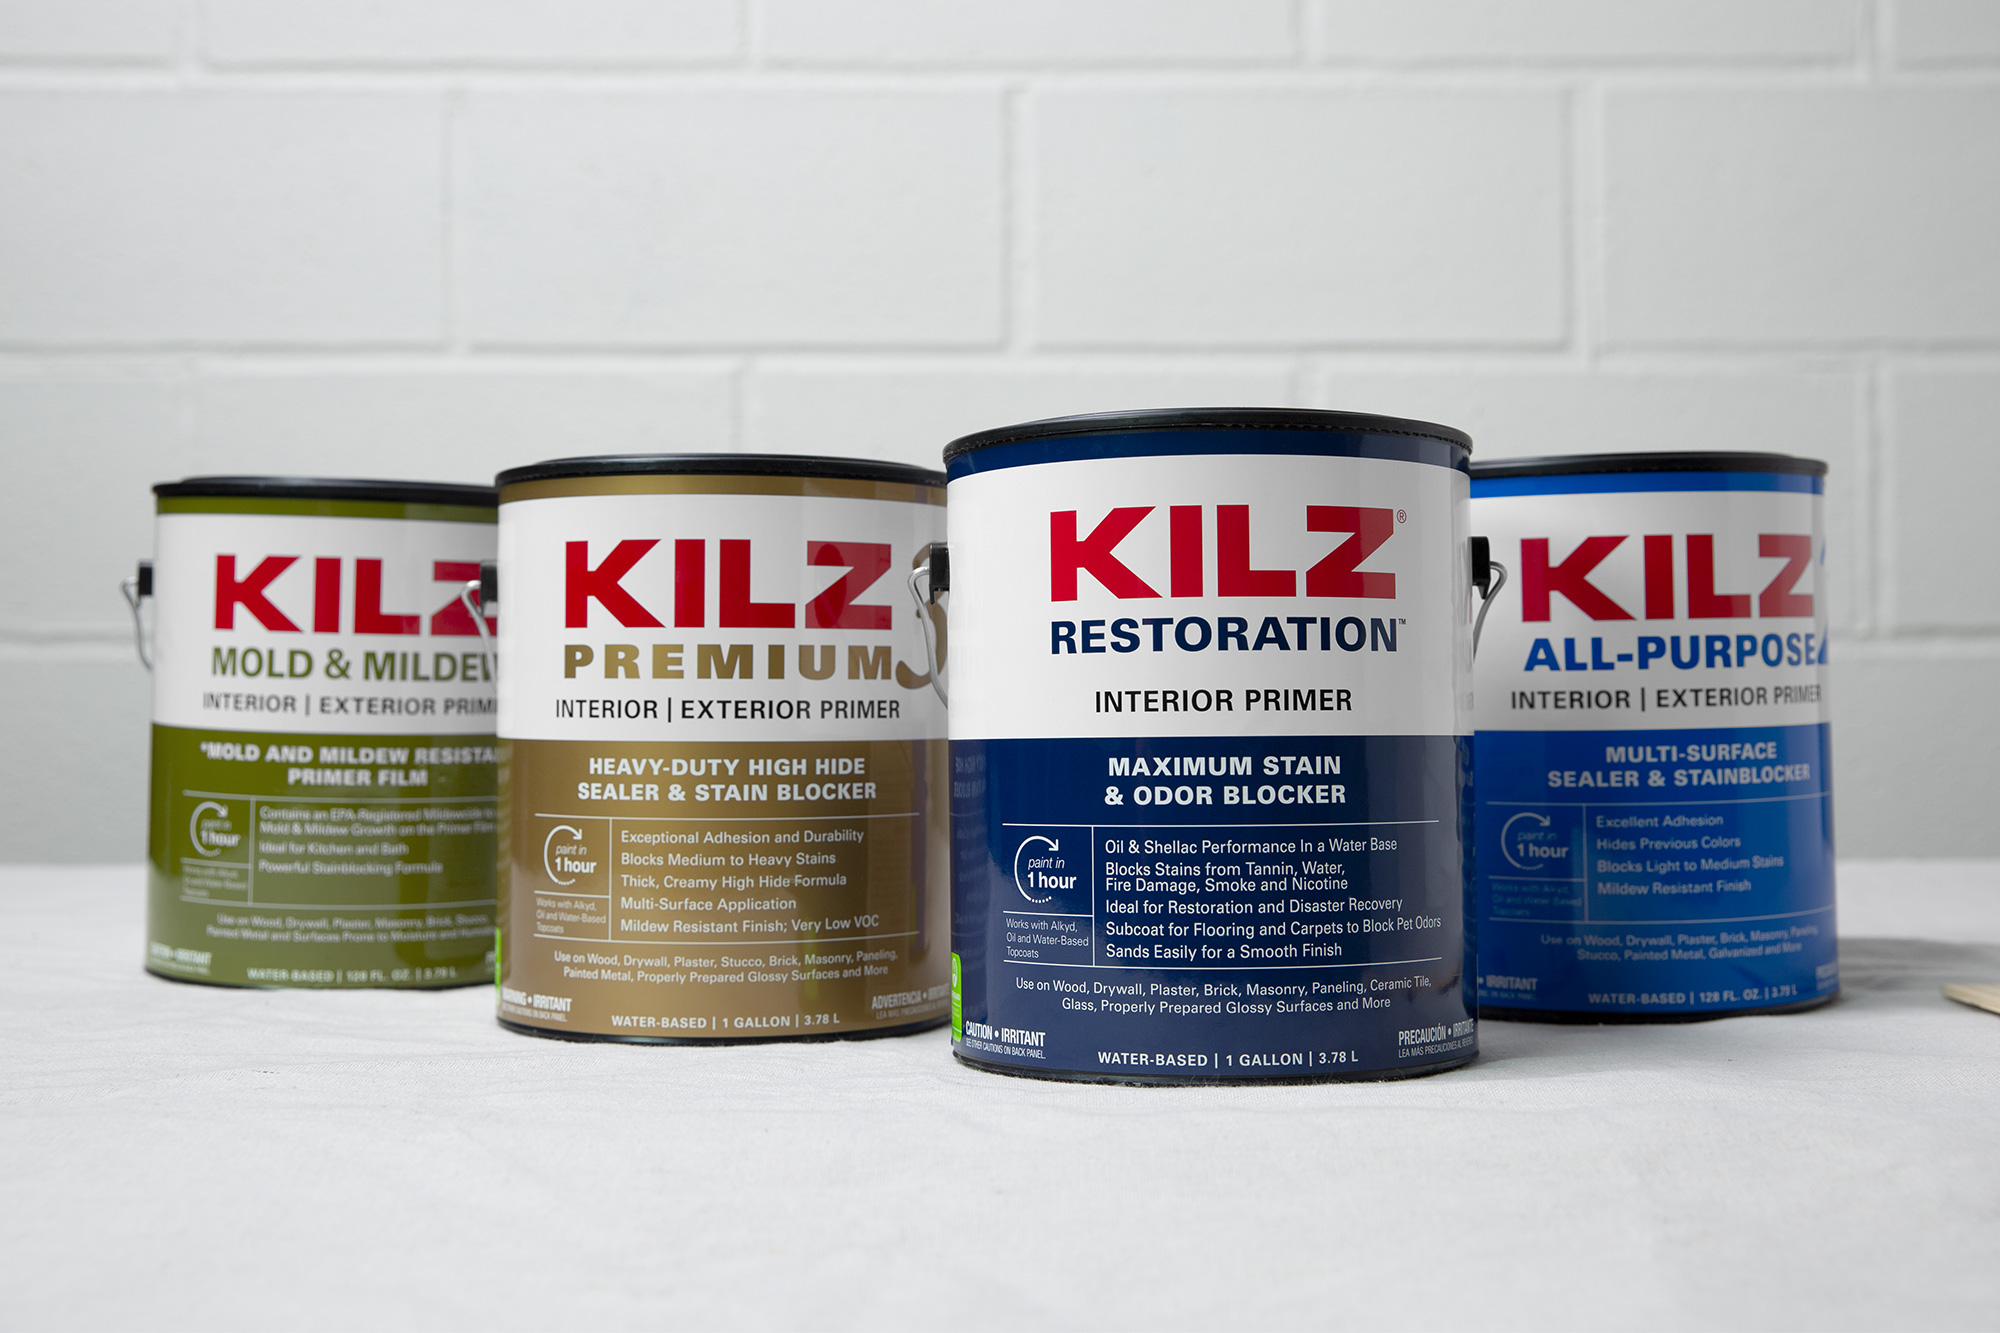
• Both KILZ 2® All Purpose and KILZ 3® Premium are perfect for interior and exterior priming on multiple surfaces. KILZ 3® Premium is the right primer for heavy duty sealing and blocking out stains or dark colors.
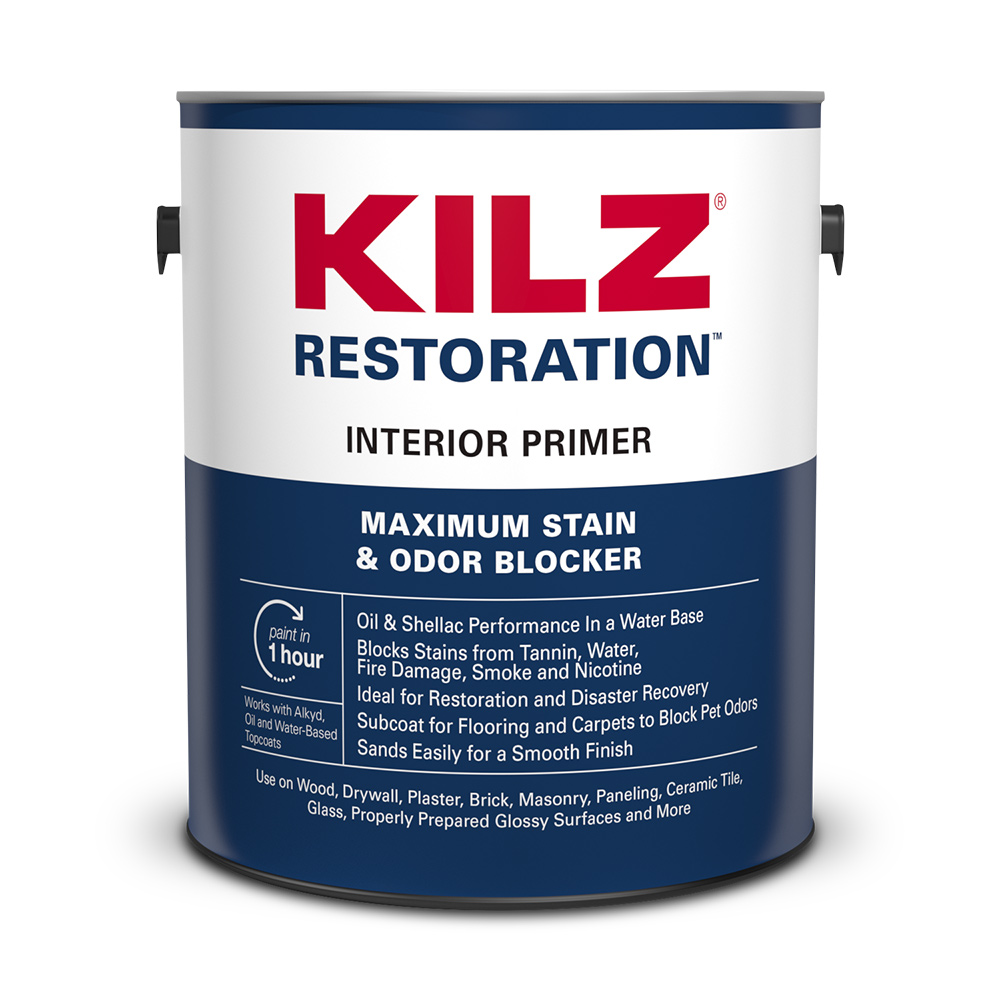
• KILZ RESTORATION® is formulated for the toughest coverups, like fire damage or unbearable odors.
• If you’re applying a new coat of paint in a kitchen or bathroom, mold and mildew resistance should be prioritized with KILZ® Mold and Mildew®.
• For tough-to-paint surfaces like glass, tile, and metal, KILZ® Adhesion ensures that paint stays put.
Application Tools
The tools required to prime walls to paint are:
• A drop cloth to protect floors from splatter.
• Painter’s tape for masking off areas you don’t want primer on.
• A 2-inch nylon/polyester paint brush for priming corners.
• A 9-inch paint roller with a ½ inch roller cover to prime large spaces.
• A paint tray to reload your roller with primer you pour into the tray.
• Cardboard or a towel to remove excess primer from your roller or brushes.
• Safety goggles to protect your eyes.
Applying the Primer
• Move any furniture from the space, then cover the floor with your drop cloth.
• Create a paint station to place all your tools.
• Tape off the necessary borders to mask whatever you don’t want your primer to cover.
• Get your paint roller and brushes ready by dampening them with water so they can absorb more primer.
• Outline or “cut in” the wall with 2-3 inches of primer. Where the corners meet, you’ll want to use your 2-inch nylon/polyester paintbrush.
• Fill your paint tray with primer, then dip in your 9-inch paint roller, making sure primer covers the whole roller. Pass the paint roller over the ridged area of the tray to remove any excess primer.
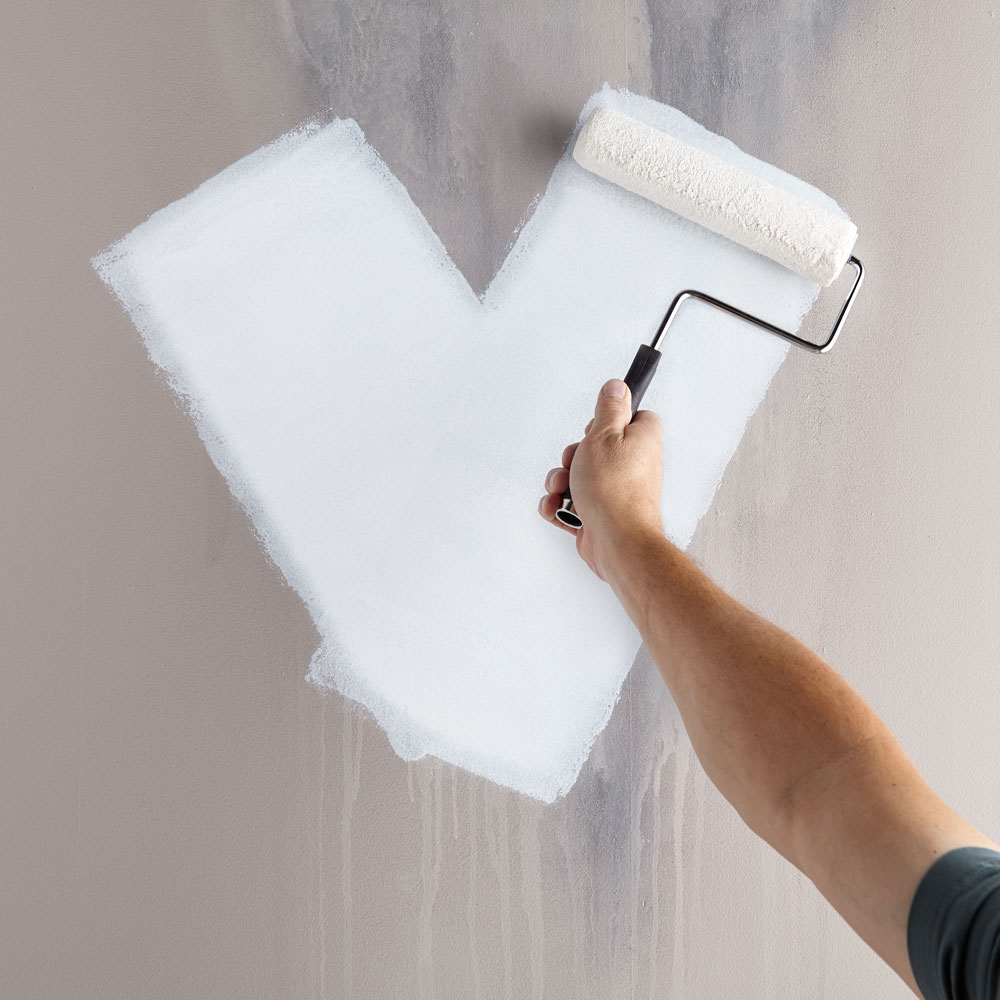
• With your paint roller, apply the primer in vertical strips inside your “cut in” area, working from top to bottom until finished.

Dry Time
Drying times depend on both your primer and surface. If multiple layers are needed, wait until the primer is completely dry before applying another coat. You can decrease drying time by creating air circulation in the room or using a dehumidifier.
• Drywall (about an hour)
• Wood (up to three hours)
• Metal (up to four hours)
Never apply paint before your primer has dried; otherwise, it will not stick, creating a mess.
You’re Ready to Prime
Now that you have an understanding of KILZ® Primers, you can undertake your next project, whether you are an amateur or expert DIYer.
→DOWNLOAD CHECKLIST
RELATED ARTICLES
get inspired:
FOLLOw us:
@kilzbrand
SHOP
PRODUCTS
Best of Primer Tips: What Did We Learn This Year?
November 21, 2023To inspire another productive year ahead, let our pro primer tips 2023 recap be your guide. You already know how important a good primer is to any successful painting project, but the finer point may be less clear. That’s why we’re recapping some of the best primer tips of the year and taking a moment to appreciate just how much we learned.
Tip #1: Save time, money, and labor by using primer.
Because it is formulated to solve specific problems before you paint, primer creates an ideal surface for lasting results. This means there’s less likelihood that you’ll have to retouch or redo a project in the short-term. By sealing porous surfaces evenly, for example, you’ll use fewer topcoats, and since primer costs less than the topcoat, using a primer first and then applying the topcoat is cheaper than applying multiple coats of topcoat only.

Tip #2: Choose the right primer for your substrate.
Before beginning any painting project, identify the type of surface you want to prime and paint. Different substrates accept coatings differently, which is why KILZ formulated a primer with each surface type in mind. Also take note of your surface’s condition. What circumstances should be addressed before applying a coating? Lastly, identify the environmental conditions where the surface is located. Is it damp? Will it be exposed to weather damage and temperature fluctuations? Each of these conditions dictates the primer and paint you choose to use.

Tip #3: Know your project details ahead of time so you can prepare.
Preparation is key before starting any paint project. You should know the products you’ll need and what steps to follow. For most projects, you can trust a multi-surface primer to prepare the surface for painting, but more complex situations require a specialty formula primer—such as mold, stains, and odors. Preparing for the job beforehand will help things run smoothly from start to finish. Not sure where to start? Review this checklist.
Tip #4: The right application can make a big difference.
Quality usually comes at a higher price than a cheaper alternative, but the results are worth it. Besides selecting a quality applicator, the construction of the applicator should be compatible with the chemistry of the coating being applied. Some brushes are built for water-based products, some are designed to work with oil-based products, and some will work with both. Most rollers are compatible with oil- and water-based products. This information is usually listed on the packaging, so make sure to check for it when choosing an applicator.
Tip #5: Know when to use primer and when paint & primer in one will work.
The idea of saving time and money by skipping a step in the painting process is appealing, and while many paint and primers in one (PPIO) boast this claim, it’s not always that simple. While it can work for some jobs, more specialized products will give you better results depending on the situation. For example, PPIO can work well on pre-painted surfaces without a drastic change in color or texture, but this is possibly the only reason to choose it. If your job is more complex than that, it’s best to opt for a specialized primer in addition to paint.
Tip #6: Understand the different types of sheen and choose wisely.
If chosen incorrectly, sheen can amplify surface imperfections, make a surface shinier (or flatter) than intended, or not provide enough durability for the space. Some sheens are easier to clean than others and can provide a barrier against moisture, mildew, and other grime. The darker and richer a paint color is, the more colorant it contains, which boosts sheen. If you’ve chosen a rich or dark paint, and you don’t want it to turn out super shiny, choose one with a lower sheen. In the same vein, if painting a large, sun-washed, or flawed surface, a lower sheen paint is best for hiding imperfections.
For more helpful tips like these, be sure to check back in with us so that you can tackle all your future projects with confidence. KILZ® Primers are here to make your DIY dreams a success. We hope you had a productive year and can’t wait to see what will inspire you in 2024.
Always remember to refer to our website kilz.com or product back labels for additional information on which primer is right for your project and detailed instructions on how to apply our products. Check out our Coverage Calculator to understand your estimated paint needs for your upcoming project.
RELATED ARTICLES
get inspired:
FOLLOw us:
@kilzbrand
SHOP
PRODUCTS
Destination Restoration Rewind: A Look Back at our Best Projects of the Year
November 7, 2023At the end of the year, we like to reflect on some of our biggest accomplishments, and this year, we’re looking to our Destination Restoration series for inspiration. For this exciting video series, we enlisted the help of two paint, construction, and design experts to make over individual rooms in a single-family home. With their help, we refreshed and modernized four outdated rooms, saving time and money in the process, and extending the life of this charming residence.
Let’s recap our favorite moments from Destination Restoration and get excited to tackle another year of home improvement.
If you’re looking for kitchen remodeling ideas to inspire your DIY dreams, this is a great example of how you can make a big design change while keeping the integrity of the room intact. Our team of pros took a dark and dated kitchen, and, with a vision and some ingenuity, achieved a bright and modern space, renewed for the next generation. The striking cabinet transformation came to life with some light refinishing, KILZ 3® Premium Primer and a fresh coat of paint.
See the full project here.
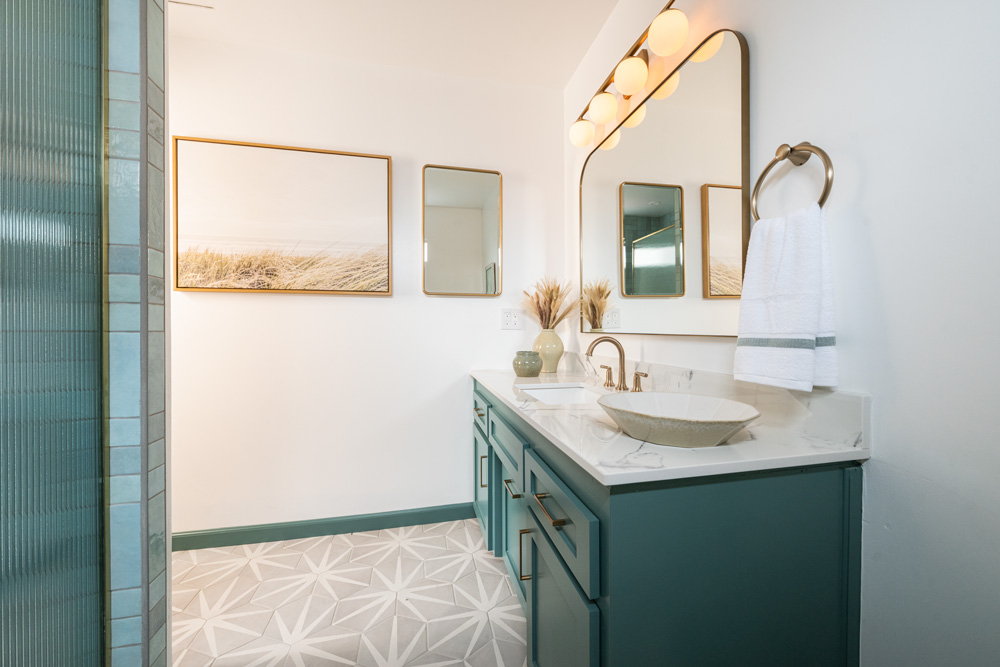
If you have a DIY bathroom project in mind for the new year, be sure to check out this stunning refresh for tips. Our Destination Restoration team made this makeover look easy to give you the bathroom inspiration you need to tackle your own transformation in 2024. With just a few cosmetic fixes, and the help of KILZ Mold & Mildew Primer, our pros converted this outdated room into a beautifully modern space that will last for the next generation to enjoy.
See the full project here.
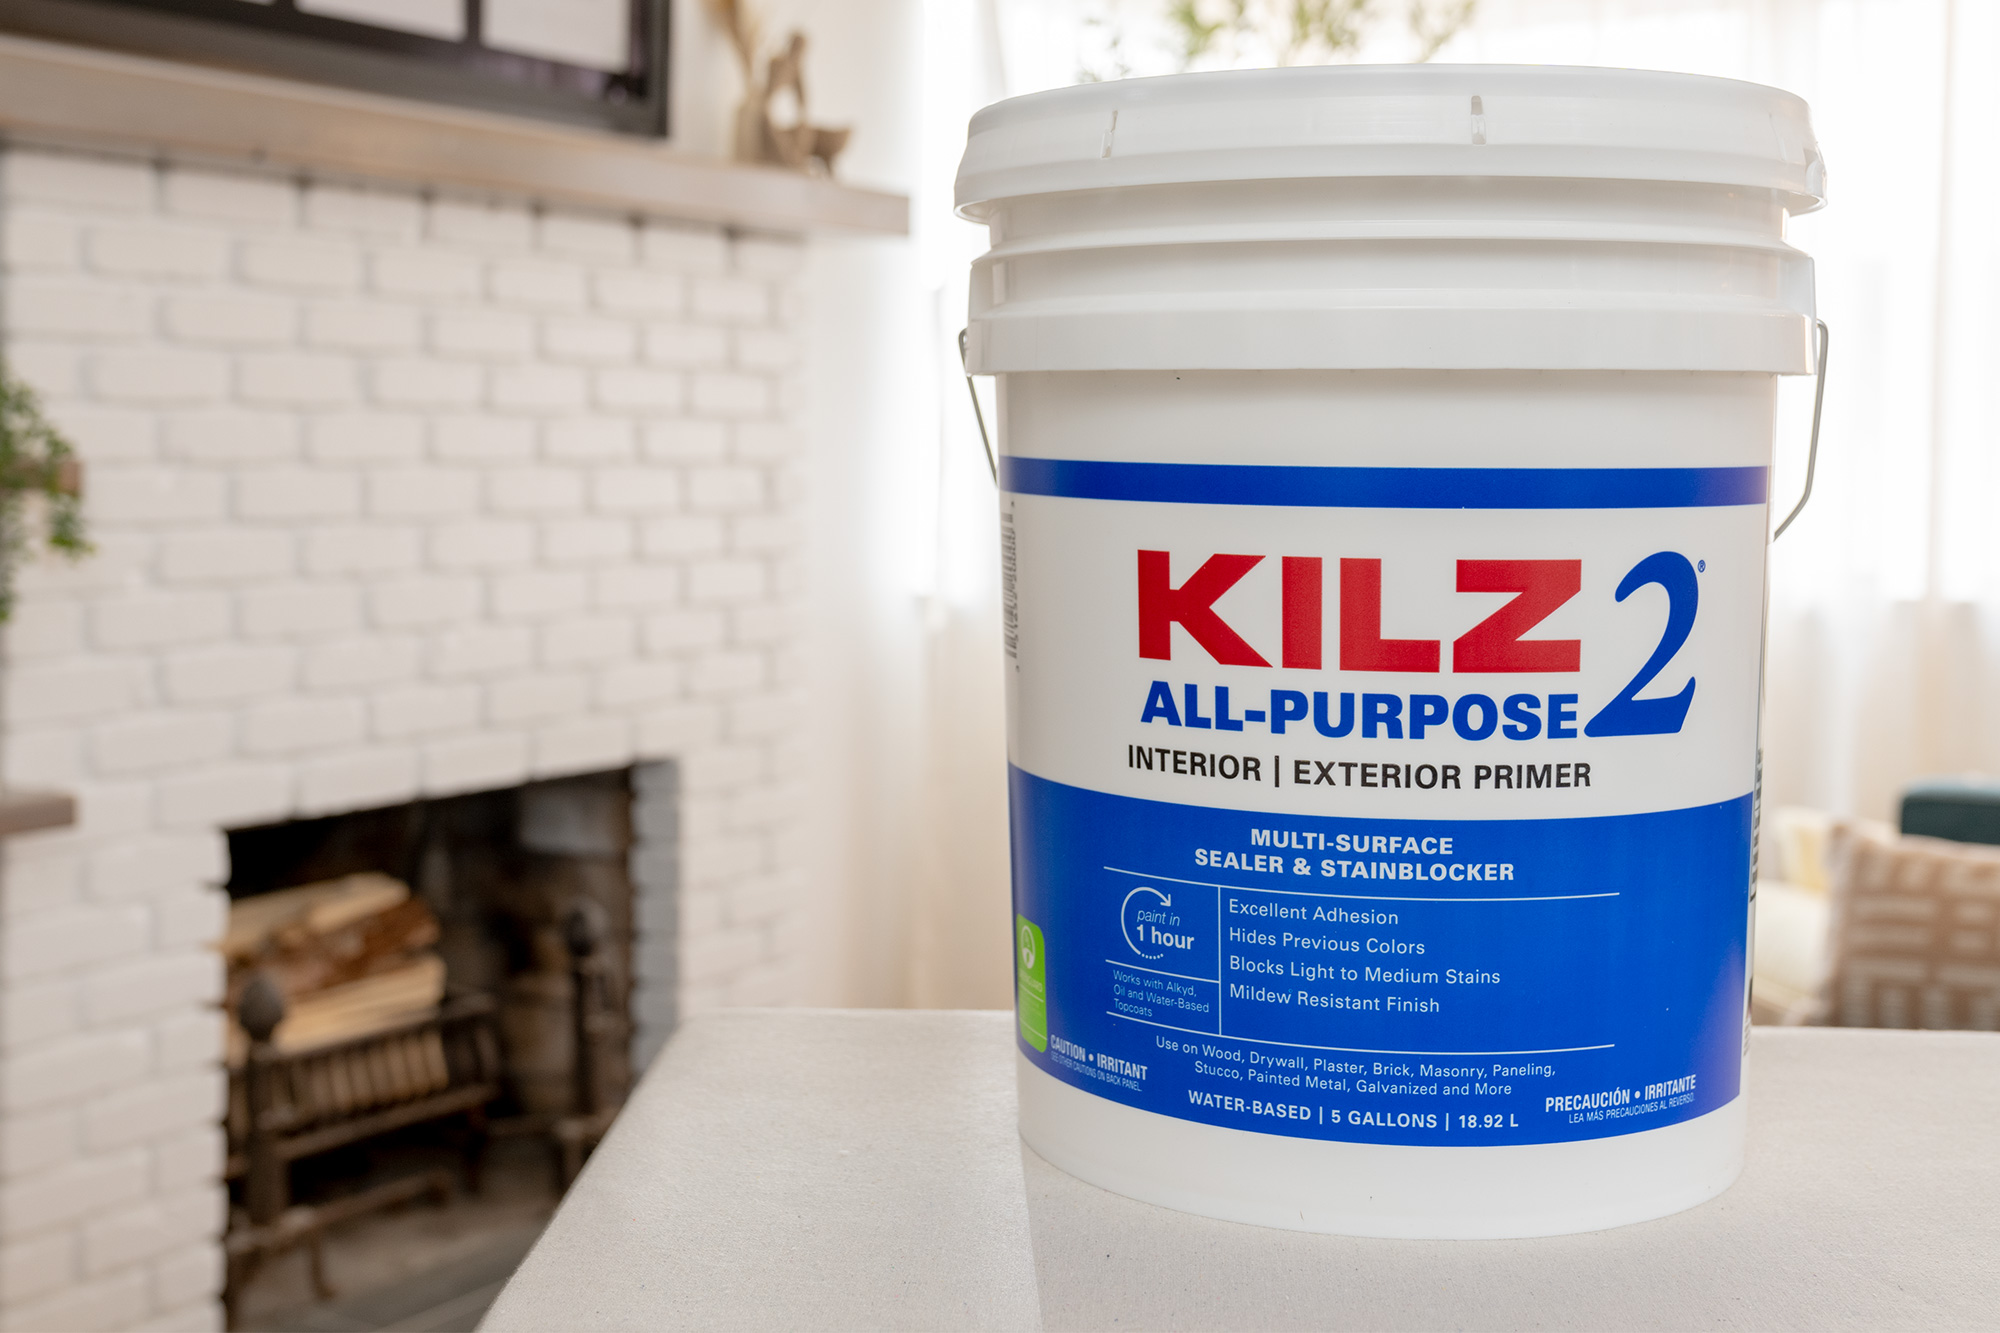
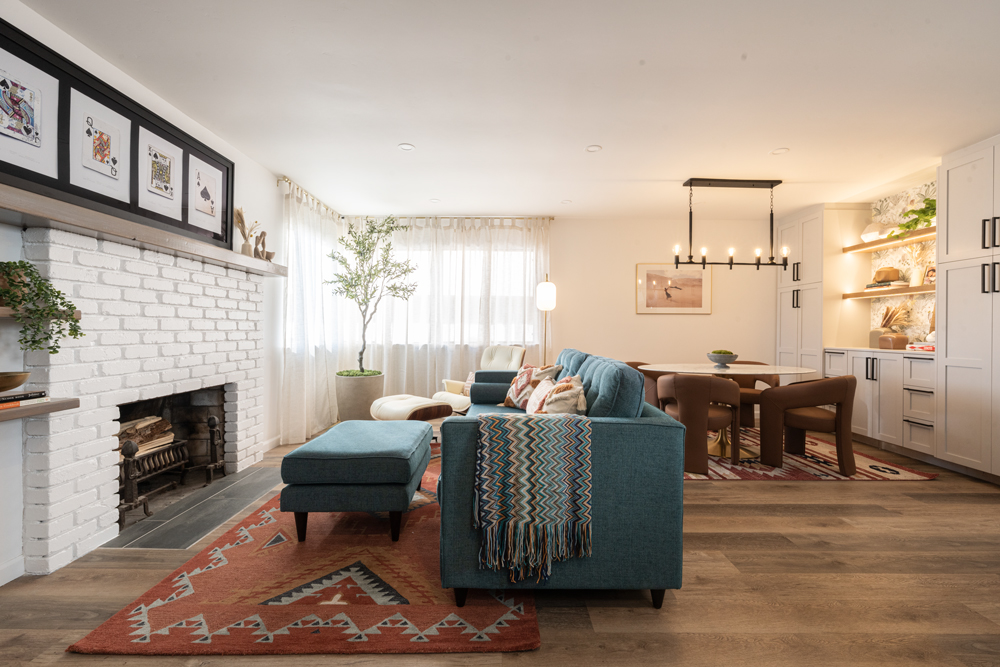
The power of KILZ 2® All-Purpose Primer did wonders for this open-concept living/dining room, where it helped to completely restore an old fireplace and brighten up the room. Rather than put the home through an expensive and time-consuming remodel, our pros reimagined the space and rejuvenated it for years to come with a few simple changes. DIY living room inspiration at its peak, this is a great example of how you can breathe new life into an older home while sticking to a budget.
See the full project here.
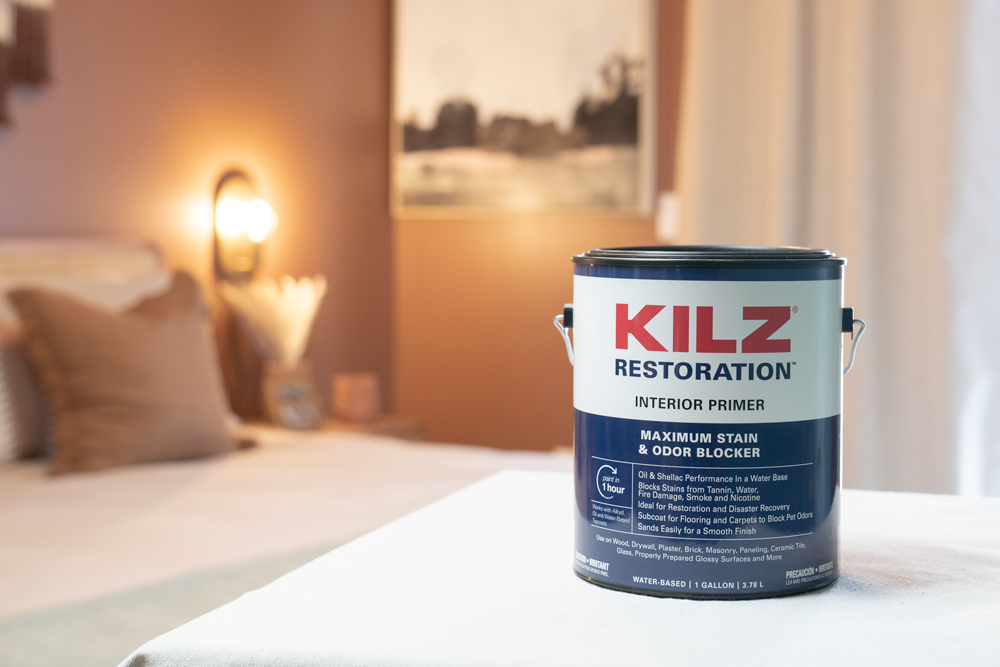
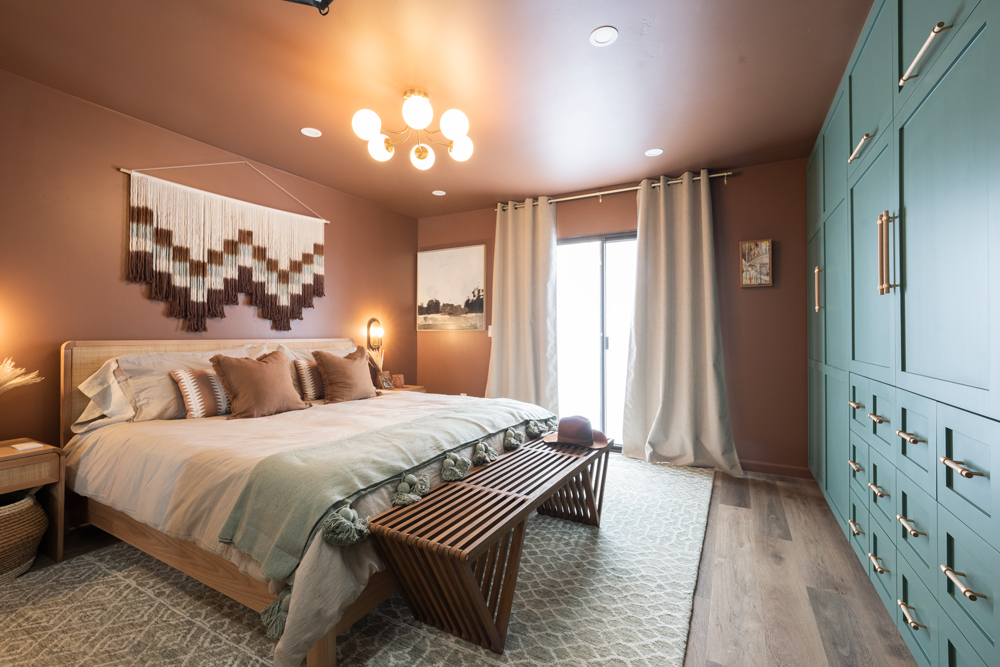
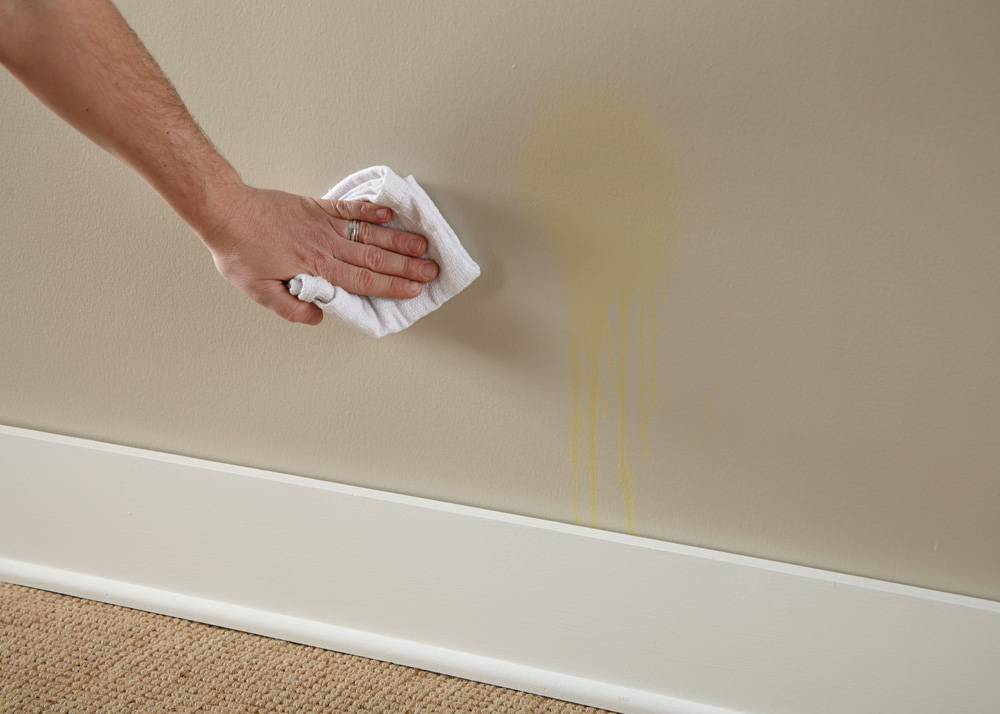
We finish our look back at the series with the primary bedroom remodel. This room’s biggest issue was that it had a large ceiling stain from water damage. Our pros didn’t let this stop them, and instead, used KILZ RESTORATION® Interior Primer to cover and seal the stain and a beautiful terracotta color paint to transform this room into a warm and luxurious space. To finish the look, they upgraded the old closet with a custom, built-in storage unit with a hidden TV display, painted in a complimentary forest green. We couldn’t be more pleased with the result, which reminds us of a chic and cozy desert retreat.
Note: The cause of the water damage had been remedied prior to our pros coming in to fix the cosmetic side.
See the full project here.
This was another great year for home makeover inspiration, and even though the year is winding down, our motivation is full steam ahead. Whether you’re taking it easy or busy organizing next year’s DIY game plan, we hope these projects inspire you to bring your dream home to life. Thanks for spending the year with us. We can’t wait to see what you choose to tackle in 2024.
Always remember to refer to our website kilz.com or product back labels for additional information on which primer is right for your project and detailed instructions on how to apply our products. Check out our Coverage Calculator to understand your estimated paint needs for your upcoming project.
RELATED ARTICLES
get inspired:
FOLLOw us:
@kilzbrand
SHOP
PRODUCTS
THE CASTLE COLLECTION: HALL BATH
August 3, 2023Welcome back to another color and room feature from The Castle Collection from Magnolia Home by Joanna Gaines®!
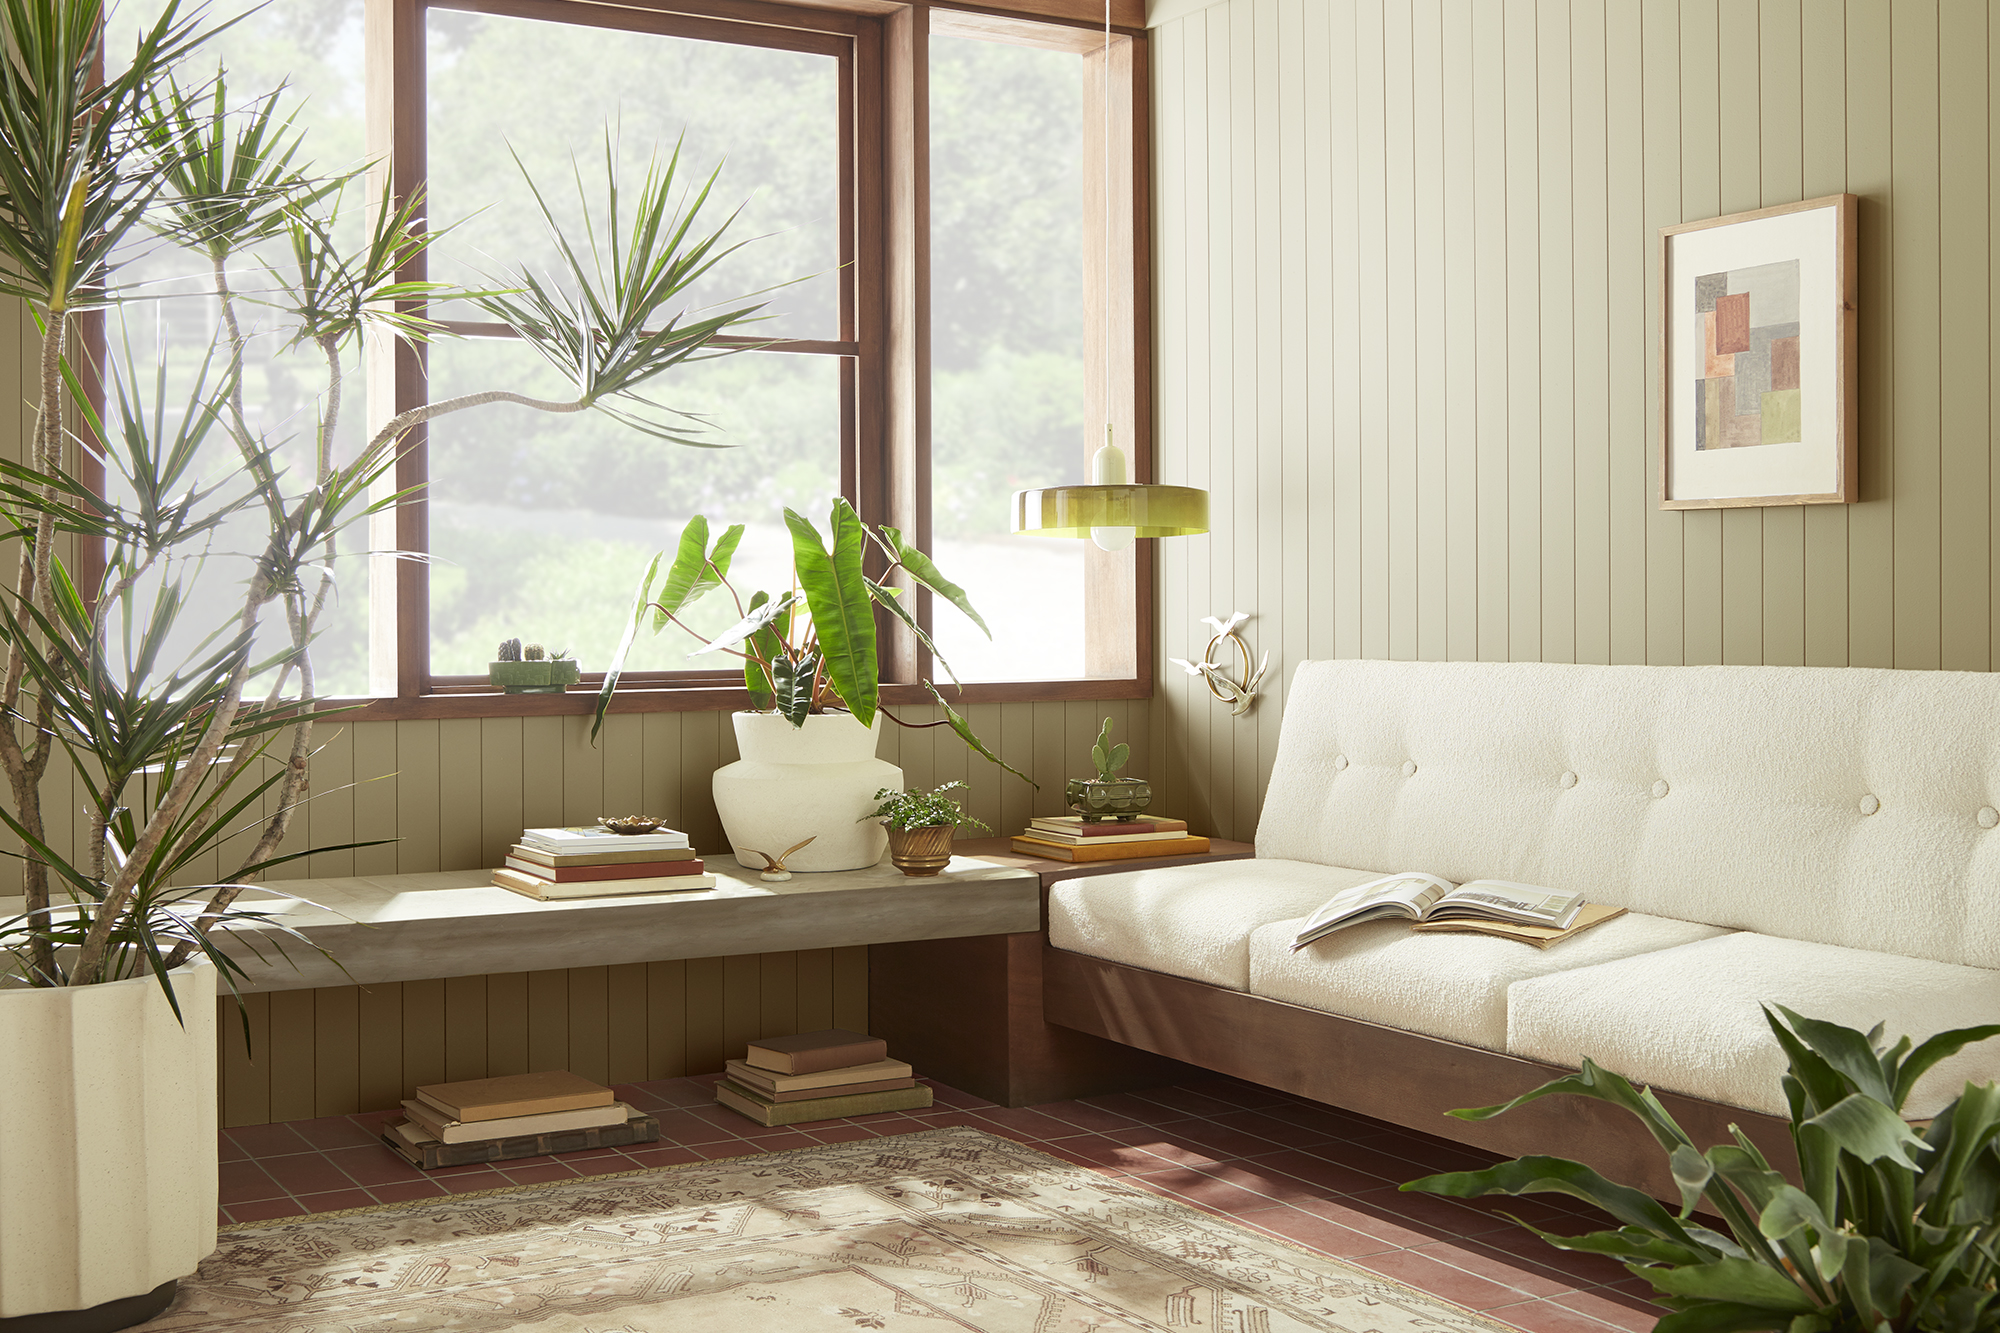
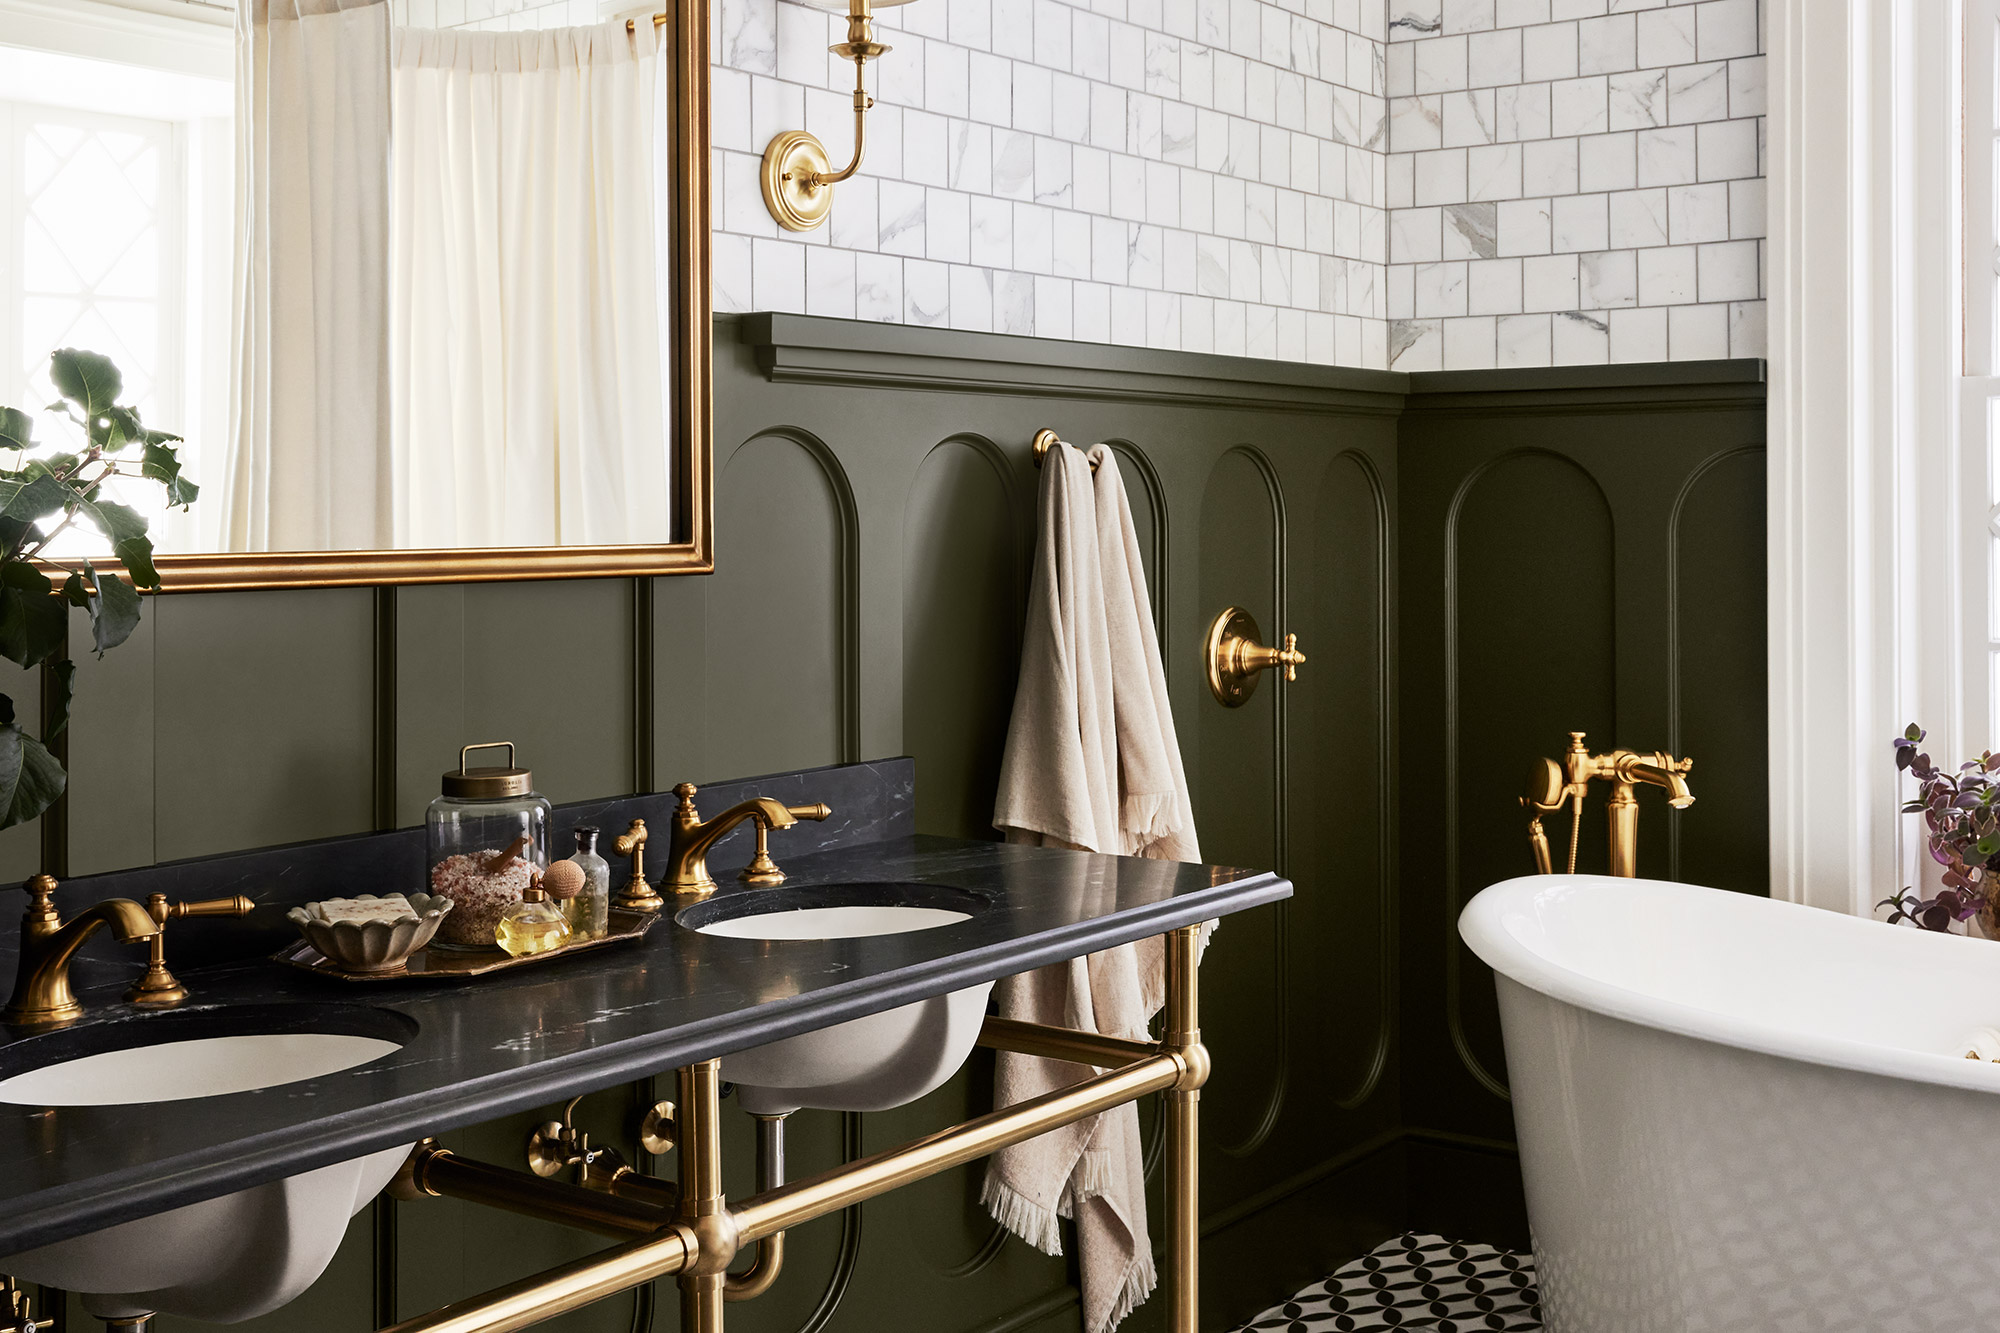
This time we will be talking about the hall bath. Even though sometimes overlooked, it serves not only as a functional space for guests and family members, but also as an opportunity to make a statement with design. This hall bath reflects both elegance and style while inviting a sense of serenity and relaxation.
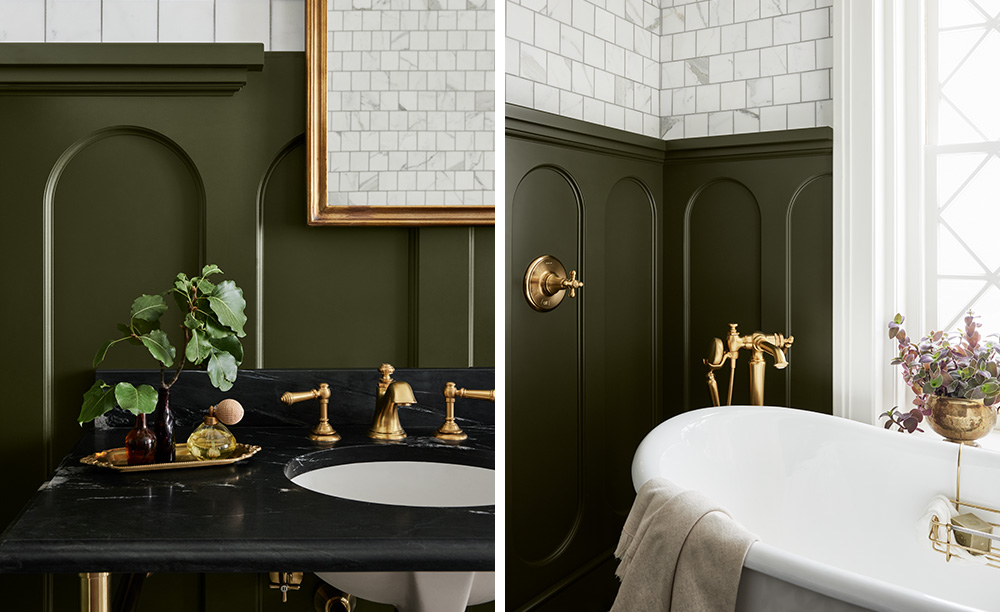
The Magnolia Home Castle Collection interior paint color, Step Stool Green, is a lively, deep olive that makes this bathroom stand out and invite you in. Using the Magnolia Home by Joanna Gaines interior paint on the board and batten, paired with white tiles, makes this room modern – yet full of the Castle’s original charm.
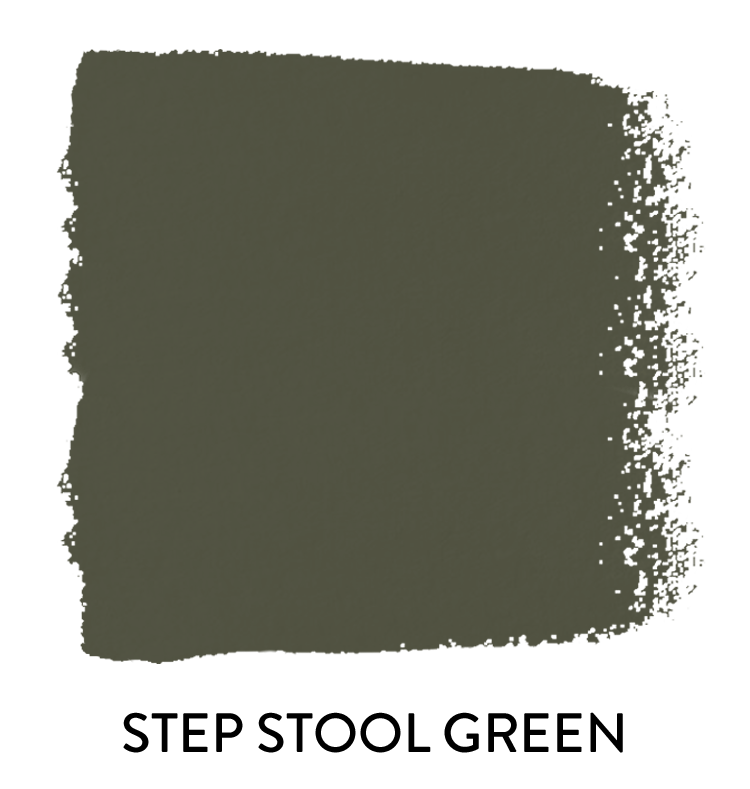
“Olive green, a bold and rich natural color, brings a comforting, earthy richness to any space.” – Joanna Gaines
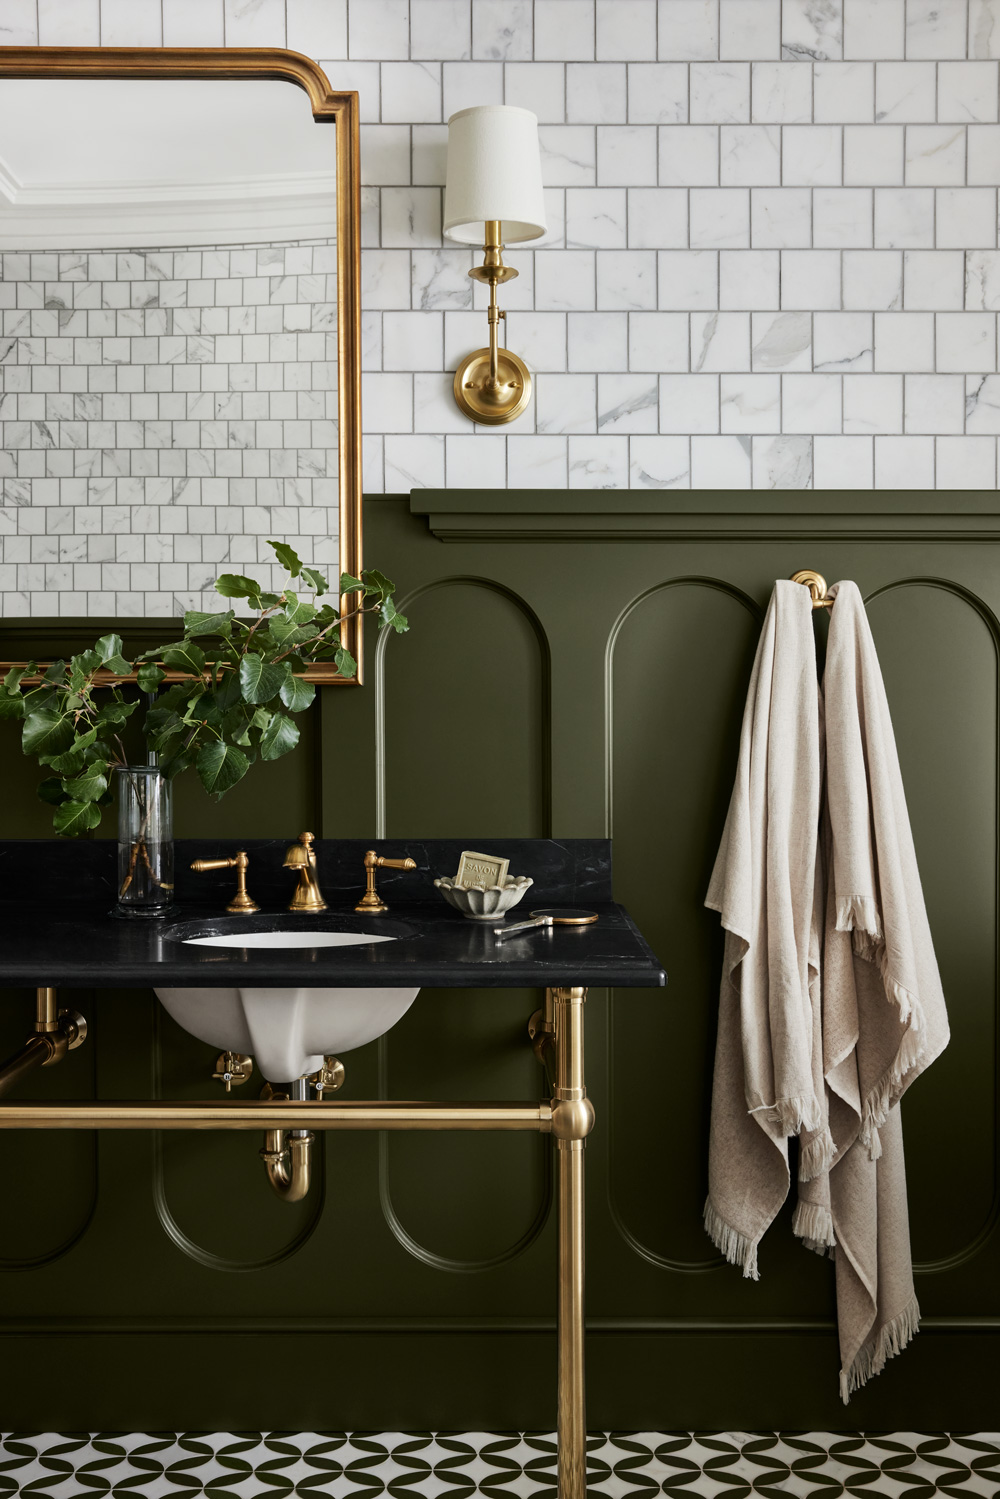
By selecting brass fixtures for the faucets, mirror, and lighting, and adding in some final decorative touches, the bathroom becomes one of the most transformative rooms in the castle. Paired with plants, antique décor and large windows for natural lighting, the Step Stool Green interior paint color from the Magnolia Home by Joanna Gaines Castle Collection was able to highlight the bathroom’s beauty while still maintaining its rich history.
With colors from the Magnolia Home by Joanna Gaines Castle Collection palette and the right materials, you too can transform a plain hall bath into a stylish oasis.
Check back here at the Perfect Finish to learn more about the rooms in the castle, and their specific colors and descriptions.
Read about the Drawing Room here.
Want to start a project using one of the Magnolia Home by Joanna Gaines paint colors? The palette below complements Step Stool Green and highlights its rich earthy tones.

Shiplap

Renewed

Landscape

Conservatory

Clean Lines
“Where can I buy Magnolia Home by Joanna Gaines Paint?”
These paint colors are now available at Ace Hardware, Lowe’s, and Magnolia.com/shop.
Always remember to refer to our website kilz.com or product back labels for additional information on which primer is right for your project and detailed instructions on how to apply our products. Check out our Coverage Calculator to understand your estimated paint needs for your upcoming project.
RELATED ARTICLES
get inspired:
FOLLOw us:
@kilzbrand
SHOP
PRODUCTS

Pro Spotlight: James Mansour Shows The Power of a Good Primer when Upcycling
June 30, 2023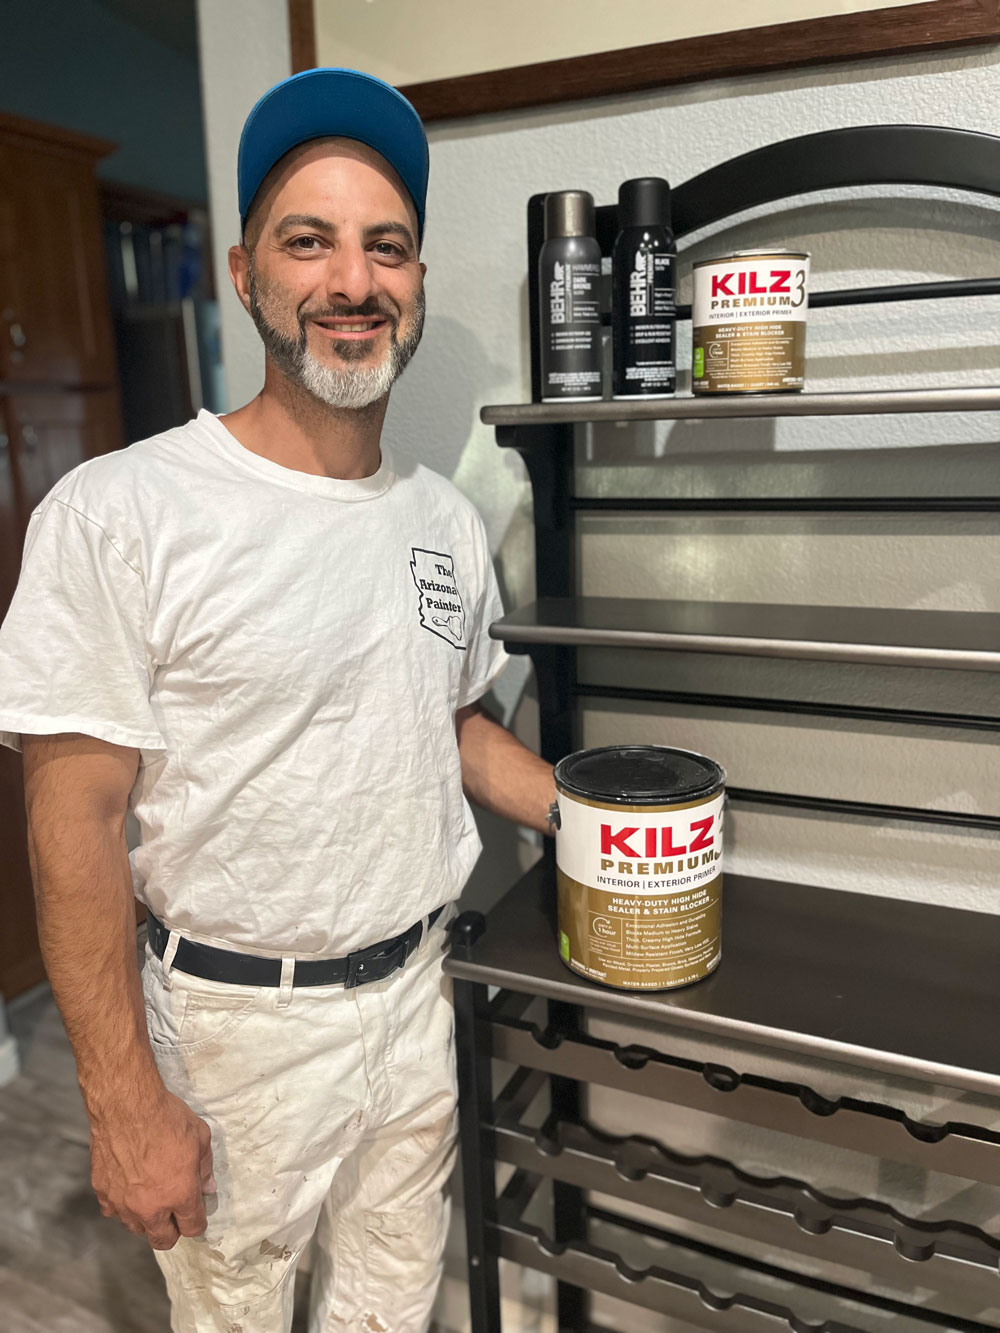 My name is James Mansour, and I am the owner and operator of Mansour Valley Painting in Mesa, Arizona. I also go by The Arizona Painter online where I work to educate and share my love of painting, including the intricacies of the craft. With over 20 years of experience, my company specializes in exterior and interior painting while always emphasizing the importance of proper prep work. I am partnering with KILZ to highlight one of my favorite products, KILZ 3® PREMIUM Primer. I chose a DIY upcycling project because I am a huge supporter of teaching my customers and online audience how to properly prepare surfaces for paint, and then use paint to completely transform an object or space.
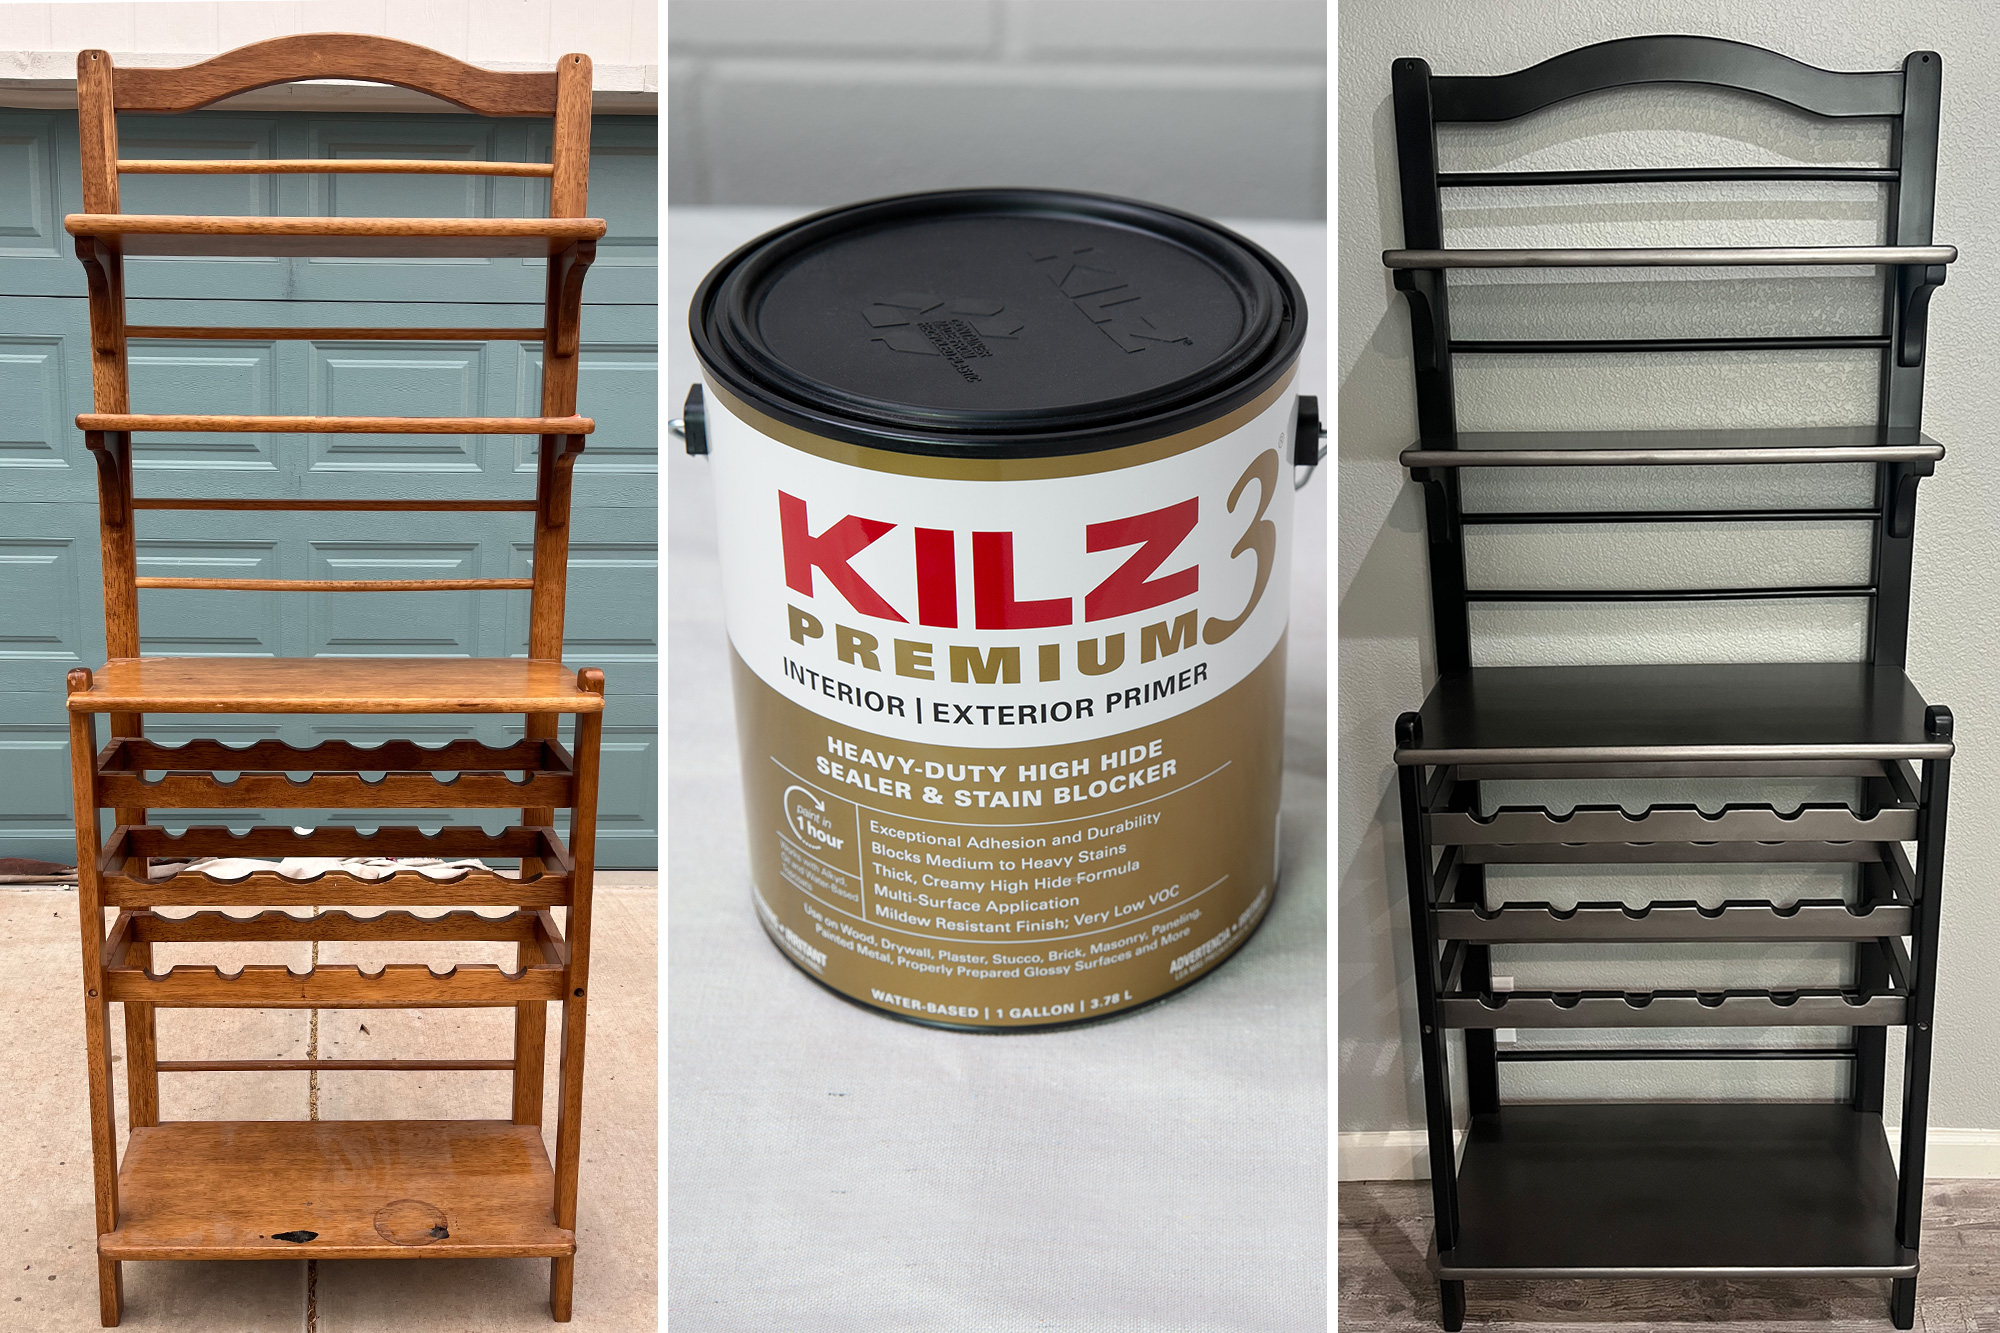
I love the idea of upcycling. Not only does it allow you the freedom to create a unique accent for your living space, but it is also sustainable and environmentally friendly. Upcycling is a term used to describe the process of repurposing old, unwanted things into unique, creative, and new items. By choosing to upcycle I am also contributing to waste reduction, conservation of natural resources, and allowing myself an opportunity to innovate. I knew I had to find the perfect piece for this project, so I started by paying a visit to a few local Goodwill stores. After much deliberation, I found a wooden wine rack that my wife loved. It was the perfect size and shape for the dividing wall between our kitchen and living room. In order to kick this project off right, I would need the perfect primer. I chose KILZ 3® PREMIUM Primer because it provides excellent adhesion, high-hide coverage, and excellent stain-blocking performance, making it the ideal primer for surfaces like wood.
Along with the KILZ 3® PREMIUM Primer, I used the following supplies to get started: a scrubber pad, 220 and 320-grit sandpaper, latex gloves, drop cloths, and mineral spirits. As a helpful tip, be sure to properly follow the safety instructions listed on the product labels or online for the correct application and use of the products.
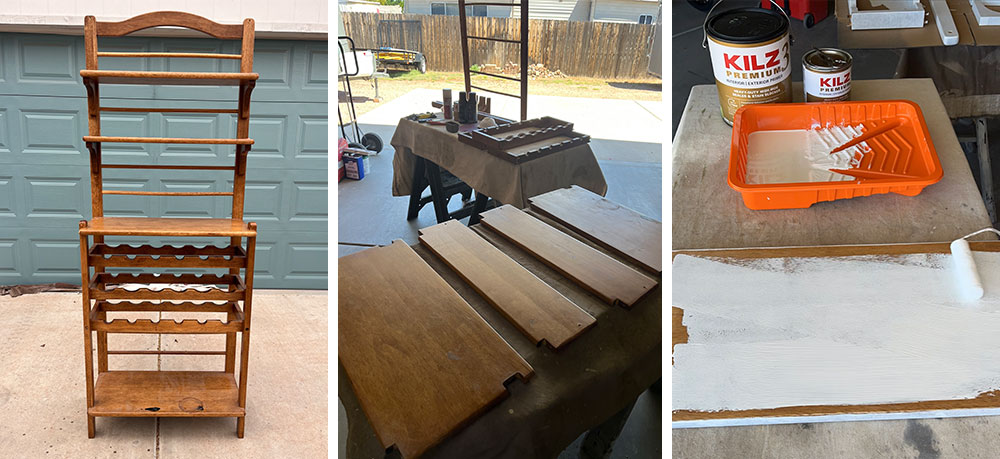
Setting up my workspace was the next step. I used two tables to hold each piece of the wine rack after the disassembling process. With a screw gun in hand, I broke the wine rack down into individual pieces. I then used 220 grit sandpaper to remove the current finish and wiped each piece clean with mineral spirits, preparing them for the first coat of primer. I used a small ½-inch thick roller nap to apply KILZ 3® PREMIUM Primer. After allowing it to dry for only an hour, I lightly sanded all surfaces again and then was able to apply a second coat using the same size roller nap. Due to the mil thickness of the primer, it fills in the wood grain and any small scratches and imperfections in the wood, providing a perfectly smooth surface for paint application.
Since this piece will get used quite often, the superior adhesion provided by KILZ 3® PREMIUM Primer will prevent the topcoat from scratching and chipping, ensuring a longer lifespan. After the surface was properly primed and restored, I allowed it to dry for 24 hours. Once completely dried I used 320 grit sandpaper to smooth down all surfaces in preparation for the topcoat. For this project, I decided to use BEHR PREMIUM™ Spray Paint in Black Satin for the main legs and shelf brackets. Then I used BEHR PREMIUM™ Spray Paint with a Hammered Finish in Dark Bronze on the shelves and wine racks to give the piece more visual interest with a two-toned finish.
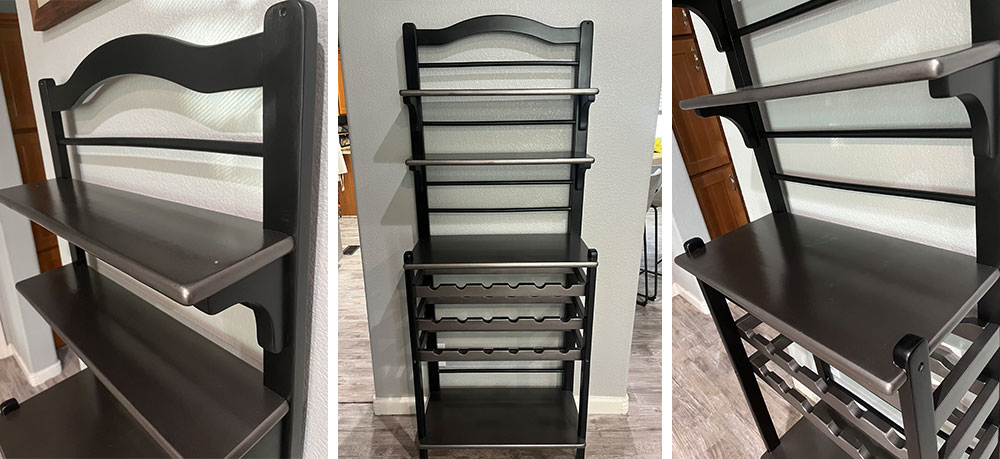
Finally, after another 24 hours of drying time, the rack was ready to be reassembled. It is important to give this additional cure time to make sure the surface is completely dry, and all the products are working together to provide the sleek, durable, and long-lasting finish I hope to get. Taking the time to prepare the surface properly helps save time and money as KILZ 3® PREMIUM Primer offers dependable and consistent results. Placing the piece in the perfect location on the divider wall, I felt I had achieved my desired outcome. It was another job done right with an Instagram-worthy finish, and a piece I can be proud of for years to come.
Thanks for joining me on another project,
James Mansour
The Arizona Painter
To learn more about primer solutions, visit kilz.com.
Always remember to refer to our website kilz.com or product back labels for additional information on which primer is right for your project and detailed instructions on how to apply our products. Check out our Coverage Calculator to understand your estimated paint needs for your upcoming project.
RELATED ARTICLES
get inspired:
FOLLOw us:
@kilzbrand
SHOP
PRODUCTS
What’s Really in the Can? Primer vs Paint & Primer in One
June 29, 2023Primer vs. Paint and Primer: Can All-in-One Do It All?
If you can skip a step in the painting process and still get the same results, it seems like a no-brainer. Many paint and primer in one (PPIO) products boast this claim, but should you always combine these steps and skip using a separate primer?
When to Choose a Self-Priming Paint
The benefit to using PPIO is that you can achieve similar results in less time. However, there are some things to know before you choose to go this route.
PPIO can work for some jobs, but different products will give you better results depending on the situation. For example, PPIO can work well on pre-painted surfaces without a drastic change in color or texture. However, this is possibly the only reason to choose it.
Why You Should Prime Separately
The goal of any primer is to prepare the surface for a coat of paint. This ensures good adhesion to the substrate and the topcoat. You may also need to block stains and odors, protect walls from mold or mildew growth, change the color, or refresh an old or damaged surface. Be mindful of the nature of your job before deciding to forgo primer as a first step, as it is often explicitly formulated to alleviate many of these surface problems, whereas an all-in-one product is typically not.
When to Choose a Primer
Suppose a surface has never been painted, as with drywall, a traditional primer is a must. If painting a glossy surface with less glossy paint, priming beforehand will ensure adhesion, and your results remain uniform. Priming separately is essential if painting over oil-based paint with acrylic or latex.
Other cases that require a primer before paint include:
• Any bare surface
• Porous surfaces
• Raw, unfinished wood
• Knotty wood
• Woods with tannins – like Cedar or Redwood
• Uncoated metal
• Unfinished drywall
• Masonry
• Stained surfaces
• Slick surfaces – like tile or laminate
Summary
Whether you choose to go the all-in-one route or choose a separate primer and paint, choosing high-quality products suited for your surface’s condition is crucial. KILZ® primers are formulated for your specific surface issues, such as KILZ RESTORATION® to block tough stains like water damage or KILZ® MOLD & MILDEW to create a mold and mildew-resistant film for use in high-humidity rooms. KILZ 3® PREMIUM is designed to have a thicker formula to improve customer experience and hide. No matter the surface, you can be sure there’s a primer formulated for the job. When you consider how much time and money you invest in your project, choosing the best quality products from the start makes all the difference.
Come back for more tips, tricks, and inspiration, and as always, happy DIY-ing.
Refer to our website, kilz.com, or product back labels for additional information on which primer is right for your project and detailed instructions on applying our products. Check out our Coverage Calculator to understand your estimated paint needs for your upcoming project.
RELATED ARTICLES
get inspired:
FOLLOw us:
@kilzbrand
join the conversation:
SHARE this post: