Tag: Primer
Seal & Block Odors
August 26, 2019There is a lot to love about pets and the KILZ brand loves furry friends. That’s why we’re excited to celebrate National Dog Day on August 26! In honor of the upcoming holiday, we thought it was a great time get real about odors – pesky pet odors that is.
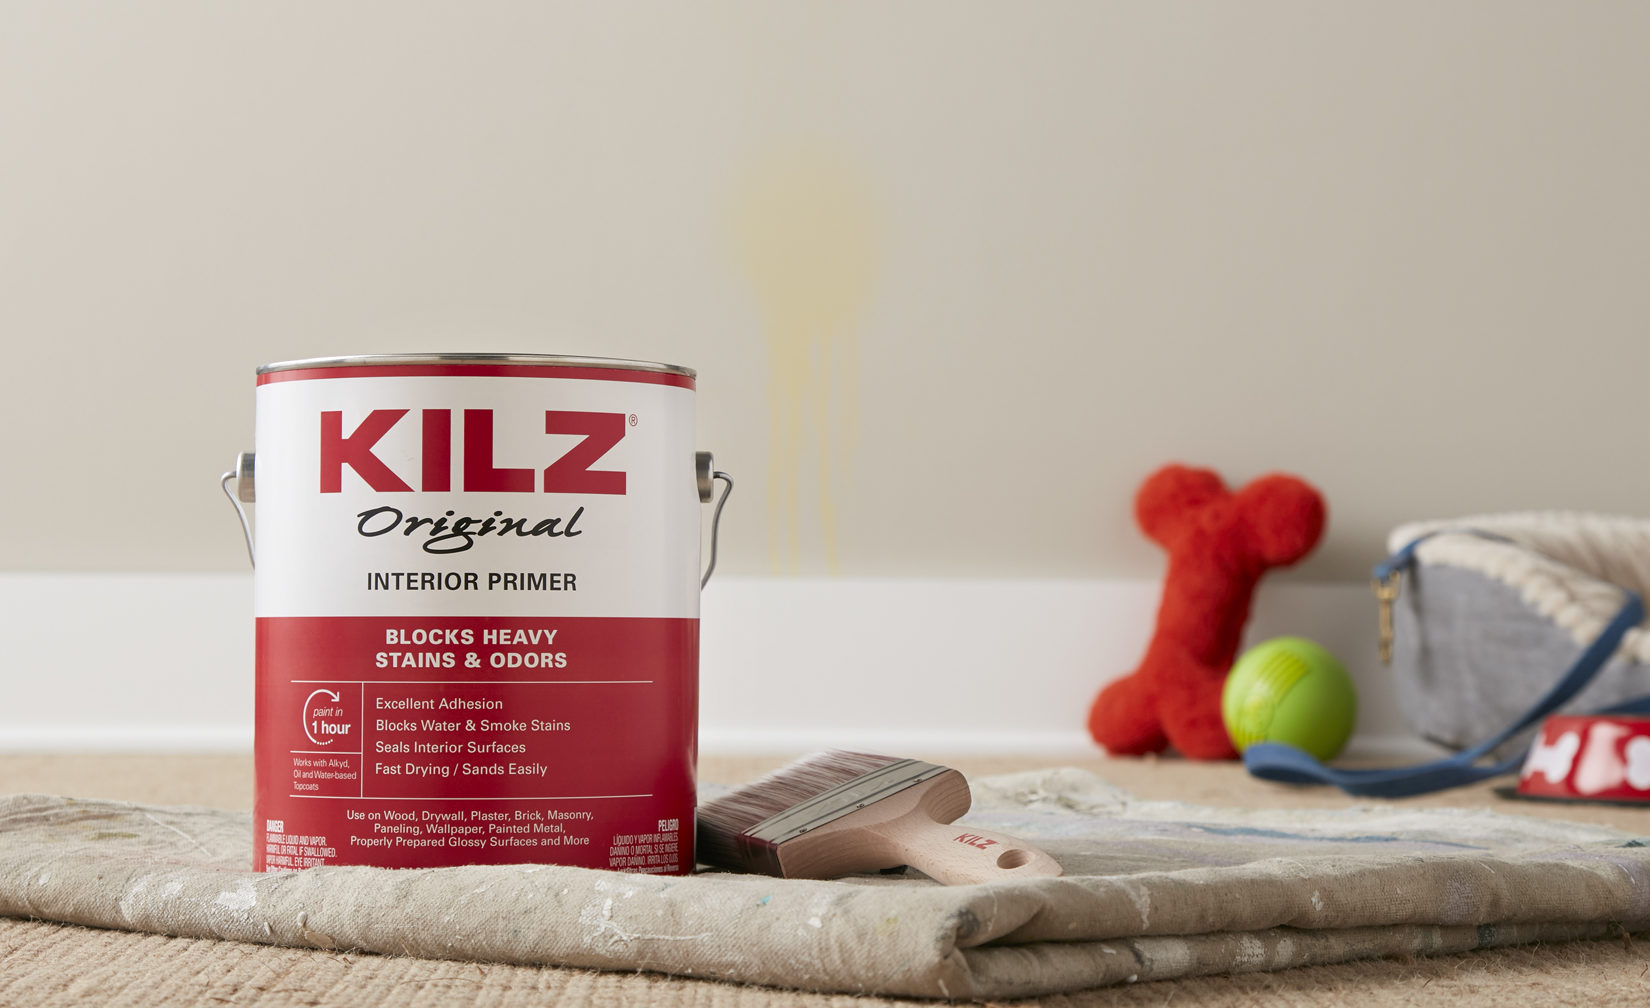
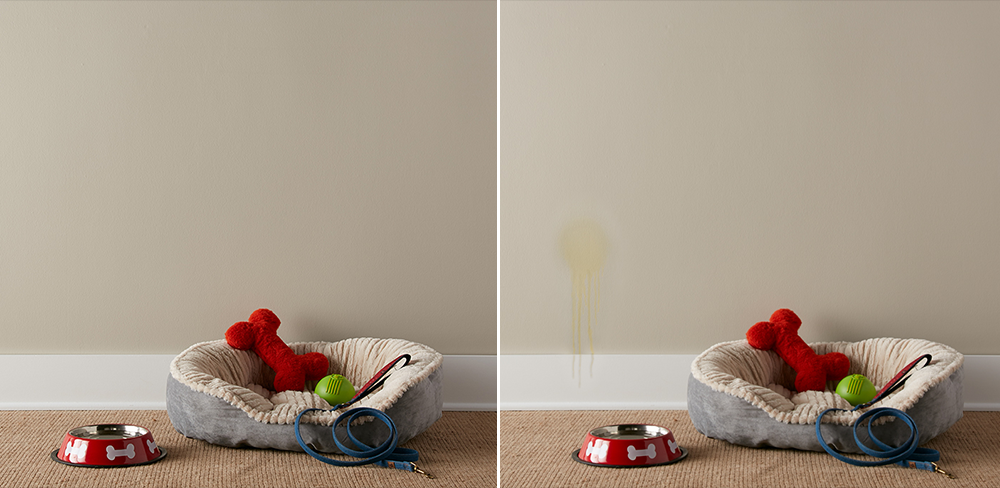
While more than a few KILZ brand team members share our homes with dogs or cats, no one likes their home filled with unpleasant stains or odors left accidentally by the family pet. Seemingly hard surfaces in your home including floors and walls can actually absorb stains and smells, making it that much harder to get your place smelling and looking fresh after the dog has made a mess. Luckily, there are KILZ® Primers formulated specifically to seal and block odors.
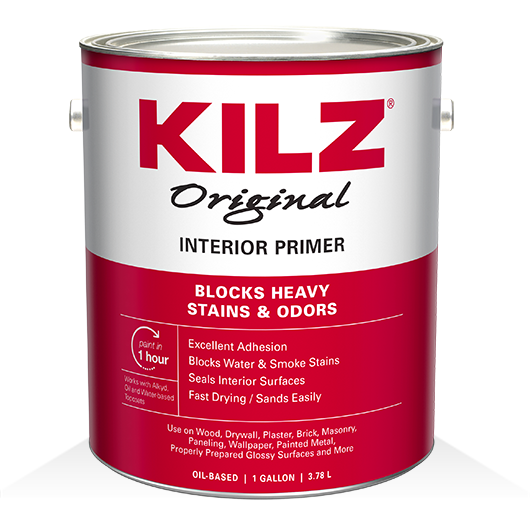
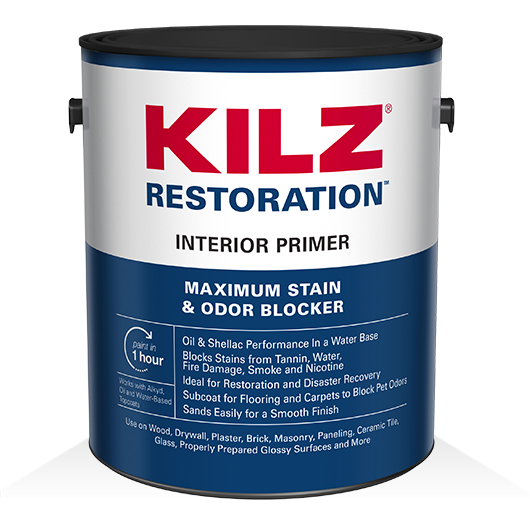
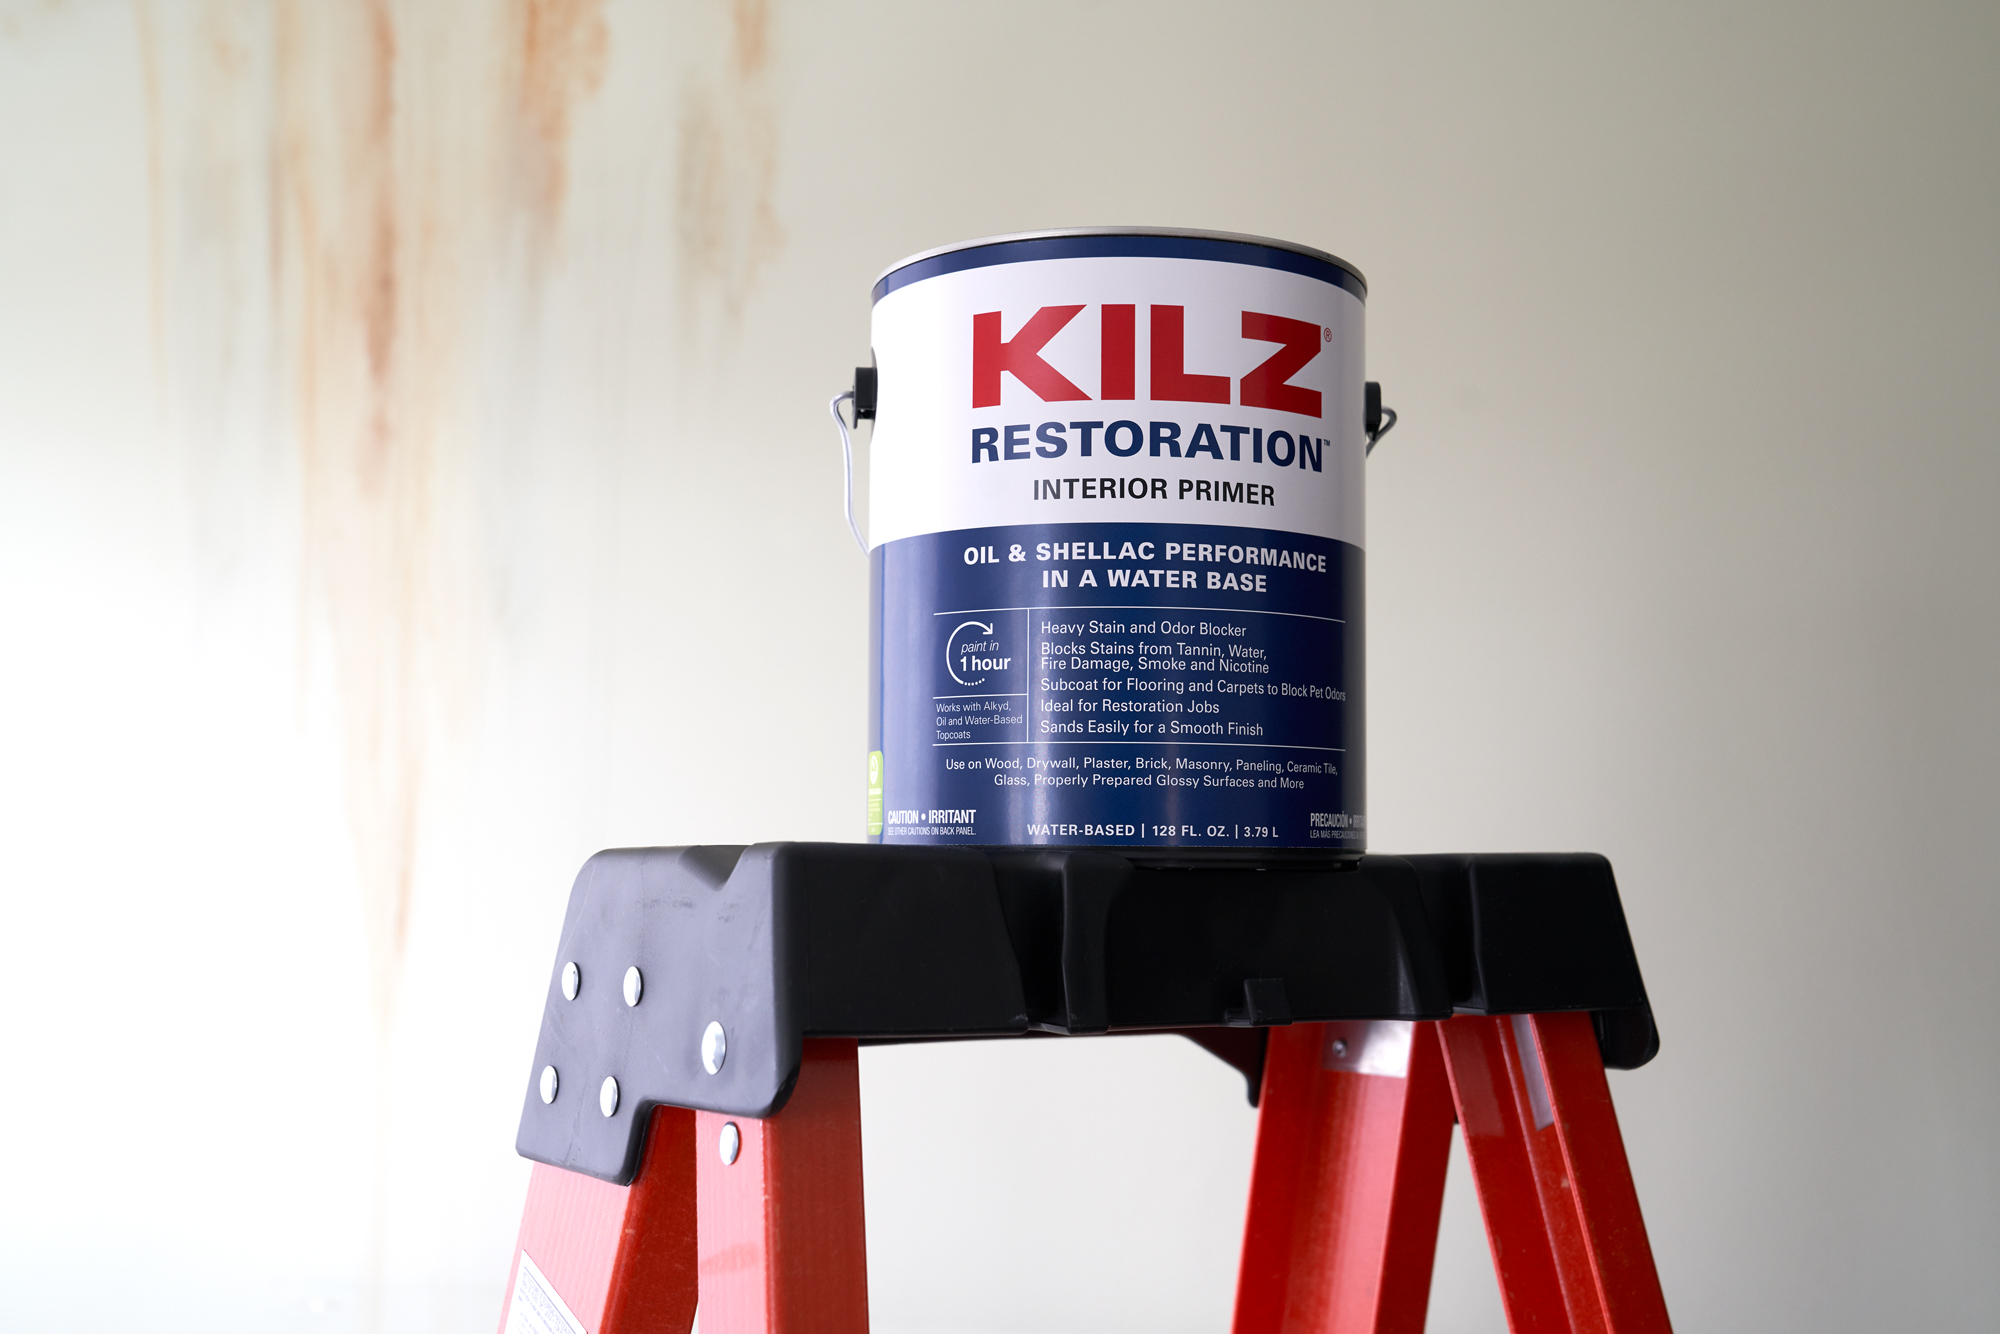
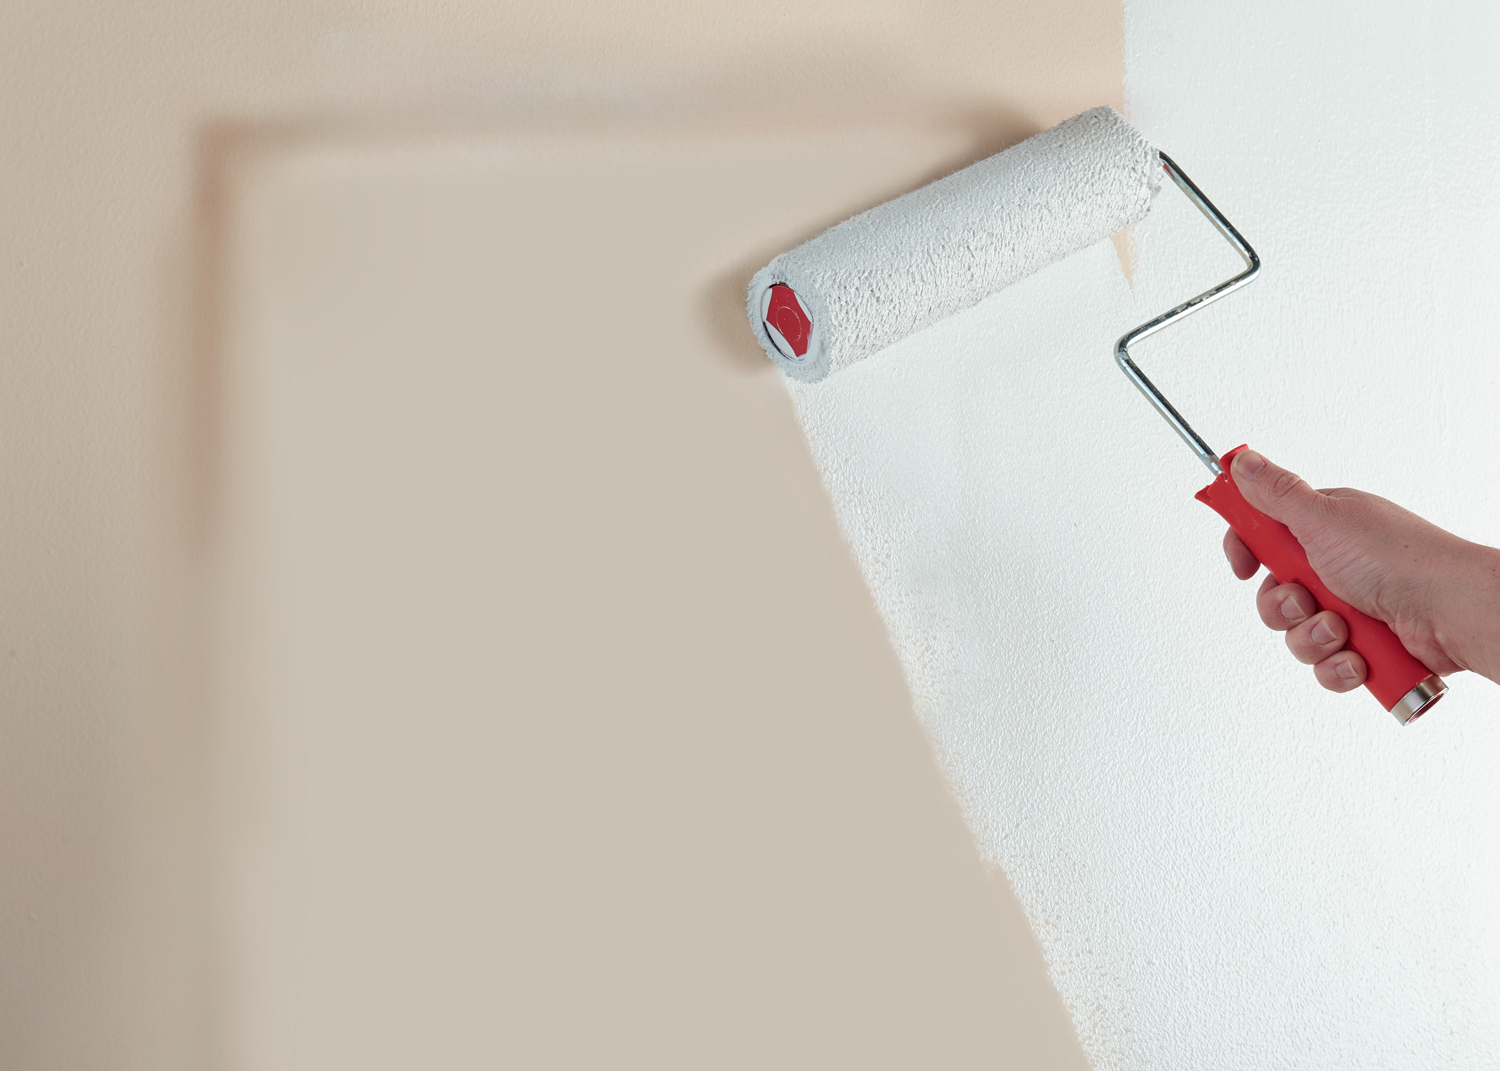
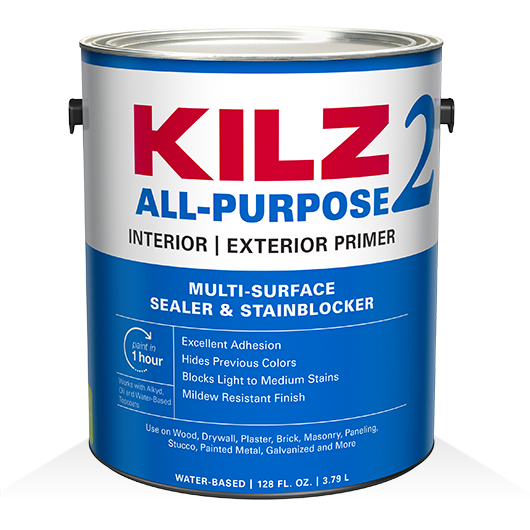
Simply painting over a blemished wall won’t always do the trick and you can be left with stains (and smells!) seeping through. Using the right primer before painting over a pet stain helps with providing a barrier that keeps odor from penetrating the new paint. A great choice for this purpose is KILZ® Original primer. Trusted by professional painters for over 40 years to tackle the toughest odors, this hardworking primer helps to block most heavy interior stains including water, smoke, tannin, ink, marker, pet stains and more. And if you’re looking for a water-based primer that can help seal and block odors, KILZ Restoration™ primer is a top pick.
If you’re in need of ridding your home from unpleasant stains and odors, keep on reading. We’re sharing the simple steps below to tackle odors, repaint and leave your home fresh as new!
Steps to Seal & Block Odors:
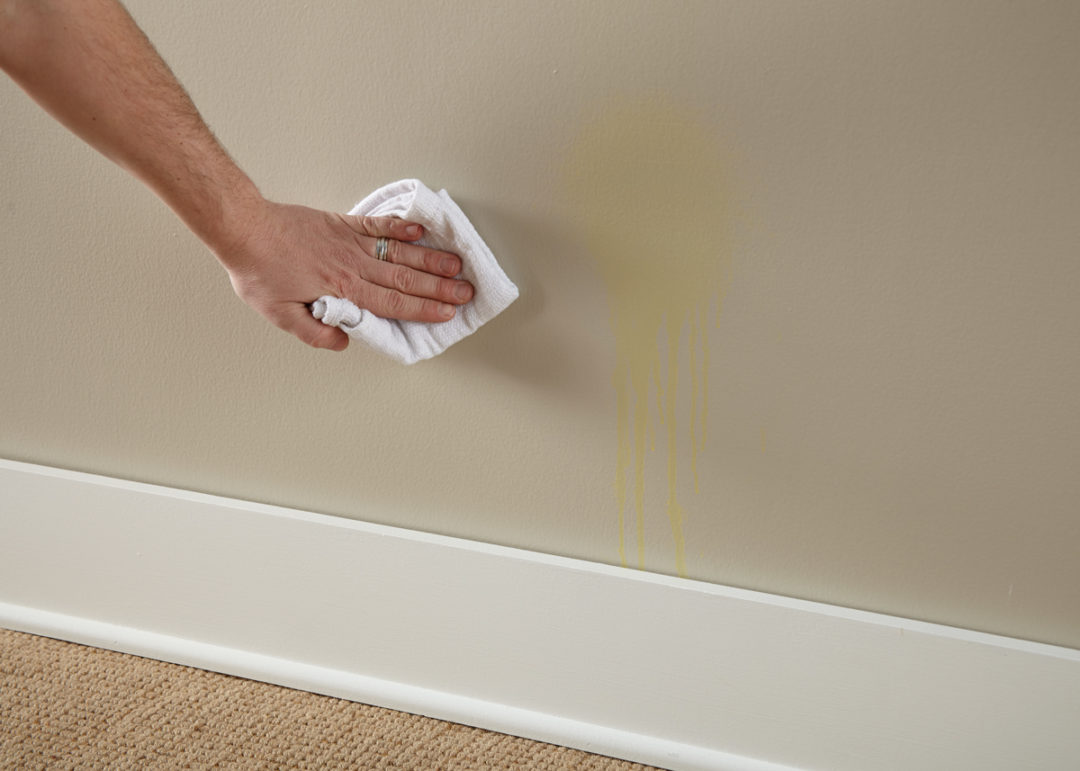
Step 1:
Wipe down the wall with a damp cloth to ensure it is clean and free of dust. Allow the surface to dry. Ensure adequate cross-ventilation prior to priming.
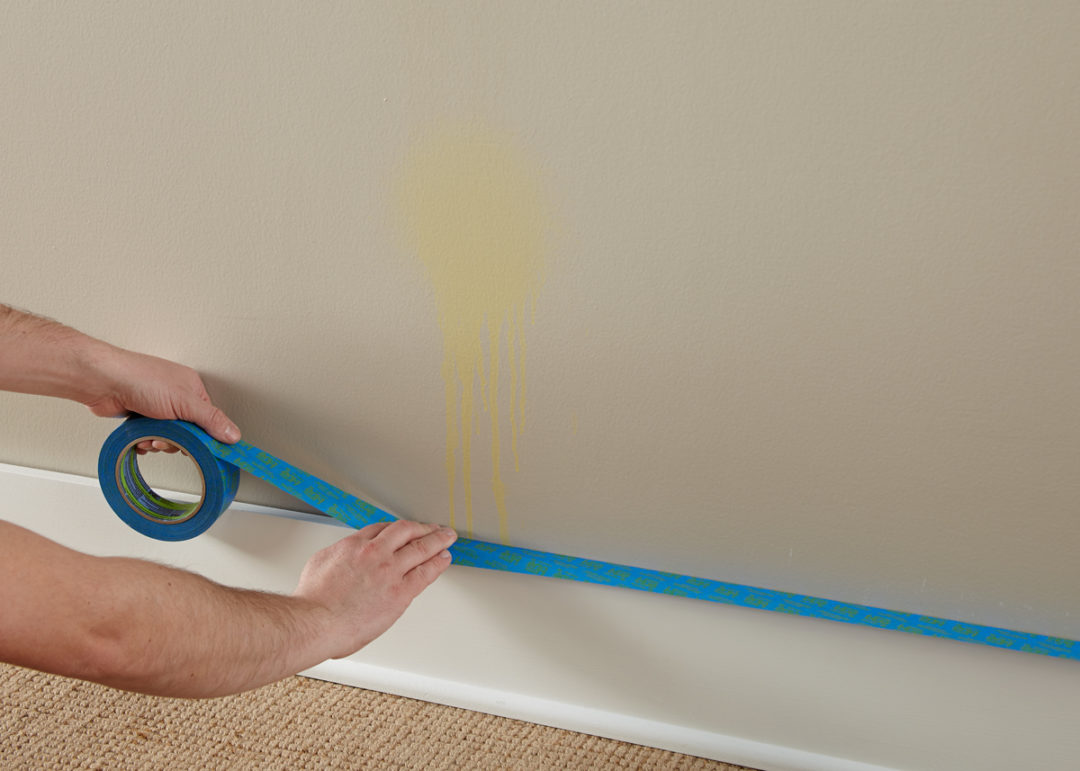
Step 2:
Tape around any baseboards, trim and moldings.
Step 3:
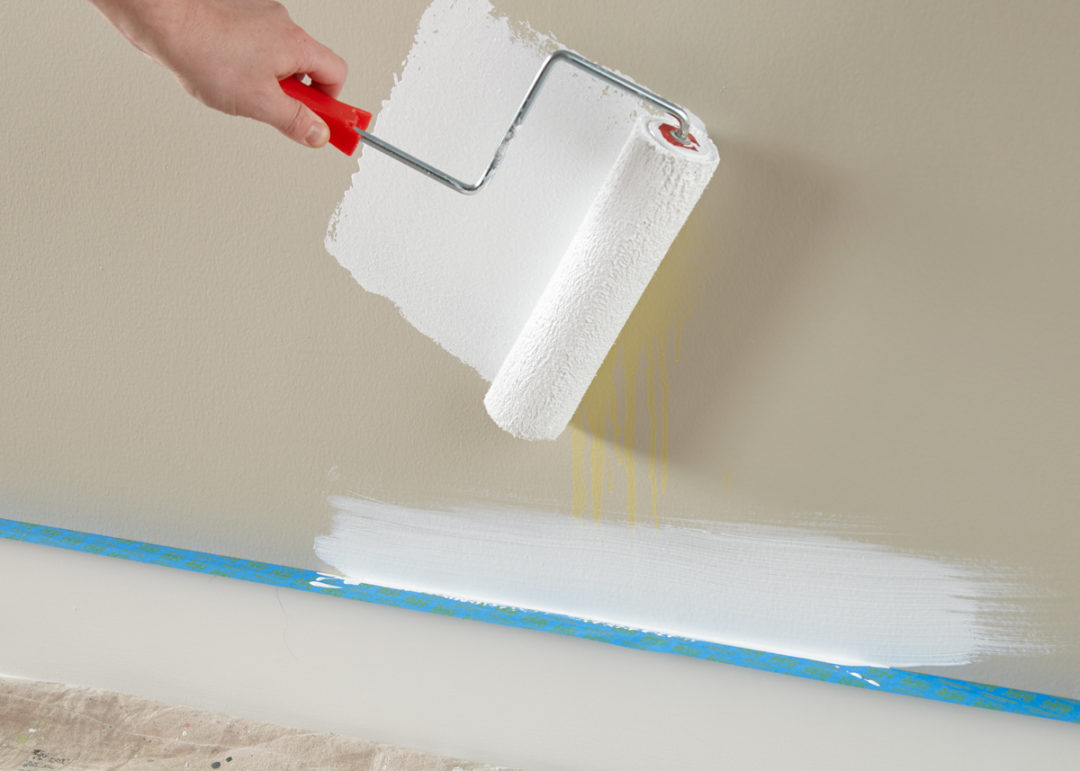
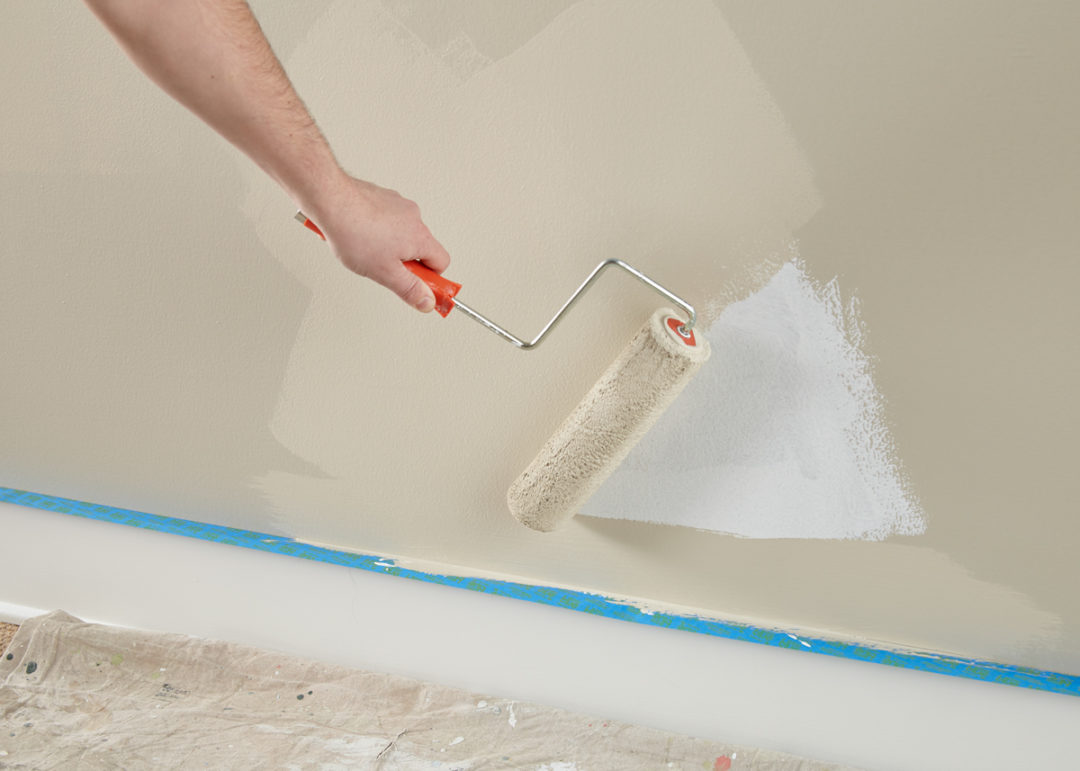
To seal and block pet odors and stains, apply KILZ® Original primer. Stirring prior to and during use, apply primer using a brush first to “cut in” around the edges, then use a roller to fill in.
Step 4:
Once primer is dry (allow 1-hour dry time), apply a fresh coat of paint using the same application method as the primer – using a brush first to cut in around the edges 4 to 6 feet at a time, then use a roller to fill in those sections before moving along.
Step 5:
Remove tape prior to paint fully drying and your work is done.
RELATED ARTICLES

get inspired:
FOLLOw us:
@kilzbrand
Colorful Kitchen Cabinet Transformation
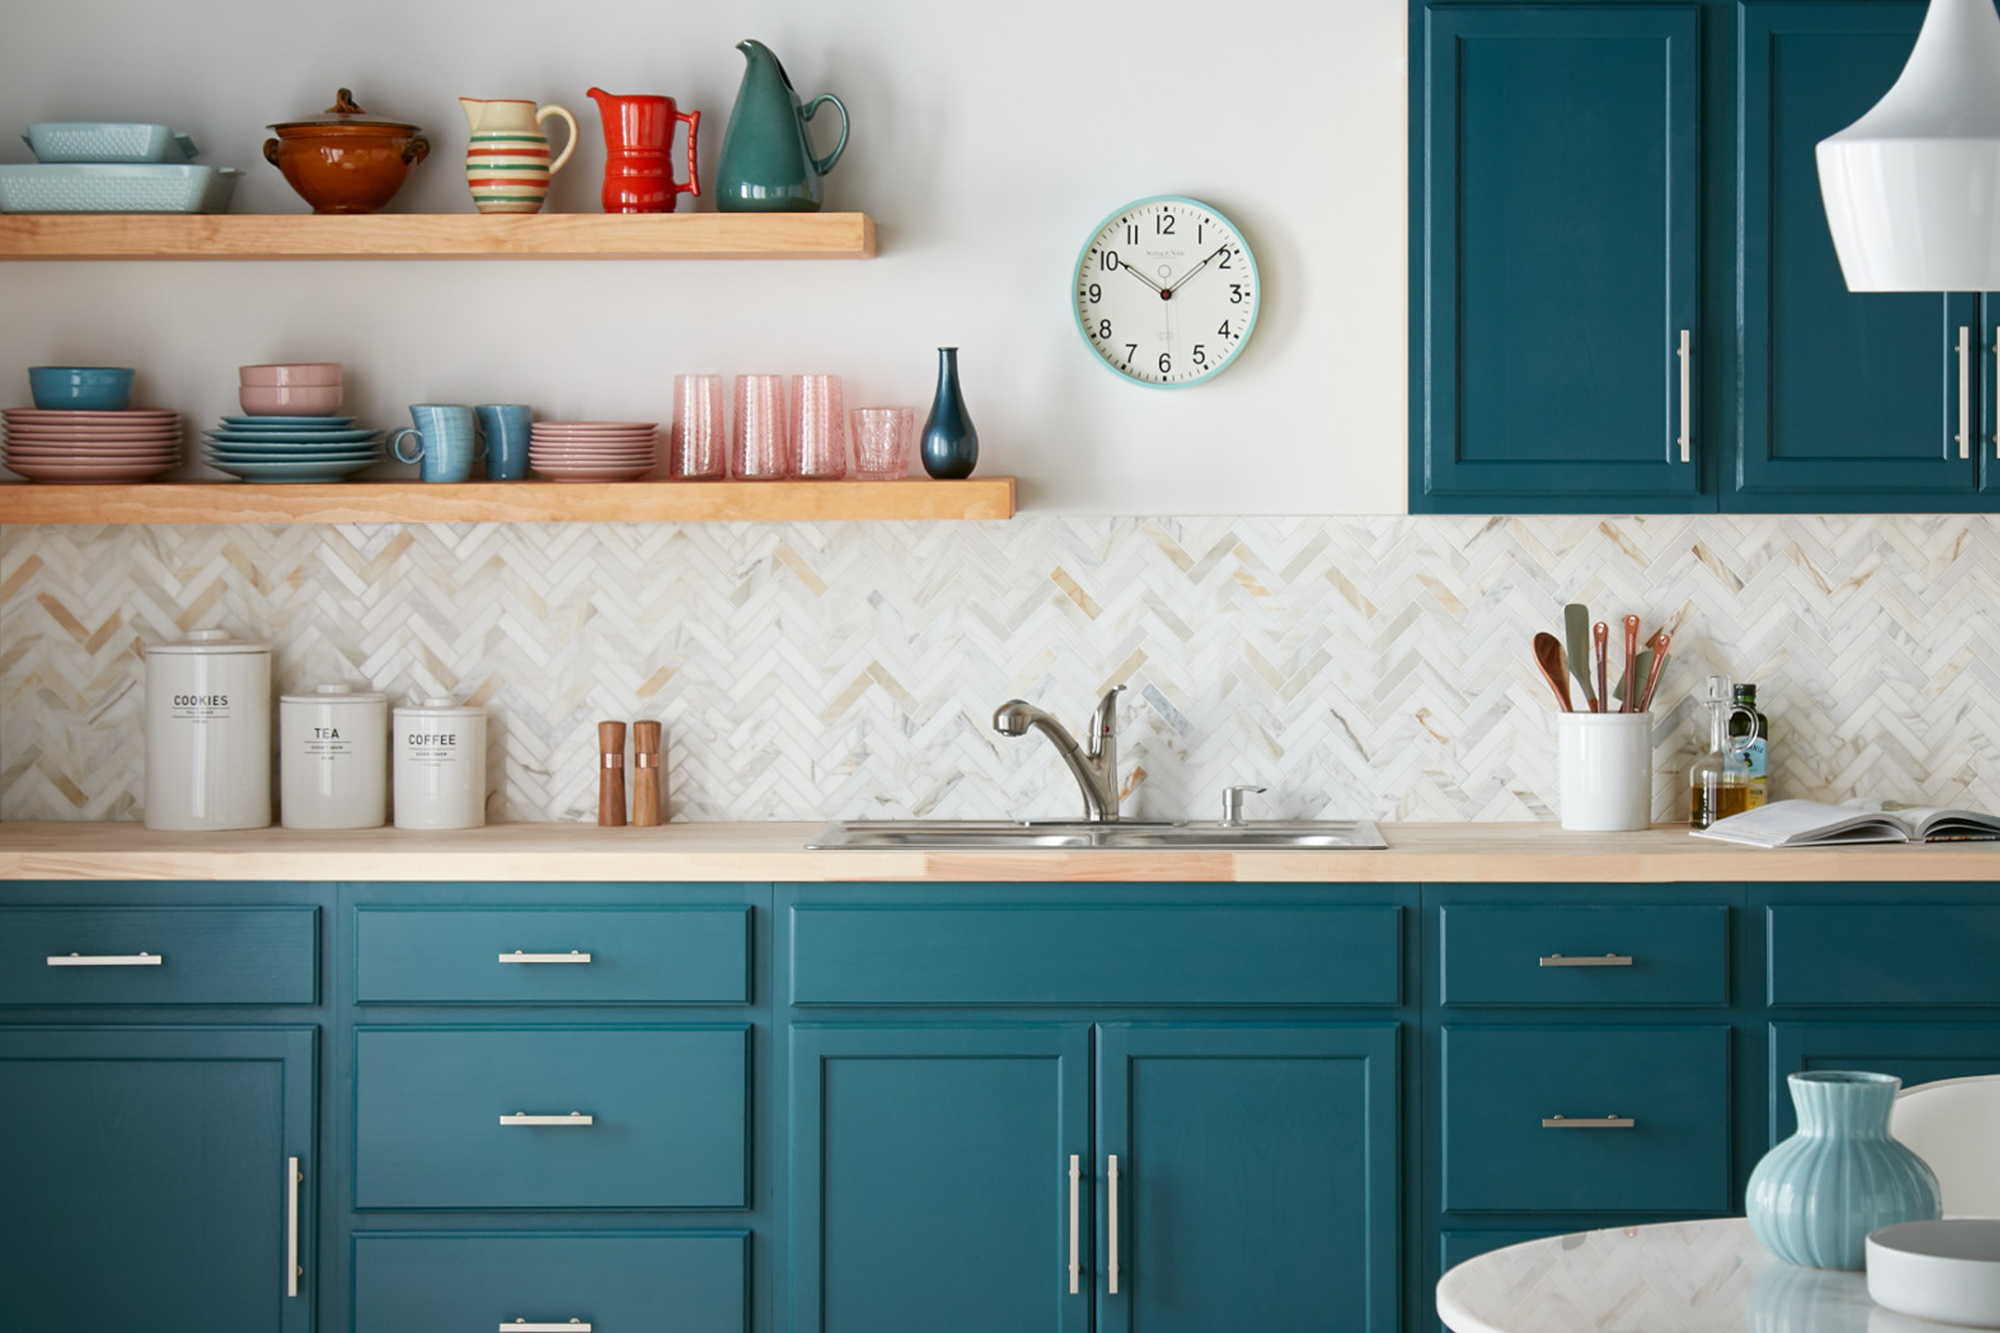
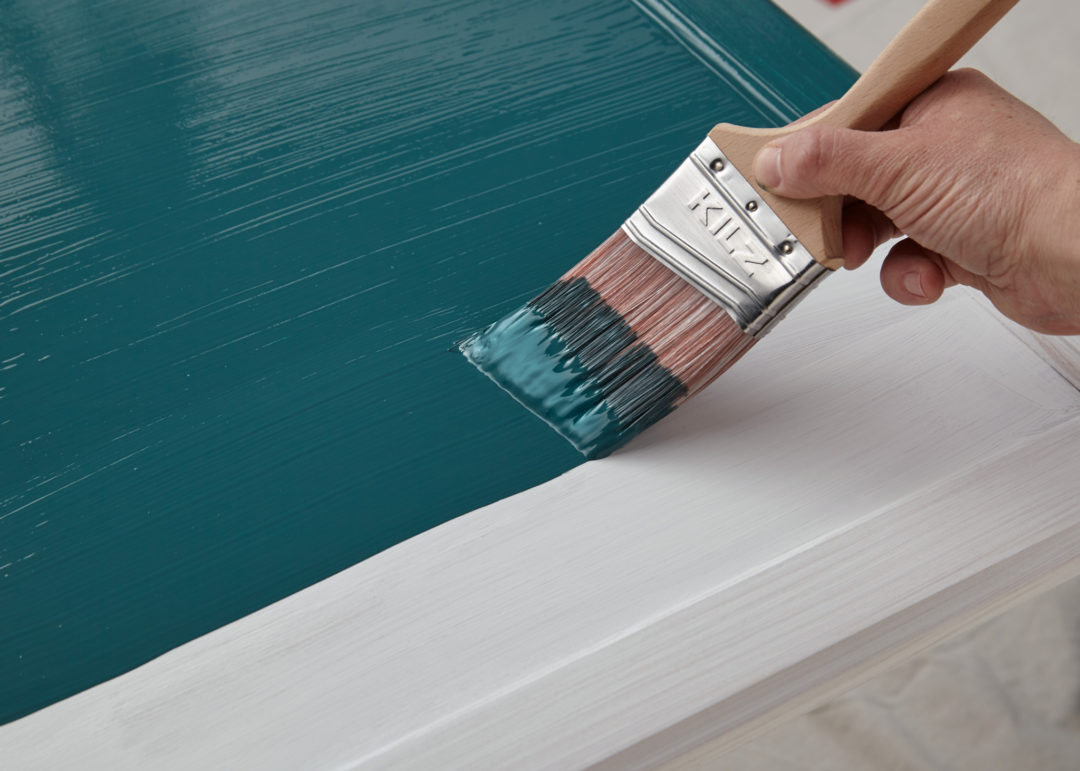
August 1, 2019Have you been cooking up ideas for your dream kitchen but don’t know exactly where to start? While the cabinets might seem like a daunting place to begin, a fresh coat of paint and primer on this area of your kitchen can result in a dramatic transformation. The kitchen cabinets are also an area of the home where you can have fun with color – from bold blues to moody blacks, colorful cabinets can be as on-trend as they are timeless.
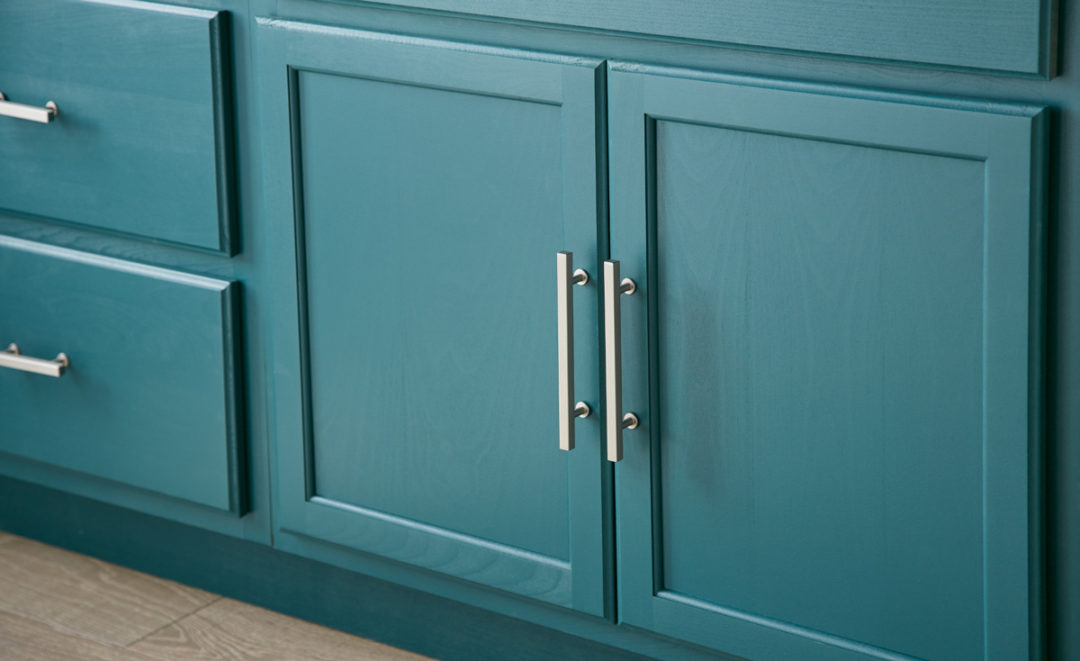
This month we’re bringing you a dash of inspiration and a pinch of proper prep work, served up in a stunning kitchen cabinet transformation. To take this sunny space from boring to brilliant, we chose Oceans Deep for the kitchen cabinets. The dark bluish green with gray tones is subdued enough to cover a large area but still results in a space with a ton of personality. Oceans Deep is available in the KILZ® Tribute® paint line, a low VOC paint that offers excellent stain-blocking performance and durability – both necessary qualities for an area where sticky fingers and spills are inevitable!

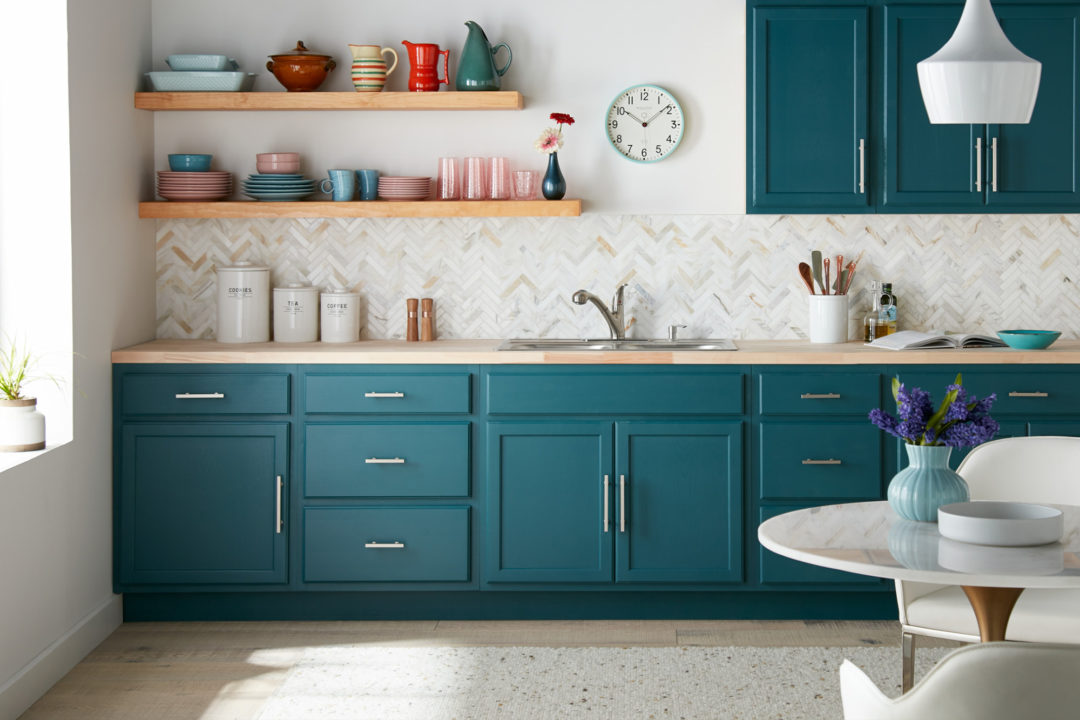
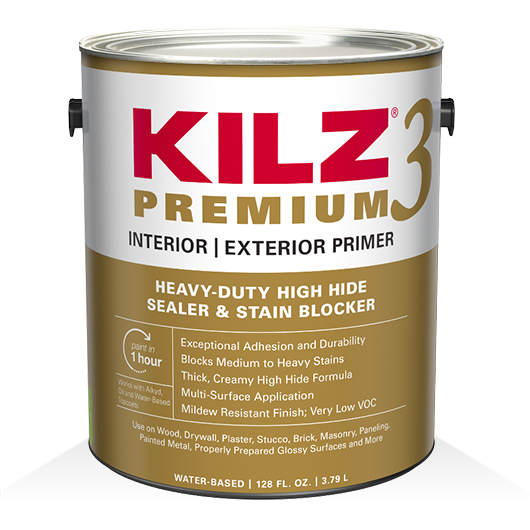
Equally important as color choice in this kitchen cabinet makeover was the primer selection. Since kitchens are prone to excess moisture and humidity, that also means that mildew can quickly become an issue. To ensure our cabinets would stay fresh for years to come we chose KILZ 3™ Premium primer, a fast drying, low odor and very low VOC primer that provides a mildew resistant coating.
Any professional painter will tell you that proper prep is key to the success of your project, and cabinets are no exception. If you’re ready to get started on your own kitchen transformation, below are instructions detailing how-to prime and paint your kitchen cabinets.
Step 1:
Use a screwdriver to remove the cabinet doors and drawers from the cabinet frame.
Step 2:
Remove all door handles and hardware. It’s always best to put each screw back exactly where it came from to ensure the least amount of stress on the wood.

Pro-tip: Put the screws back into the hardware, then seal the hardware and screws in painter’s tape and label it.
Sand the surfaces of the doors, drawer faces and cabinet frame. Do a first pass with 100-150 grit sandpaper then finish with a second pass of 180-220 grit sandpaper, always moving the sandpaper in the direction of the wood grain. After sanding, wipe down the surface with a damp cloth to remove any dust or residue and allow the surface to dry before moving on to primer.
Step 4:
Apply KILZ 3™ Premium using a brush or roller to ensure a mildew resistant finish. Stir thoroughly before and occasionally during use. Allow 1-hour dry time.
Step 5:
Apply KILZ® Tribute® in Oceans Deep (a satin or semi-gloss finish is recommended) with a brush or roller, moving in smooth strokes in the same direction as the wood grain.
Step 6:
Once paint is dry, reattach hardware to doors and then reattach doors to cabinets.

Oceans Deep
RELATED ARTICLES
get inspired:
FOLLOw us:
@kilzbrand
SHOP
PRODUCTS
3 Secrets to Stain Blocking
June 10, 2019Simply put, stains are a pain. From a marinara sauce splatter on your white pants to a water leak that ruins your once pristine living room wall, stains are often tough to tackle. When it comes to painting over stained walls, you might think that a quick coat of paint will do the trick. But you’ll likely be left with a stain seeping through the new topcoat.
Professional painters know the secrets to successful stain blocking, and it all starts with primer. Don’t know which primer to use? That’s where we come in! We know more than a few professional painters, and we’ve collected their secrets to stain blocking.
Secret #1 – Not All Stains Are Created Equal:
The key to successful stain blocking starts with assessing what kind of stain you’re dealing with.
Light Stains:
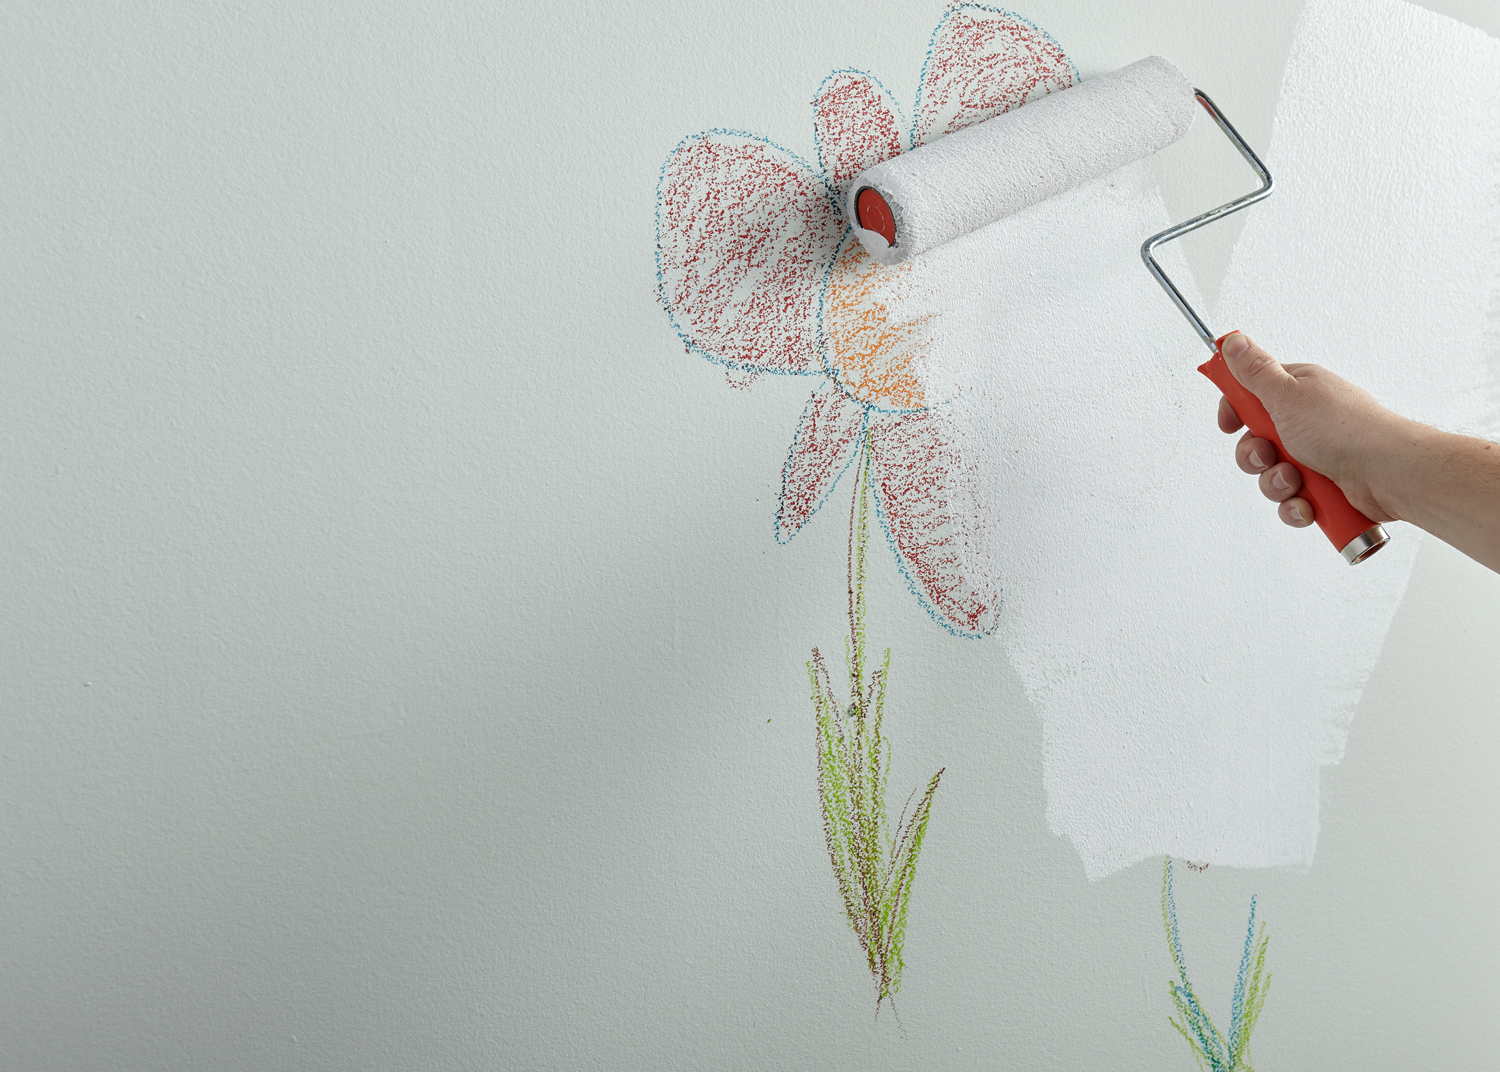
If you’re dealing with a light stain like scuff marks, pencil or crayon, you definitely still want to cover with a coat of primer before applying fresh paint. KILZ 2® All-Purpose is a great choice for blocking light stains – it’s fast drying and will get the job done!
Heavy Stains:
For severe stains like those caused by smoke, grease or tannins from certain types of woods, Pros will tell you it’s time to step up your primer game and use the oil-based KILZ® Original or water-based KILZ Restoration™ . Both are heavy duty stain blockers and trusted by professionals.
Secret #2 – Prep Work Leads to the Best Work:
Once you’ve assessed your stain type and procured the proper primer, it’s time to prepare the surface for stain elimination! Ensure that the surface is clean and free of dust, wipe down with a damp cloth if needed and allow to dry. You’re now ready to apply primer over the stain using a brush or roller.
Secret #3 – Do the Topcoat Test for Severe Stains:
When blocking sever stains you’ll want to test for stain bleed-through. Apply your topcoat paint to a small section after your primer is dry. If the stain bleeds through the topcoat, apply a second coat of primer and test again before top coating the entire area. If bleeding continues, a longer dry time is needed before top coating.
When you start with primer, blocking light and heavy stains doesn’t have to be a challenge!
RELATED ARTICLES
get inspired:
FOLLOw us:
@kilzbrand
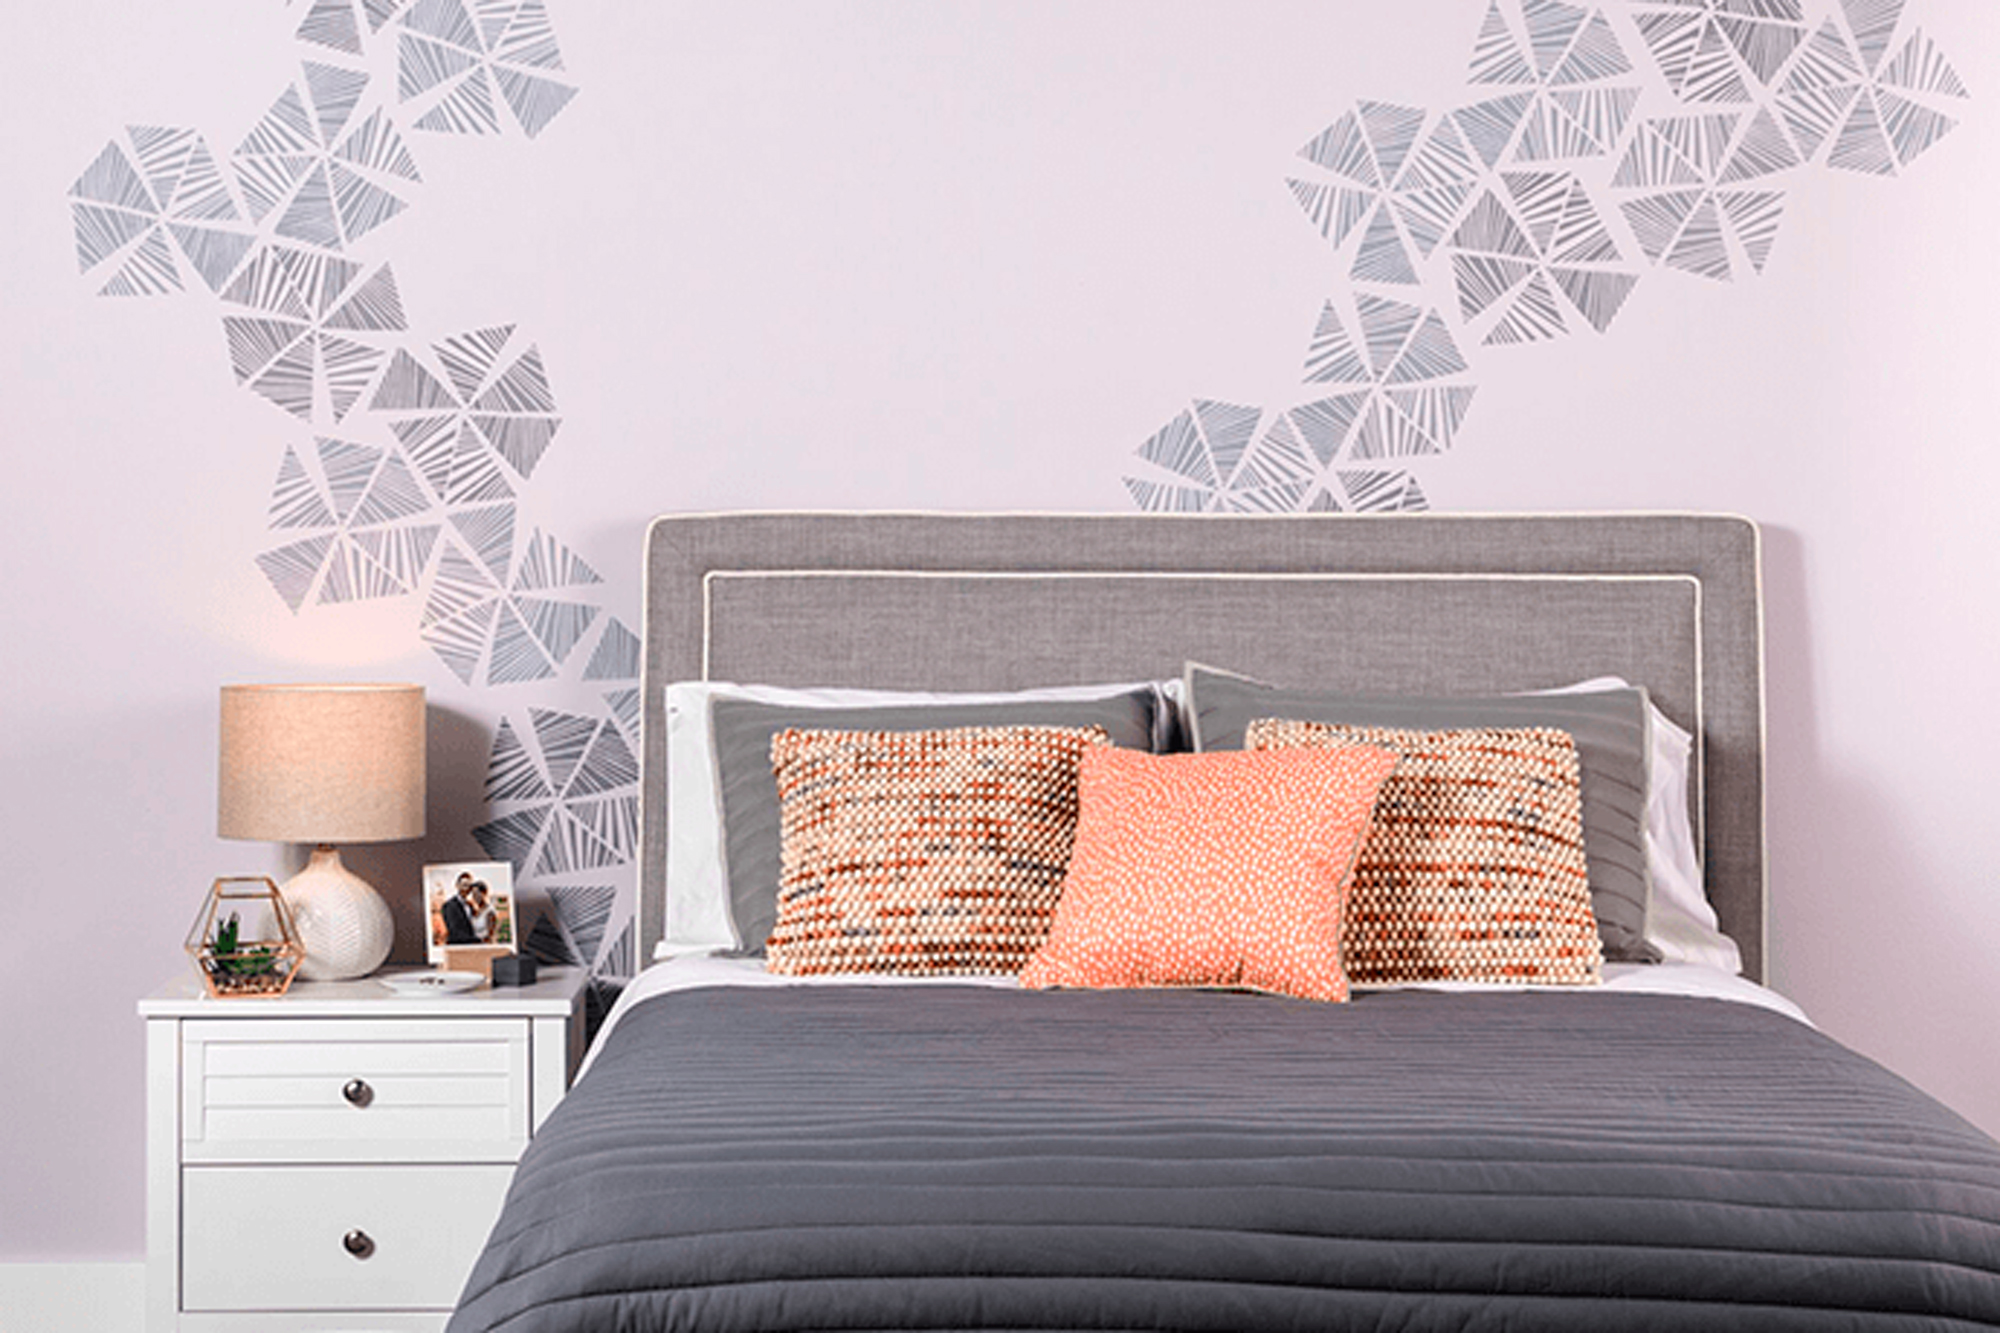
Stencil Wall Accents
December 8, 2017For this project we used our KILZ COMPLETE COAT® Paint and Primer in One in neutral based colors to transform this plain master bedroom wall into the perfect statement. Although we chose more muted colors for this specific space, you could always go bolder, repeating more (or less) of the stencil patterns to accomplish a louder more extroverted look. The great news is that the stencils come in all types of styles leaving the opportunities virtually endless when it comes to which type of look you want to create.
Mix and match! Using the stencil patterns behind or above furniture pieces is a nice way to really make them feel custom to the room. You could also pull stencils in order to frame artwork or simply add extra dimensions to your décor. The color of the stencil here subtly pulls from other colors in the room. In this case, the tone of the stencil ties in with the bedding and comforter set. We could have also opted for an orange tone to really make the accent pillows pop. This could be a nice effect in a living room space, or even in a dining room above a serving unit.
This project is simple! See below for a full tutorial about how you can achieve this look in your space. Loving it? Explore our full KILZ COMPLETE COAT® palette here.
Project Checklist:
- KILZ COMPLETE COAT® Paint and Primer in One
- Stencil
- Stencil Brush
- Painter’s Tape or Spray Adhesive
- Paper Towels
- Can Key
- Drop Cloth
- Stir Stick
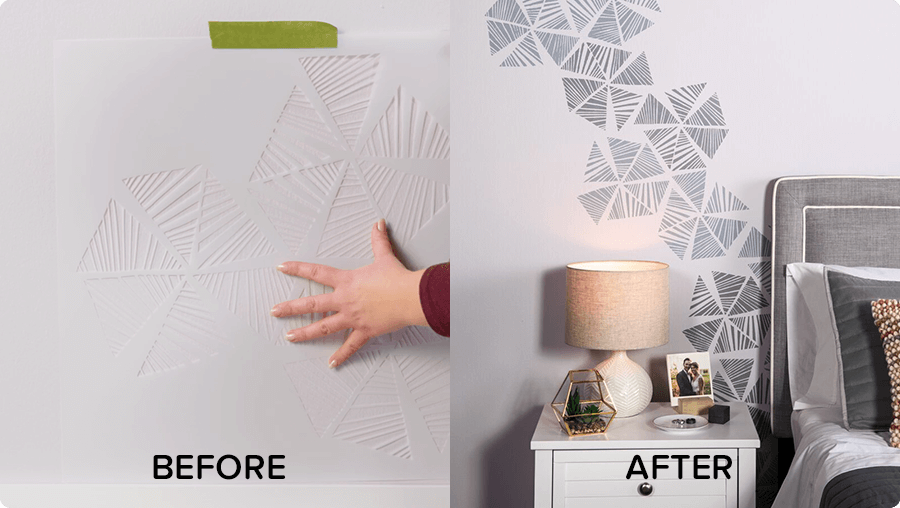
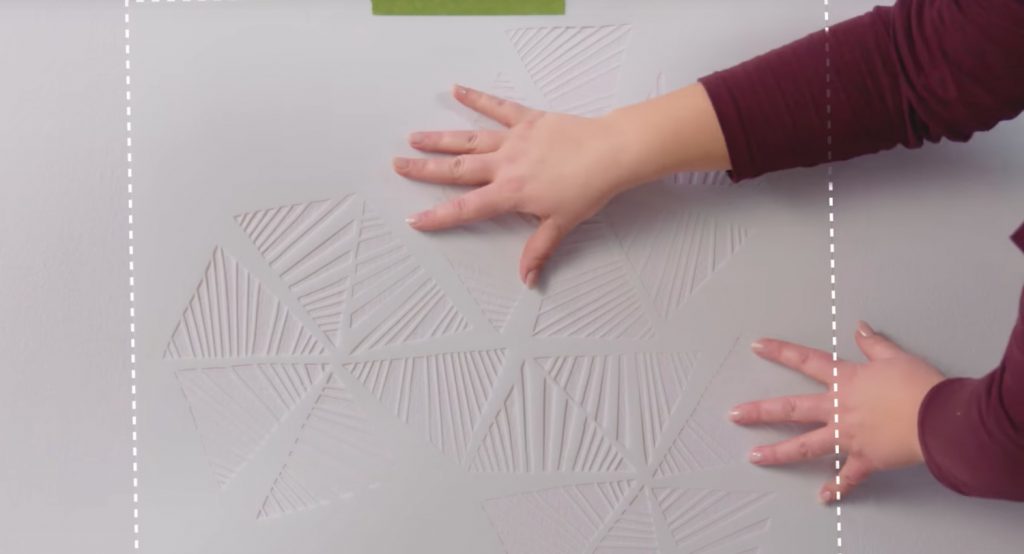
Step 1:
Determine location of pattern to be stenciled on wall.
Step 2:
Stir paint to make sure it is mixed.
Step 3:
Spray stencil with adhesive or secure stencil with painters tape.
Step 4:
Level and then secure your stencil on the top middle of the wall with painter’s tape.
Step 5:
Stencil the pattern by lightly dabbing the paint until the areas are fully covered.
Step 6:
Move on to the second repeat of the pattern by following the registrations that are included in the stencil. These registration marks help you move and place the stencil along the wall perfectly every time!
Step 7:
Allow 2 hours dry time. Then call your best friend and invite them over for coffee because you’re all done.
 Pro-tip: Make sure the stencil is secure before you add paint.
 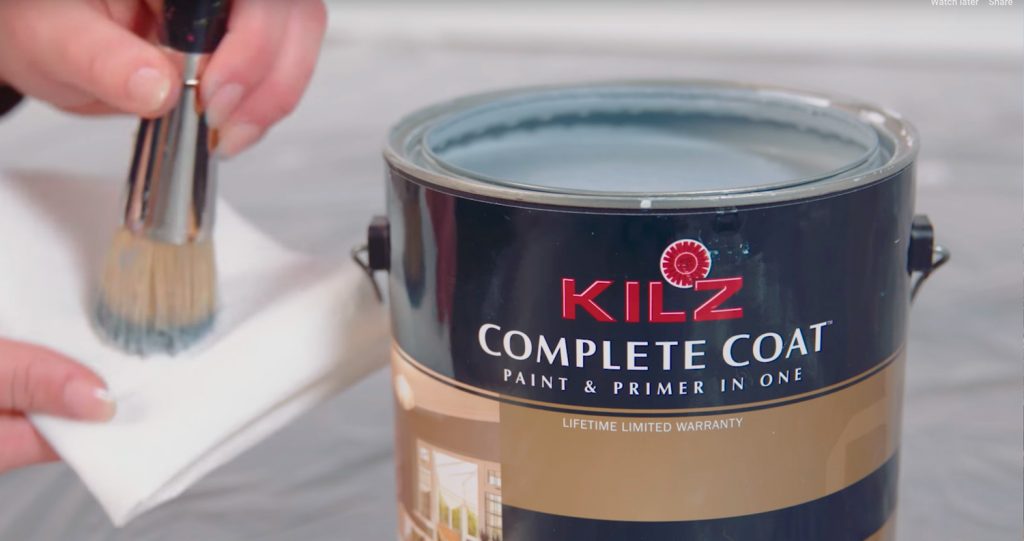 Pro-tip: Load your brush with paint and off-load most of the paint onto a paper towel. Using too much paint when stenciling is the number one reason for bleeding, so make sure to off-load excess paint before starting on the wall.
Mix and match! Using the stencil patterns behind or above furniture pieces is a nice way to really make them feel custom to the room.
RELATED ARTICLES
get inspired:
FOLLOw us:
@kilzbrand
join the conversation:
SHARE this post: