Tag: KILZ Complete Coat
Creative Ways to Carve Out Functional Spaces
March 23, 2021The home office is becoming as standard as the laundry room. With more people working from home than ever before, often alongside children who are distance learning, people have been forced to get creative with their living/working/study spaces. Rather than trading in your dining table for a desk, try one of these ideas that empower multifunctional spaces and add some design flair to your home at the same time.
Here’s how you can fit everything in your life comfortably into your home.
Carving Out Office Nooks
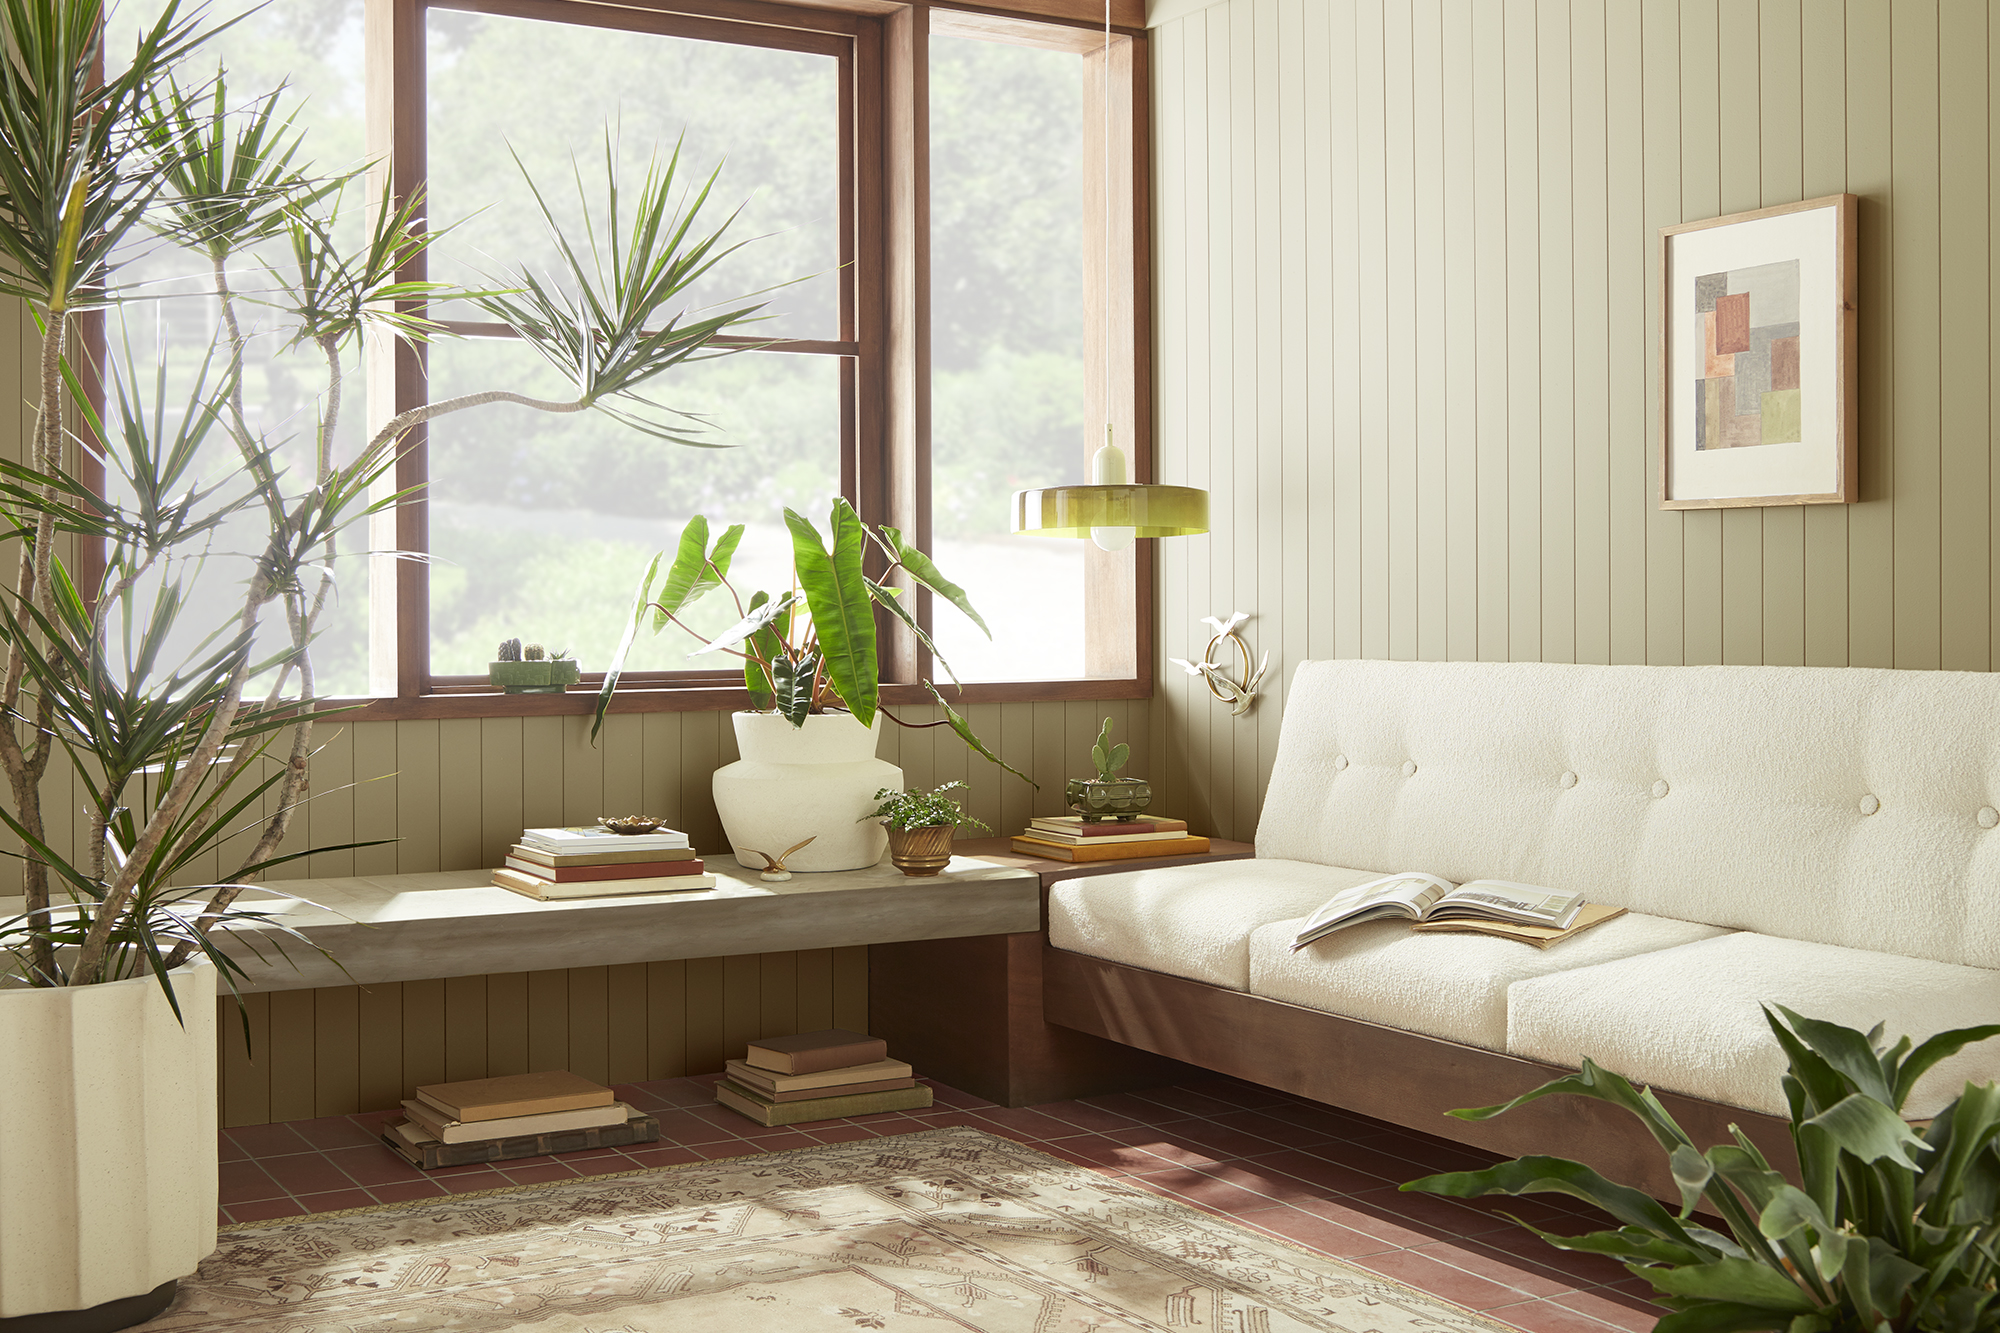
The “corner office” has taken on new meaning. If you feel like your office is quite literally crammed into the first corner made available in your home, it’s time to take a look around and see if you can give yourself an upgrade.
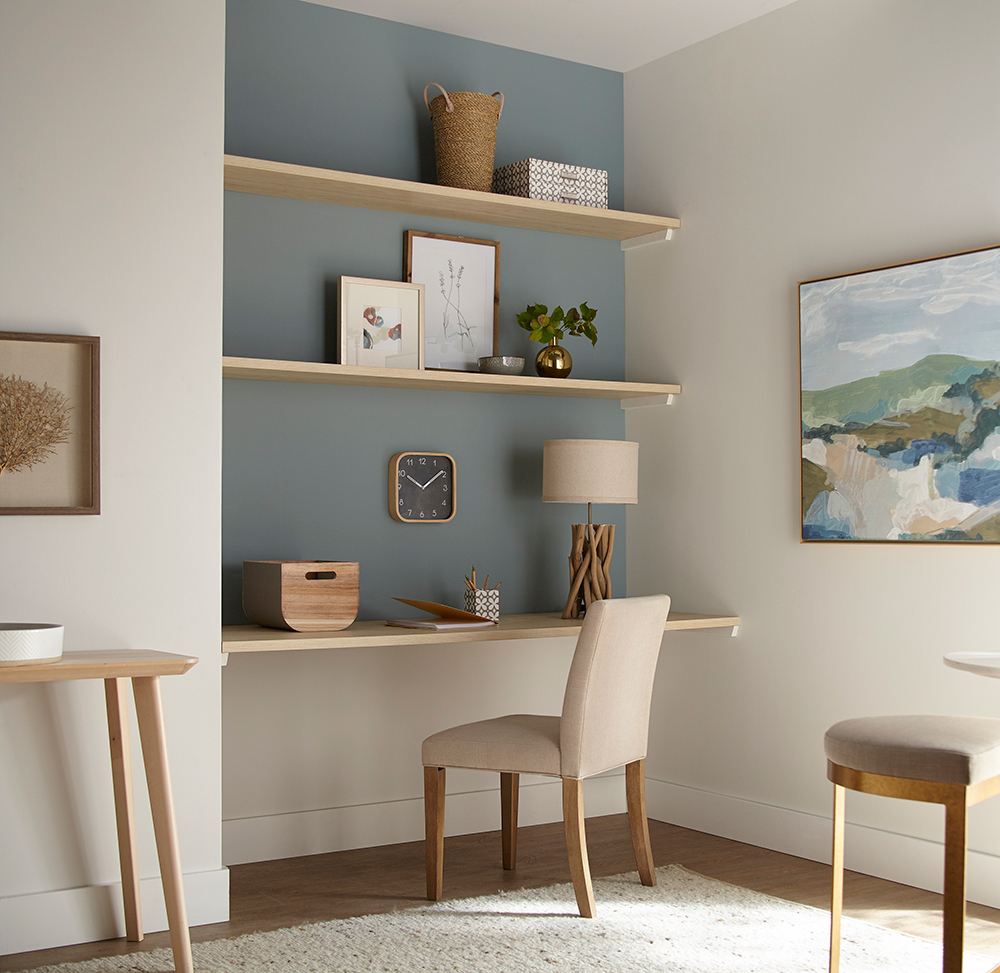
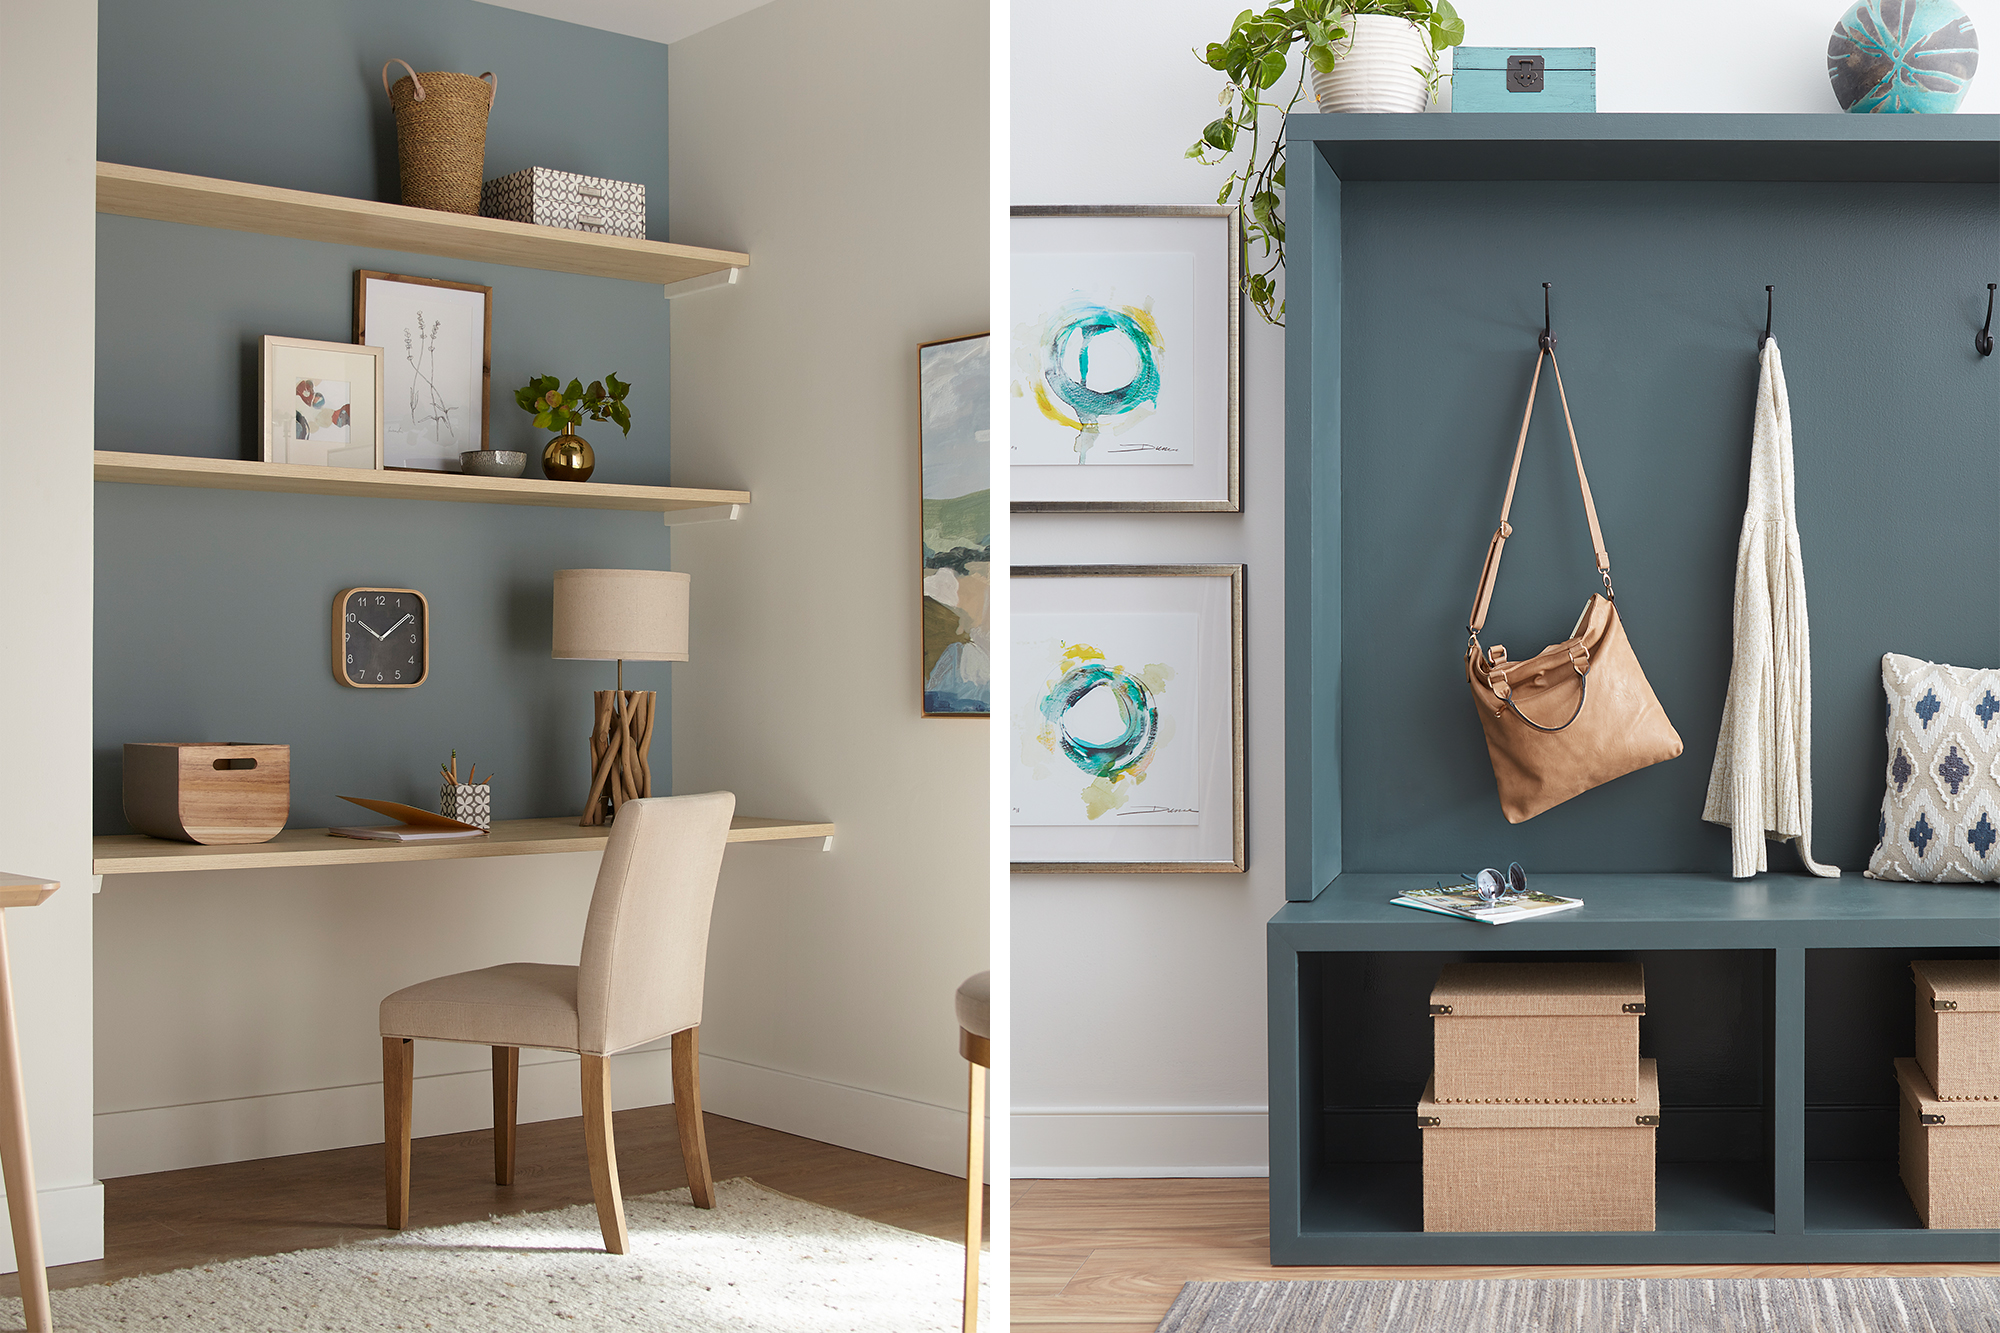
For some households, having a workspace in the main living area isn’t a big deal — especially if you have a laptop that you can easily fold away to make room for other things when work is over. However, if you need more room to spread, out or you just work better at an actual desk, there are creative ways to fit it in and make it look great. Take this small-space office nook for example – with KILZ 2® All-Purpose Primer, a fresh coat of paint and built-in shelves, we converted a neglected nook into a pretty WFH space. See the full transformation here.
Building in Organization
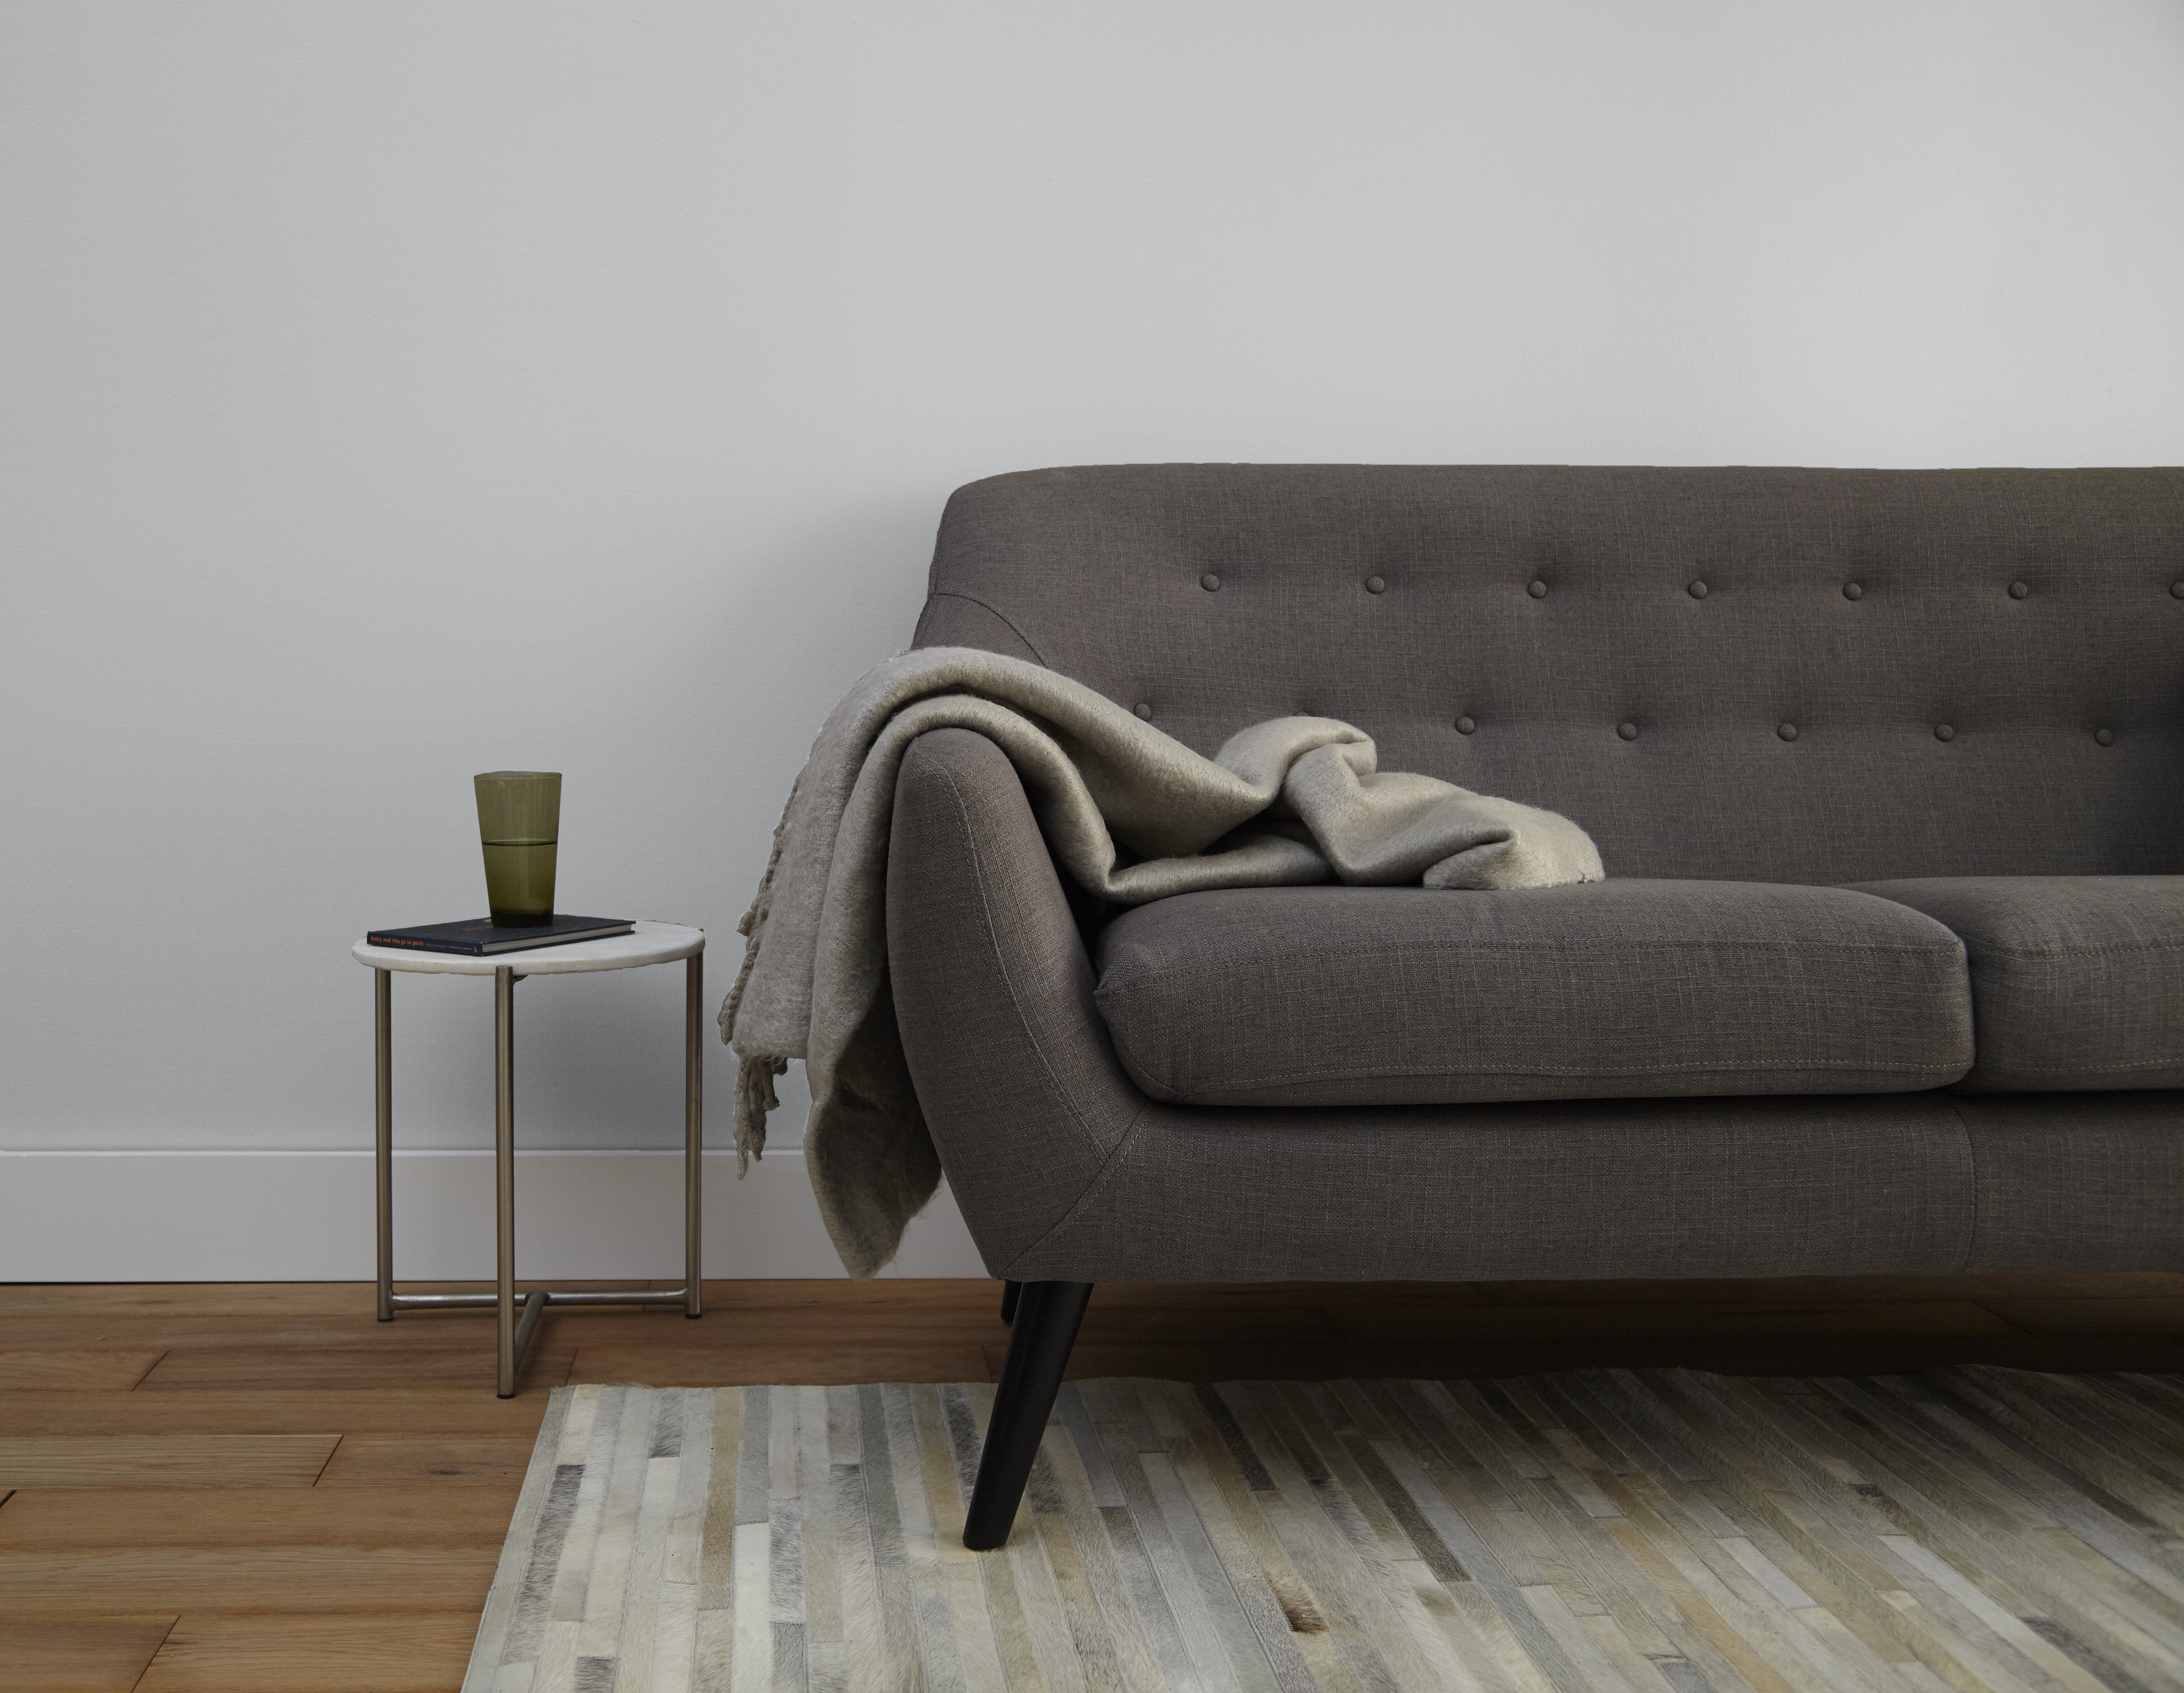
Building organization into your house is essential for reducing all clutter that inevitably comes with spending more time at home. When things have a place at the end of each day, they’ll be out of your way. You might decide to relocate things around the house as you find new storage spaces, whether it’s under-the-bed, behind the couch, on top of the kitchen cabinets, or in the hall closet. The key to avoiding the look and feel of clutter is to have some rhyme and reason behind what you put where.
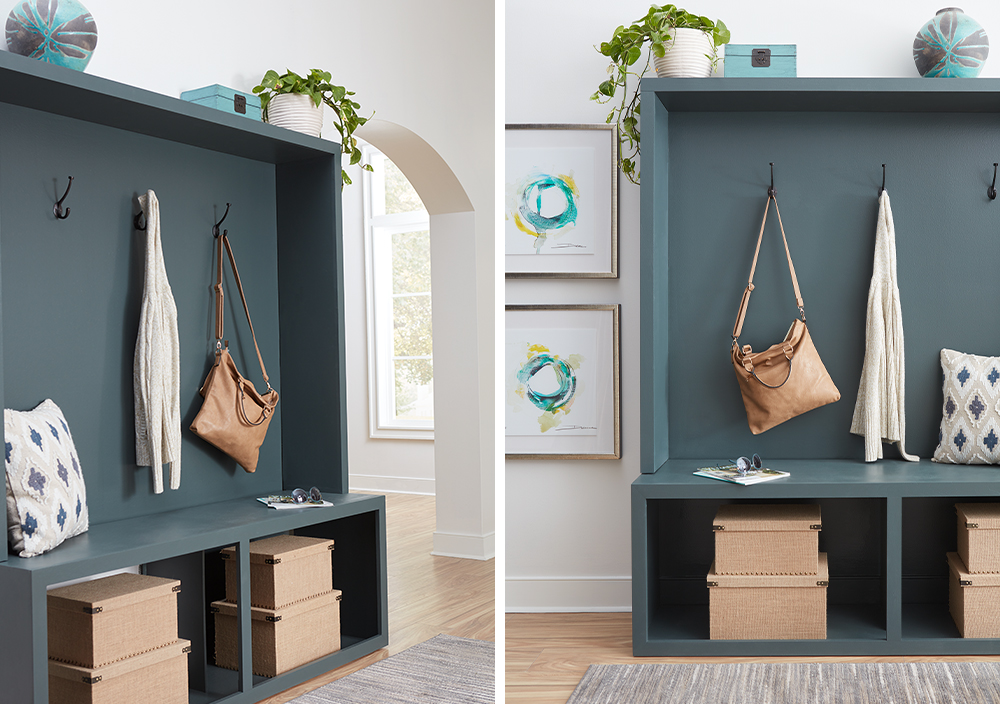
Adding some storage to your entryway or mudroom is a practical (and pretty!) way to keep the mess at bay. For this entryway storage center, KILZ Primer was the essential first step in transforming a boring wood bench into a statement piece. After priming the bare wood with KILZ 2® All-Purpose Primer, a fresh coat of pretty gray-green paint (KILZ Tribute® in Typewriter TB-70), completed the look.
Pretty baskets and bins, like the boxes in our entryway project, keep things aesthetically pleasing. Consider going the extra mile with labels to help everything find its way back to its rightful place.
Visually Divide Multipurpose Spaces
If you’ve found yourself using words like “multifunctional” more than you ever thought you would, you’re not alone. Putting up walls and partitions may be infeasible and is less than preferable. So, when it comes to squeezing more living (and working) out of the living space you already have, there’s a trick: divide them visually instead of physically.
One of the best tricks to keep things pleasing to the eye and mentally in their place is to visually divide your spaces with the use of intentionally placed paint colors. These can be in the form of a full accent wall or a smaller arch or geometric design. The visual definition from a pop of color helps you define a space a within a space.
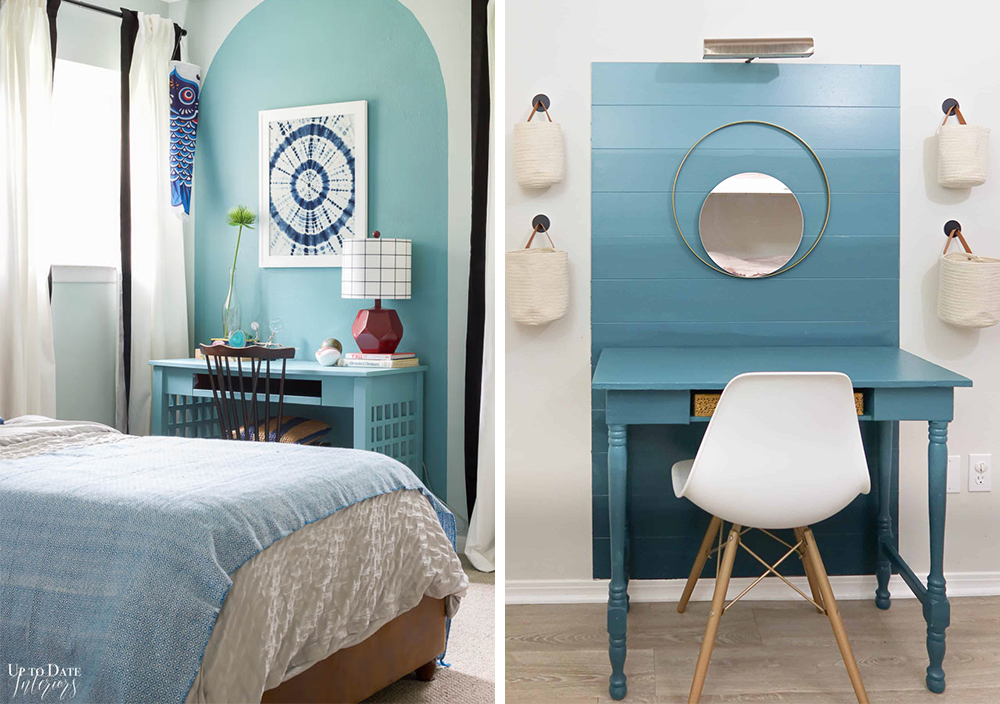
We’ve partnered with a few design savvy influencers in recent months who used primer and a coat of paint used to define their workspaces, and they are sure to inspire. Kathryn, from the blog Up to Date Interiors, used KILZ 2® All-Purpose Primer and KILZ® Paint to create a soothing blue arch behind her desk. Another fun and functional workspace came from Lindsey at Repurpose and UpCycle. Her ombre accent wall/desk combo came to life with the help of KILZ 3® Premium Primer and KILZ® Paint.
These visual dividers are pleasing to the eye and can even make your home feel larger when done right. Plus, it’s something you can do yourself. With primer and a coat of paint, KILZ can help you get more out of your home and make use of the space you already have.
Always remember to refer to our website kilz.com or product back labels for additional information on which primer is right for your project and detailed instructions on how to apply our products.
RELATED ARTICLES

get inspired:
FOLLOw us:
@kilzbrand
SHOP
PRODUCTS
Calming and Energizing Paint Colors
April 1, 2020Changing the color of your walls can not only make a big impact on the overall look and feel of your space, but it can also affect your mood. Color theory is at the core of most interior design education programs and speaks to how different colors have the ability to evoke feelings of happiness, calm, excitement and even hunger. This month we’re showcasing two beautiful paint color palettes, each curated to suit a specific mood.
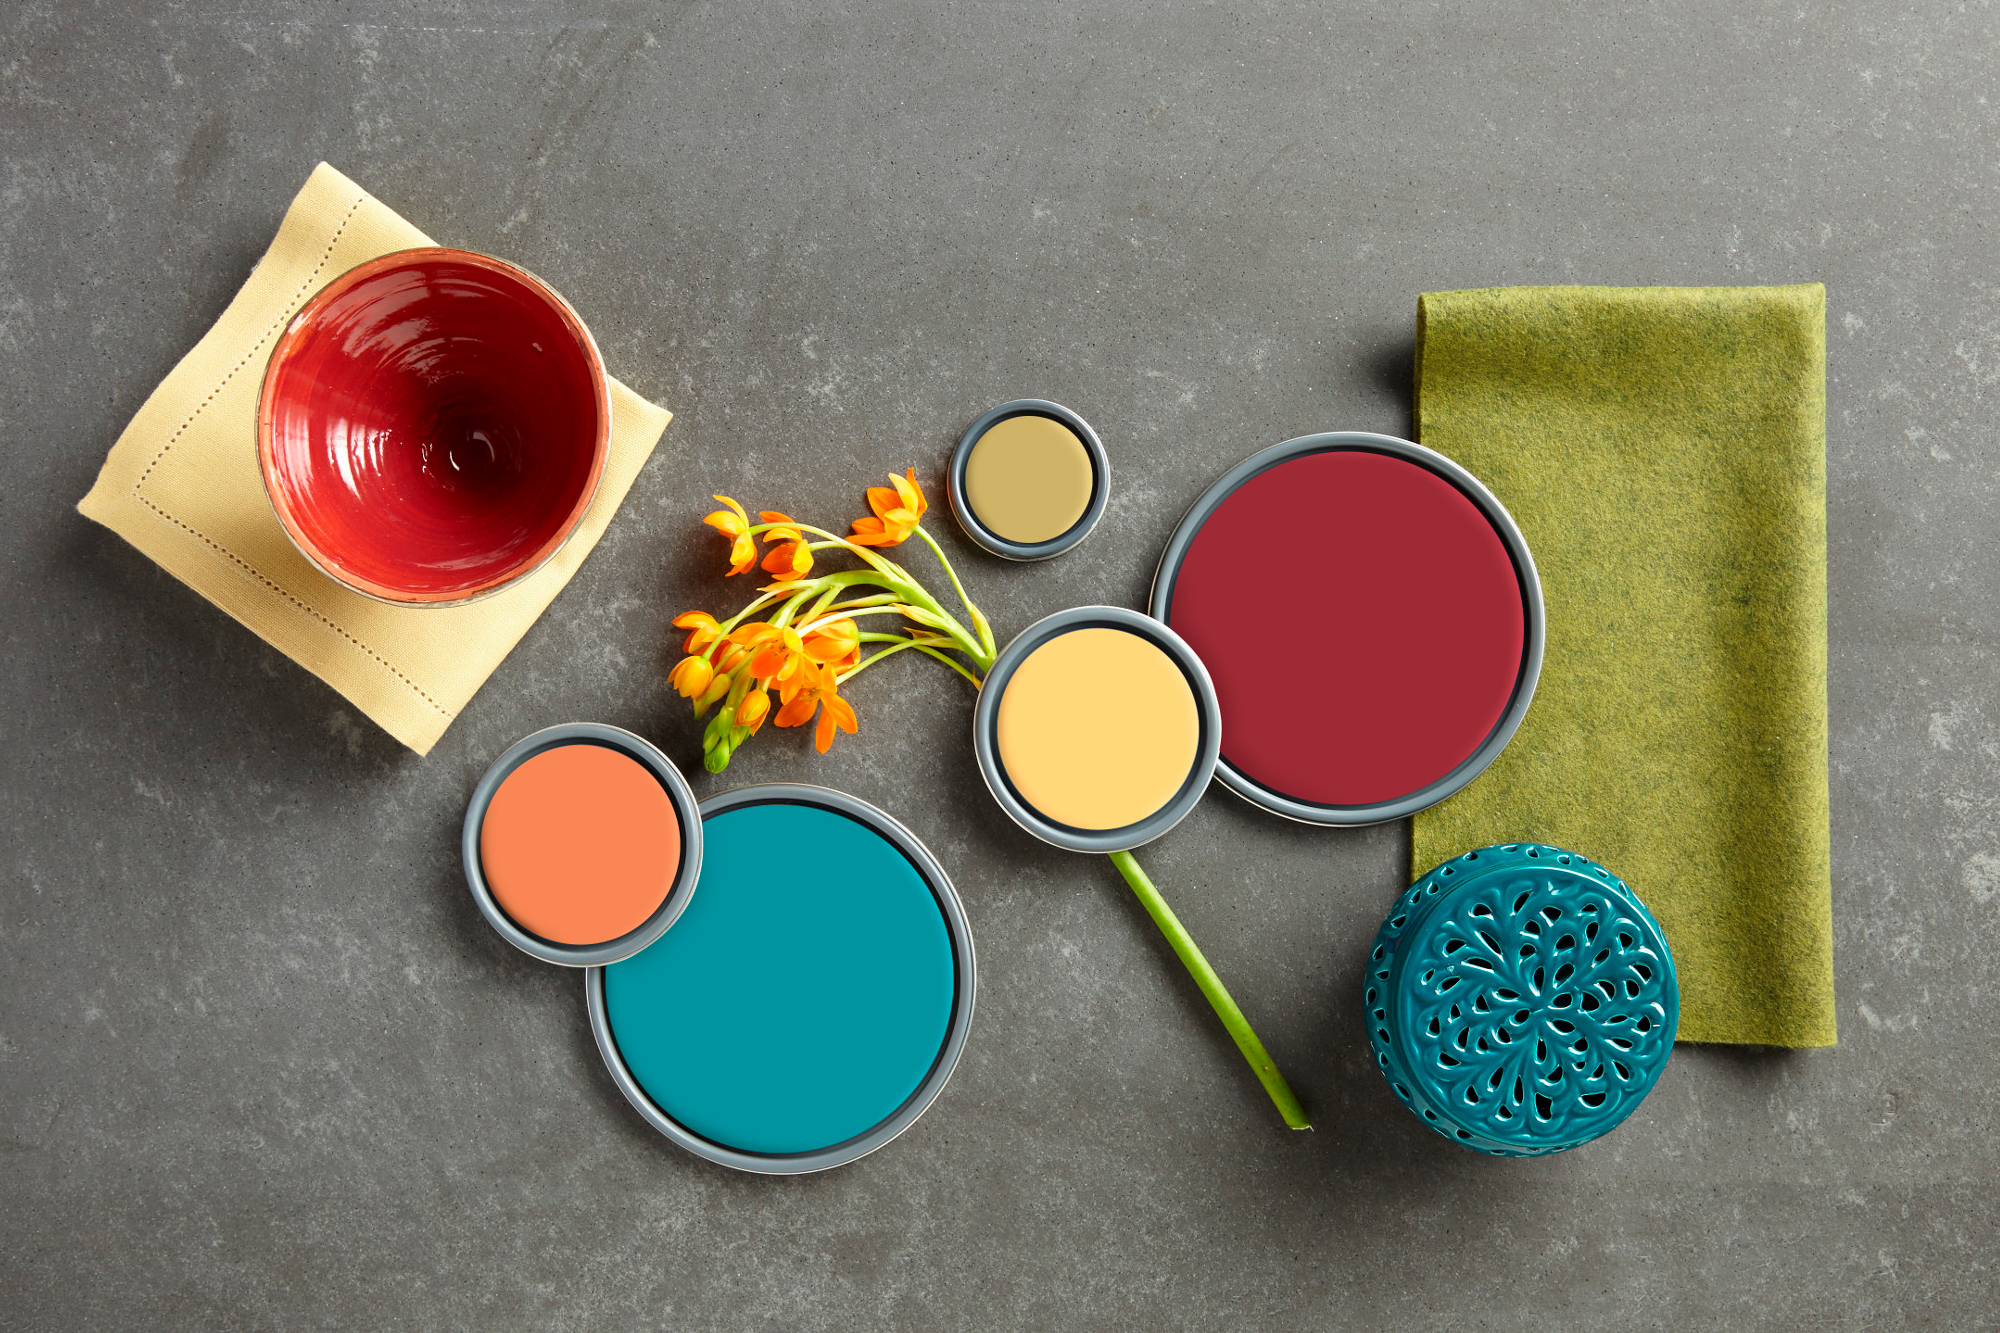
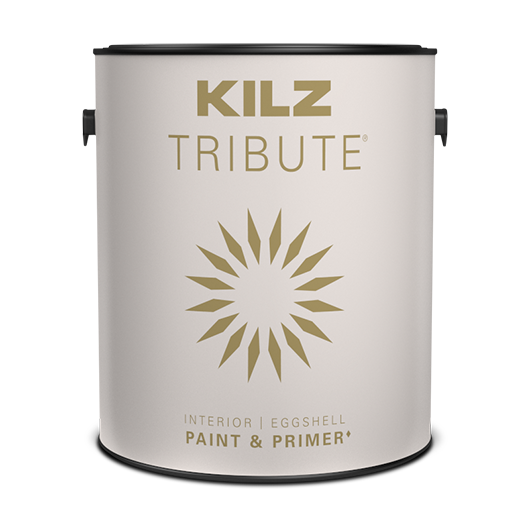
The colors for our two palettes were chosen from KILZ Tribute® line of a paint, a premium acrylic paint with excellent hide that is durable, scrubbable and resistant to fading. With the start of the spring season signaling fresh beginnings and longer days, our first featured palette is all about bright, happy and energizing colors. Including a vibrant teal-blue, sunny orange and yellow, and a sweet-sangria red – this palette is all about happy hues that bring about a sense of vitality and energy.
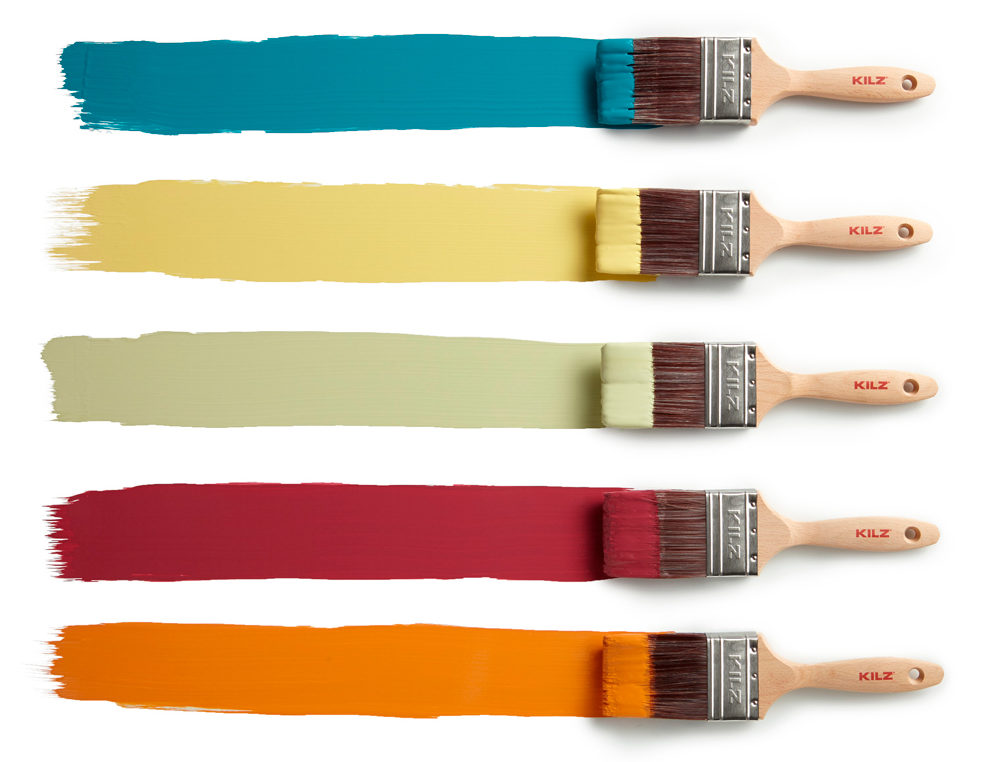
True Teal is a medium blue with a yellow undertone.
Jazz Age Yellow is a bright daisy yellow with a gold undertone.
BEHR’s Midori is a green pepper with a cheery granny smith apple undertone.
Haute Red is a deep red that evokes the color of a sweet red sangria in certain light.
Bright Marigold is a tangerine with a ginger orange undertone.
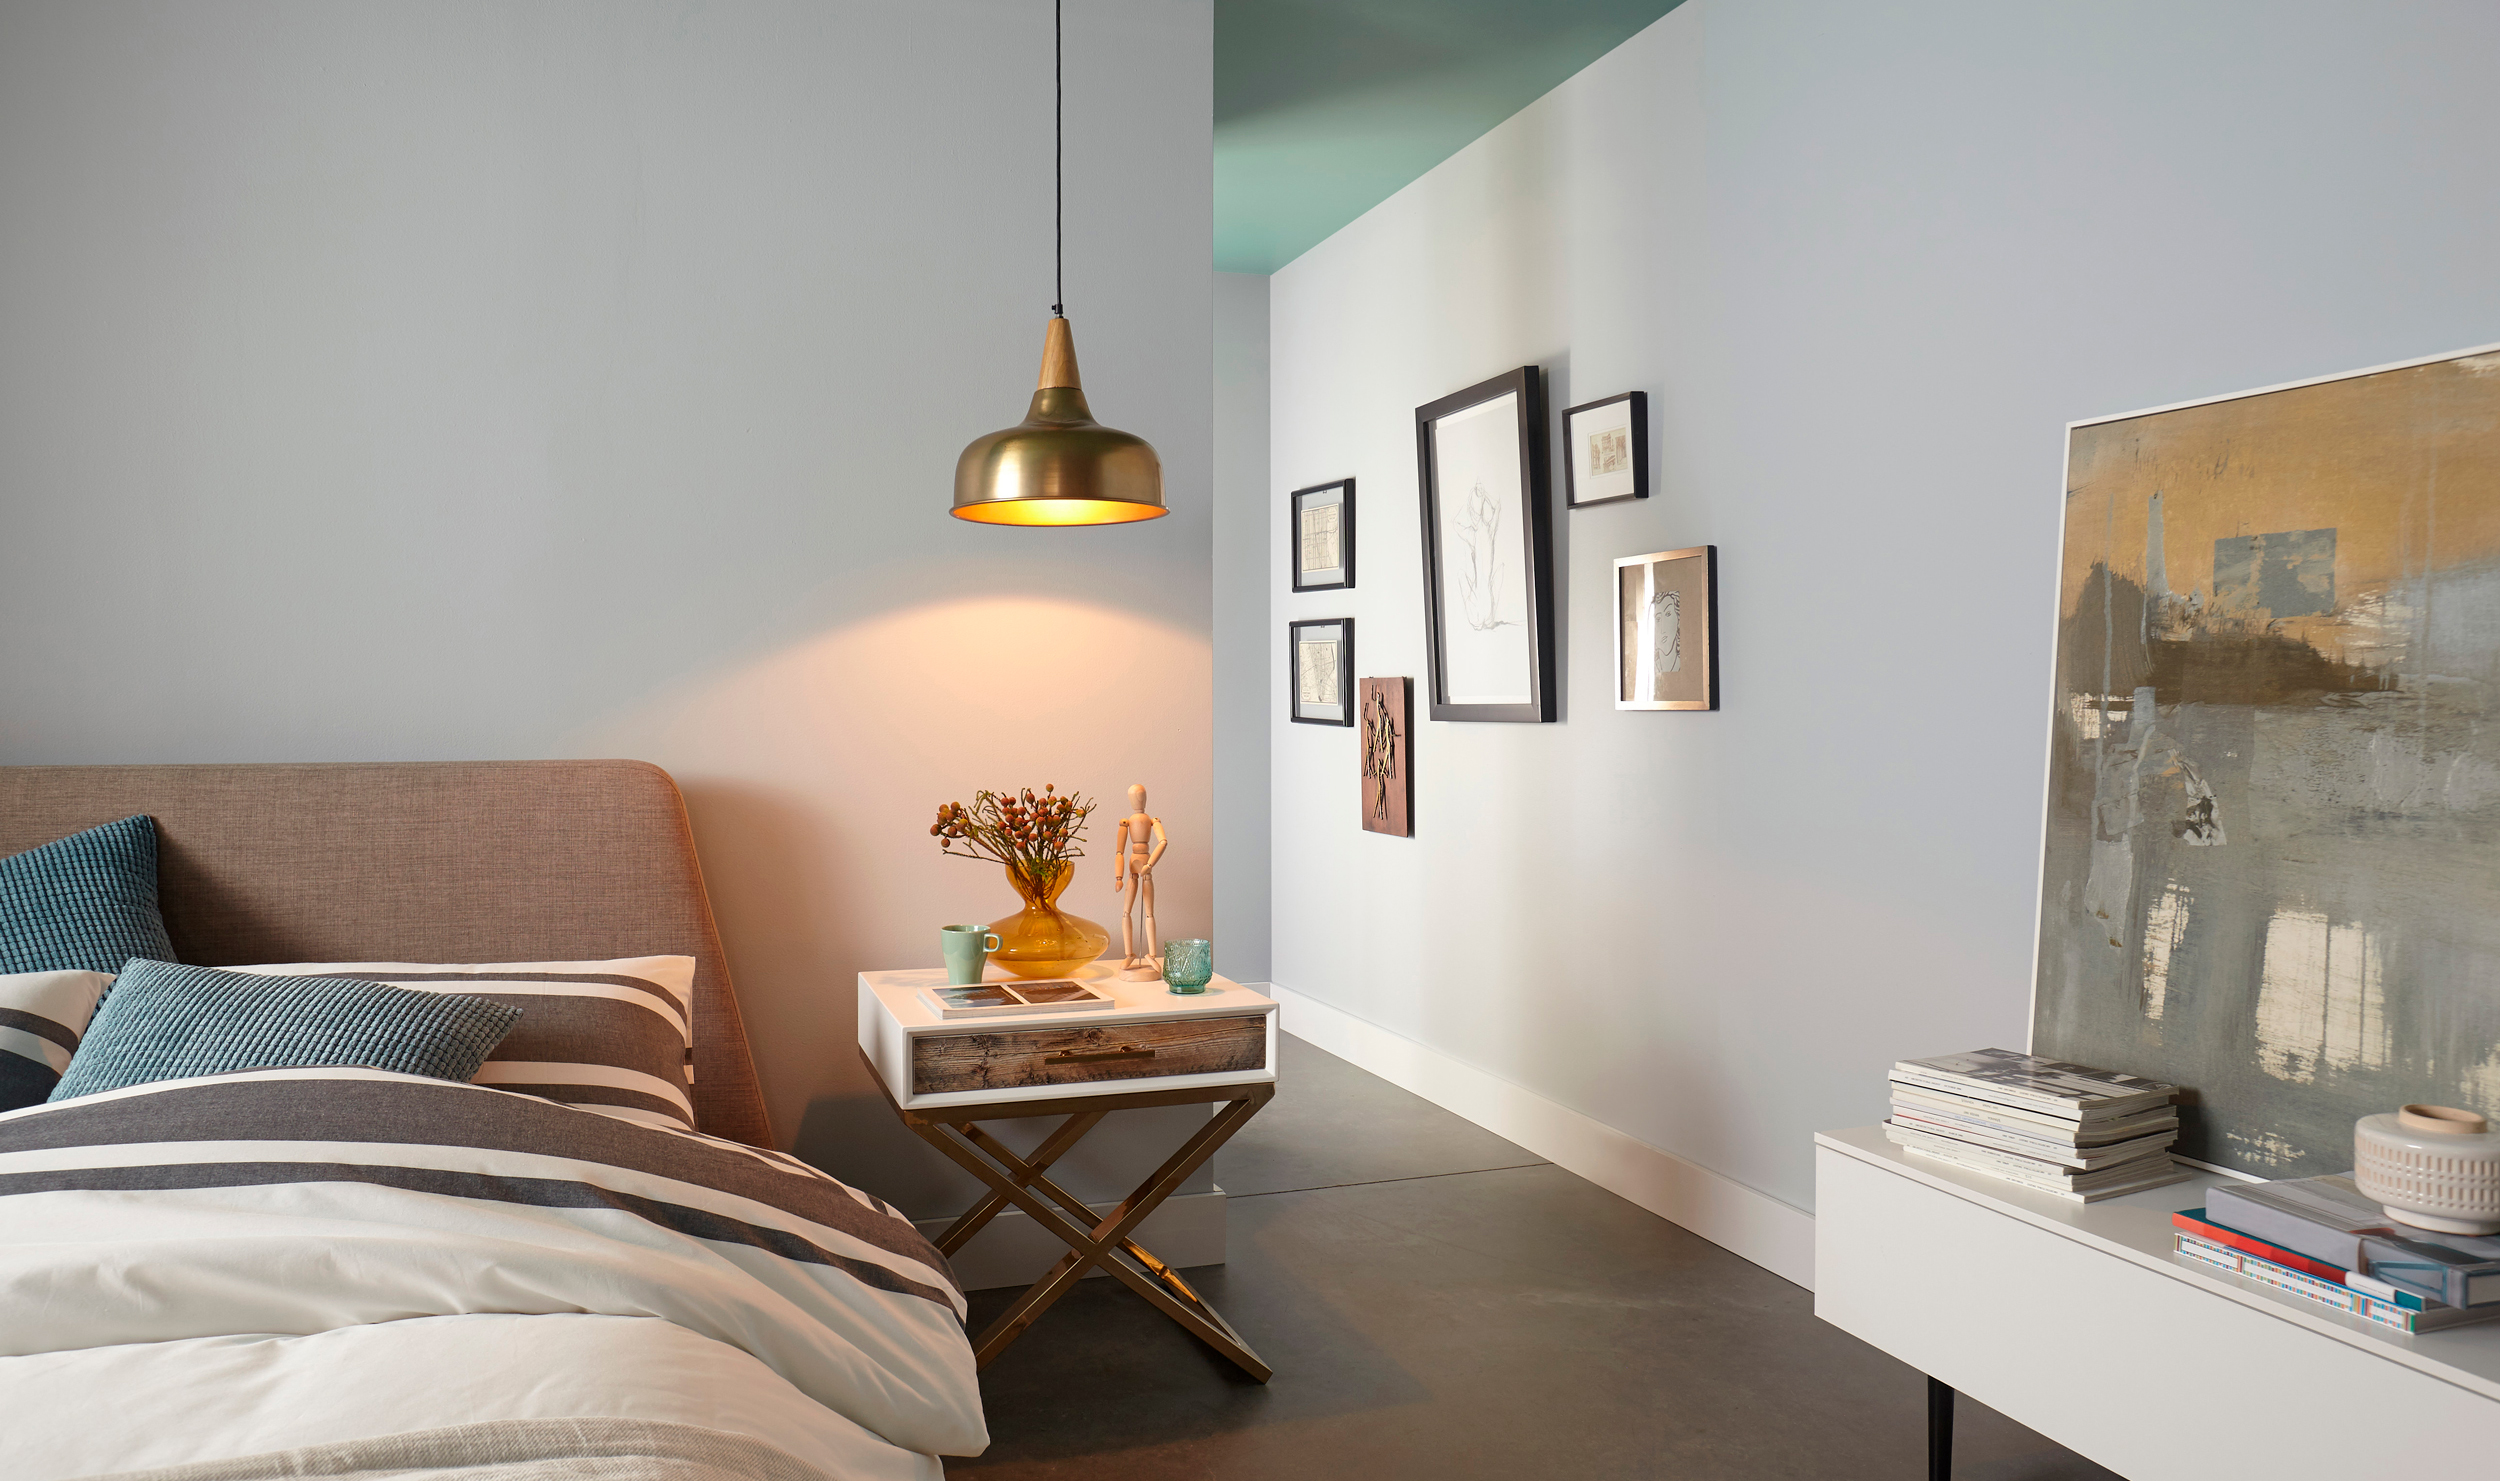
Our second palette is a breath of fresh air – comprised of soft blues, subtle greens and graceful grays. These lighter hues can instantly soften a space and evoke feelings of peace and relaxation. Including slightly brighter light blues and greens, along with cool gray tones with the subtlest hints of purple or gray, this palette is instantly calming.
Pale Emerald is a light blue with a gray undertone that is reminiscent of a cool rain cloud.
Brushed Metal is a grayed light purple with a slight red undertone.
Tender Shoots is a mossy lime with a sage undertone, a perfectly relaxed green.
Alaskan Mist is a white with a blue gray undertone, like a cool cloudy day.
Resful Retreat is a light green with a yellow undertone.

It’s easy to see that color choice can have a big impact not only on how your space looks, but how it feels too. If you’re interested to try on different paint colors in different spaces (or even in your own space virtually!) check out KILZ Color Perfect™ where you can upload and virtually paint digital photos.
RELATED ARTICLES
get inspired:
FOLLOw us:
@kilzbrand
SHOP
PRODUCTS
Winchester Green
July 2, 2018Weeping Willow TB-77 is a saturated lake green with a shaded undertone. Weeping Willow cabinets add healthy energy while Bay Fog adds a simple and clean look. This combination will enhance your sense of peace and comfort that will allow a true escape after a long day. Transform your home to achieve a serene ceiling, calming coolness and tranquil escape. Click here to try a sample of this color today!
Another beautiful tone that compliments this month’s color is, Bay Fog, a calming cool gray with a slight dusty blue undertone. This color adds tranquility and simplicity to a room making it the perfect backdrop. Use Cool Fog with Weeping Willow to add a serene touch of color.
Weeping Willow
RELATED ARTICLES
get inspired:
FOLLOw us:
@kilzbrand
SHOP
PRODUCTS
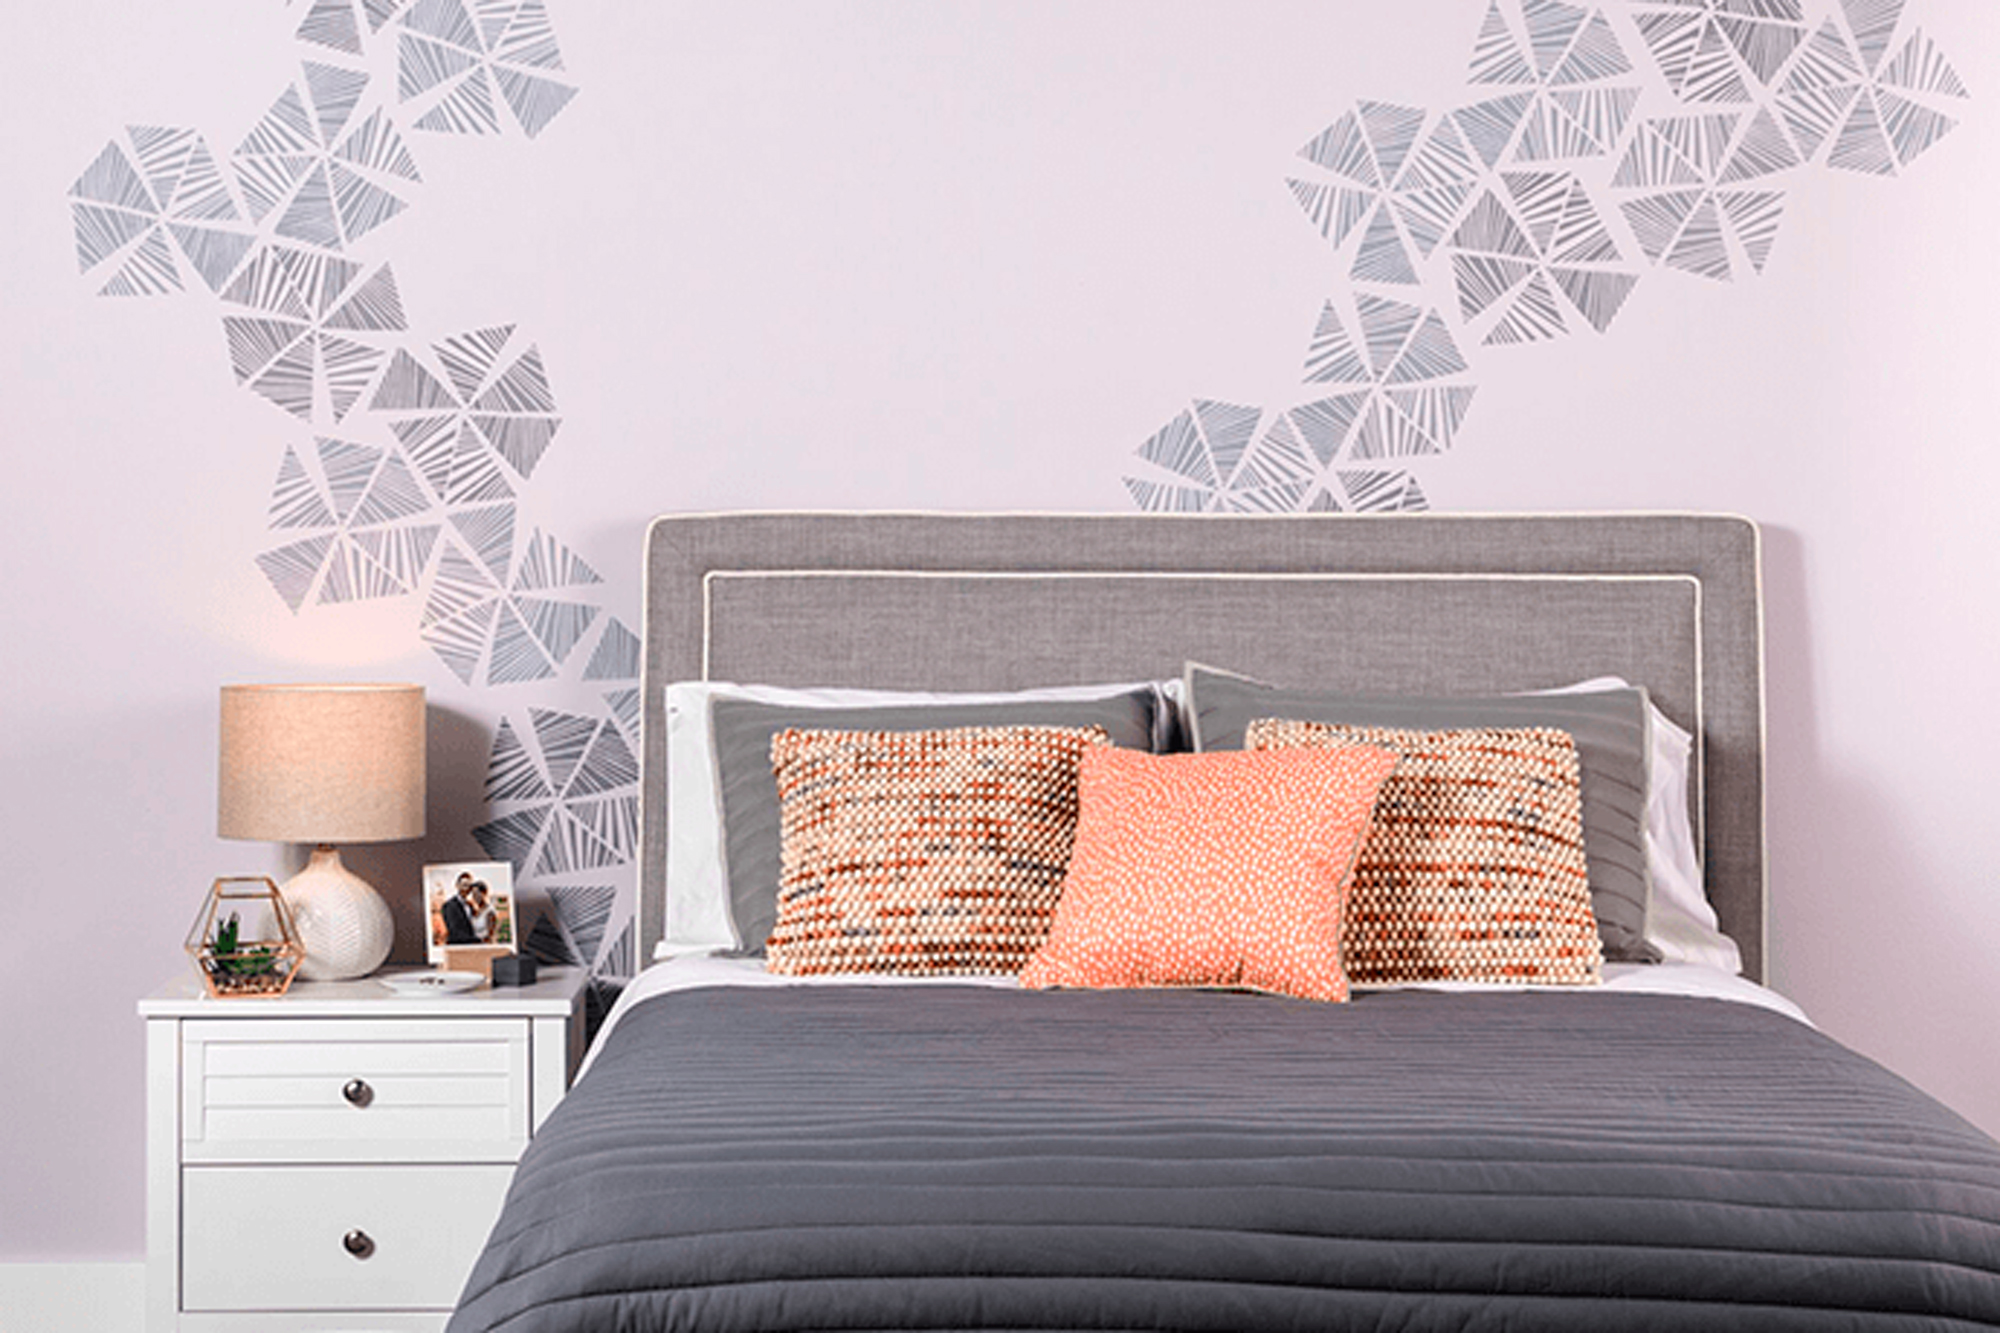
Stencil Wall Accents
December 8, 2017For this project we used our KILZ COMPLETE COAT® Paint and Primer in One in neutral based colors to transform this plain master bedroom wall into the perfect statement. Although we chose more muted colors for this specific space, you could always go bolder, repeating more (or less) of the stencil patterns to accomplish a louder more extroverted look. The great news is that the stencils come in all types of styles leaving the opportunities virtually endless when it comes to which type of look you want to create.
Mix and match! Using the stencil patterns behind or above furniture pieces is a nice way to really make them feel custom to the room. You could also pull stencils in order to frame artwork or simply add extra dimensions to your décor. The color of the stencil here subtly pulls from other colors in the room. In this case, the tone of the stencil ties in with the bedding and comforter set. We could have also opted for an orange tone to really make the accent pillows pop. This could be a nice effect in a living room space, or even in a dining room above a serving unit.
This project is simple! See below for a full tutorial about how you can achieve this look in your space. Loving it? Explore our full KILZ COMPLETE COAT® palette here.
Project Checklist:
- KILZ COMPLETE COAT® Paint and Primer in One
- Stencil
- Stencil Brush
- Painter’s Tape or Spray Adhesive
- Paper Towels
- Can Key
- Drop Cloth
- Stir Stick
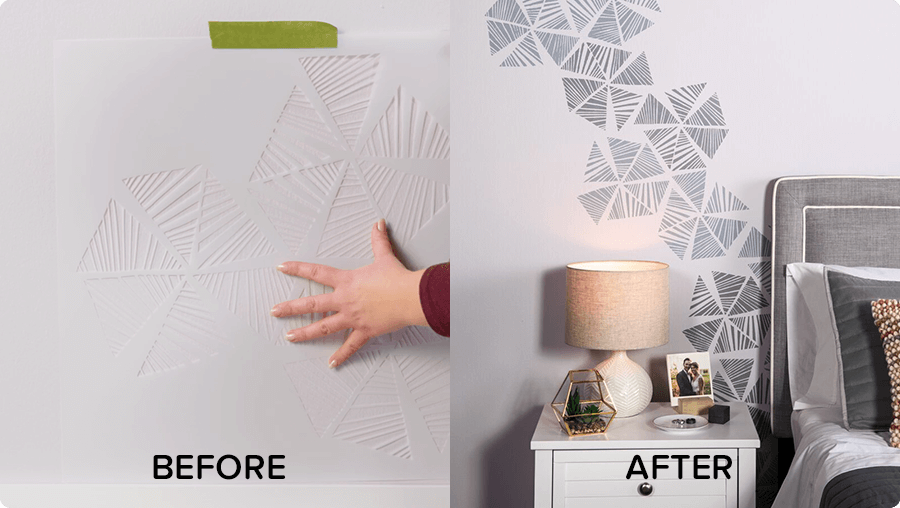
Step 1:
Determine location of pattern to be stenciled on wall.
Step 2:
Stir paint to make sure it is mixed.
Step 3:
Spray stencil with adhesive or secure stencil with painters tape.
Step 4:
Level and then secure your stencil on the top middle of the wall with painter’s tape.
Step 5:
Stencil the pattern by lightly dabbing the paint until the areas are fully covered.
Step 6:
Move on to the second repeat of the pattern by following the registrations that are included in the stencil. These registration marks help you move and place the stencil along the wall perfectly every time!
Step 7:
Allow 2 hours dry time. Then call your best friend and invite them over for coffee because you’re all done.
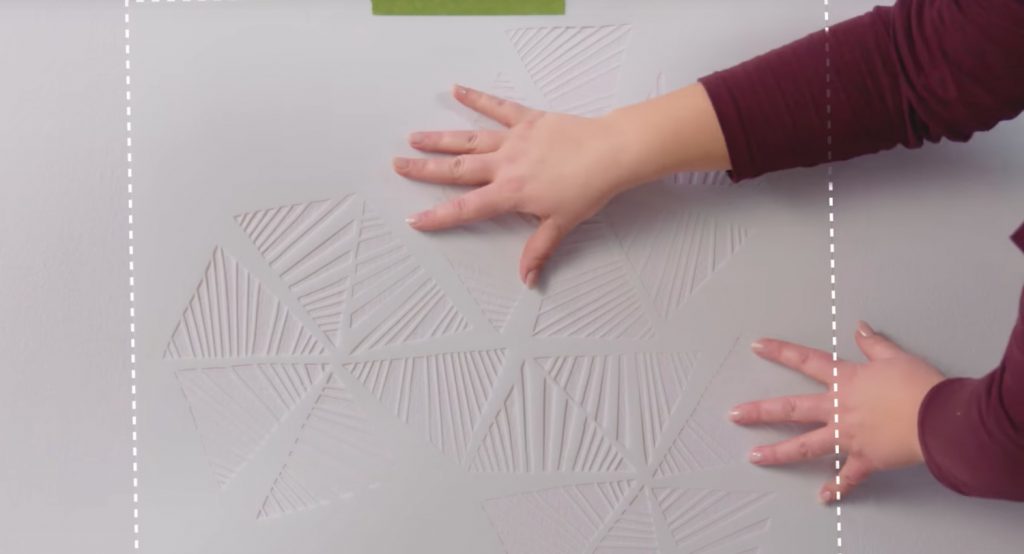 Pro-tip: Make sure the stencil is secure before you add paint.
 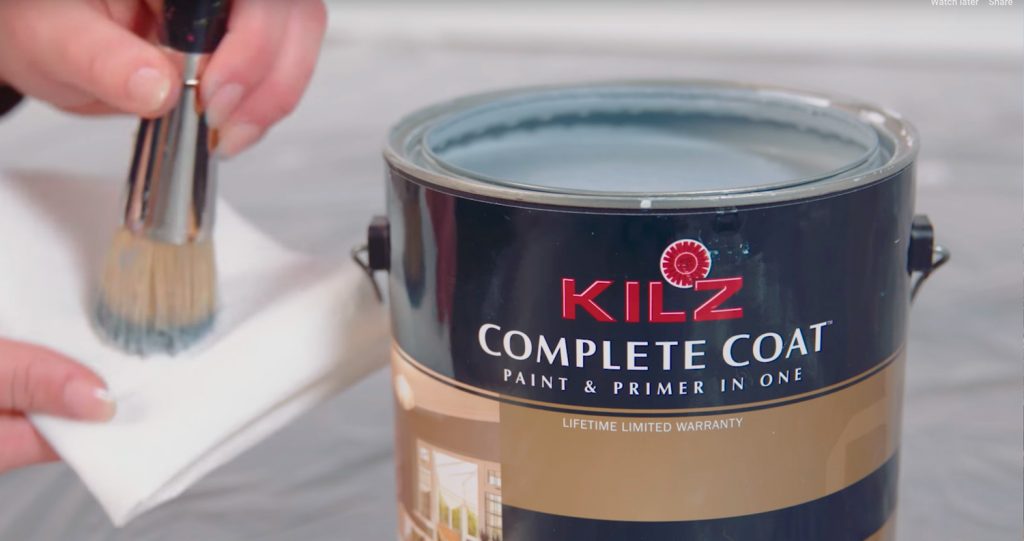 Pro-tip: Load your brush with paint and off-load most of the paint onto a paper towel. Using too much paint when stenciling is the number one reason for bleeding, so make sure to off-load excess paint before starting on the wall.
Mix and match! Using the stencil patterns behind or above furniture pieces is a nice way to really make them feel custom to the room.
RELATED ARTICLES
get inspired:
FOLLOw us:
@kilzbrand
SHOP
PRODUCTS
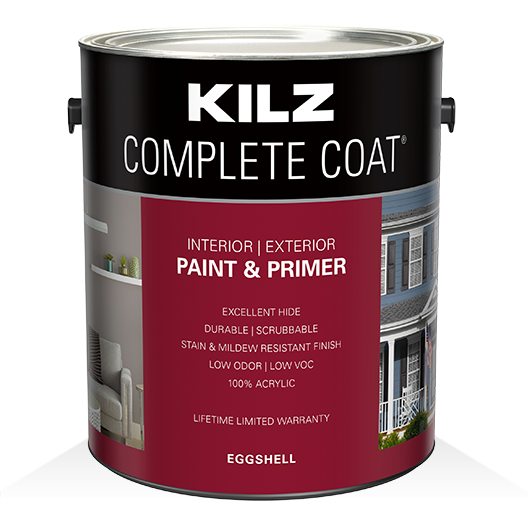
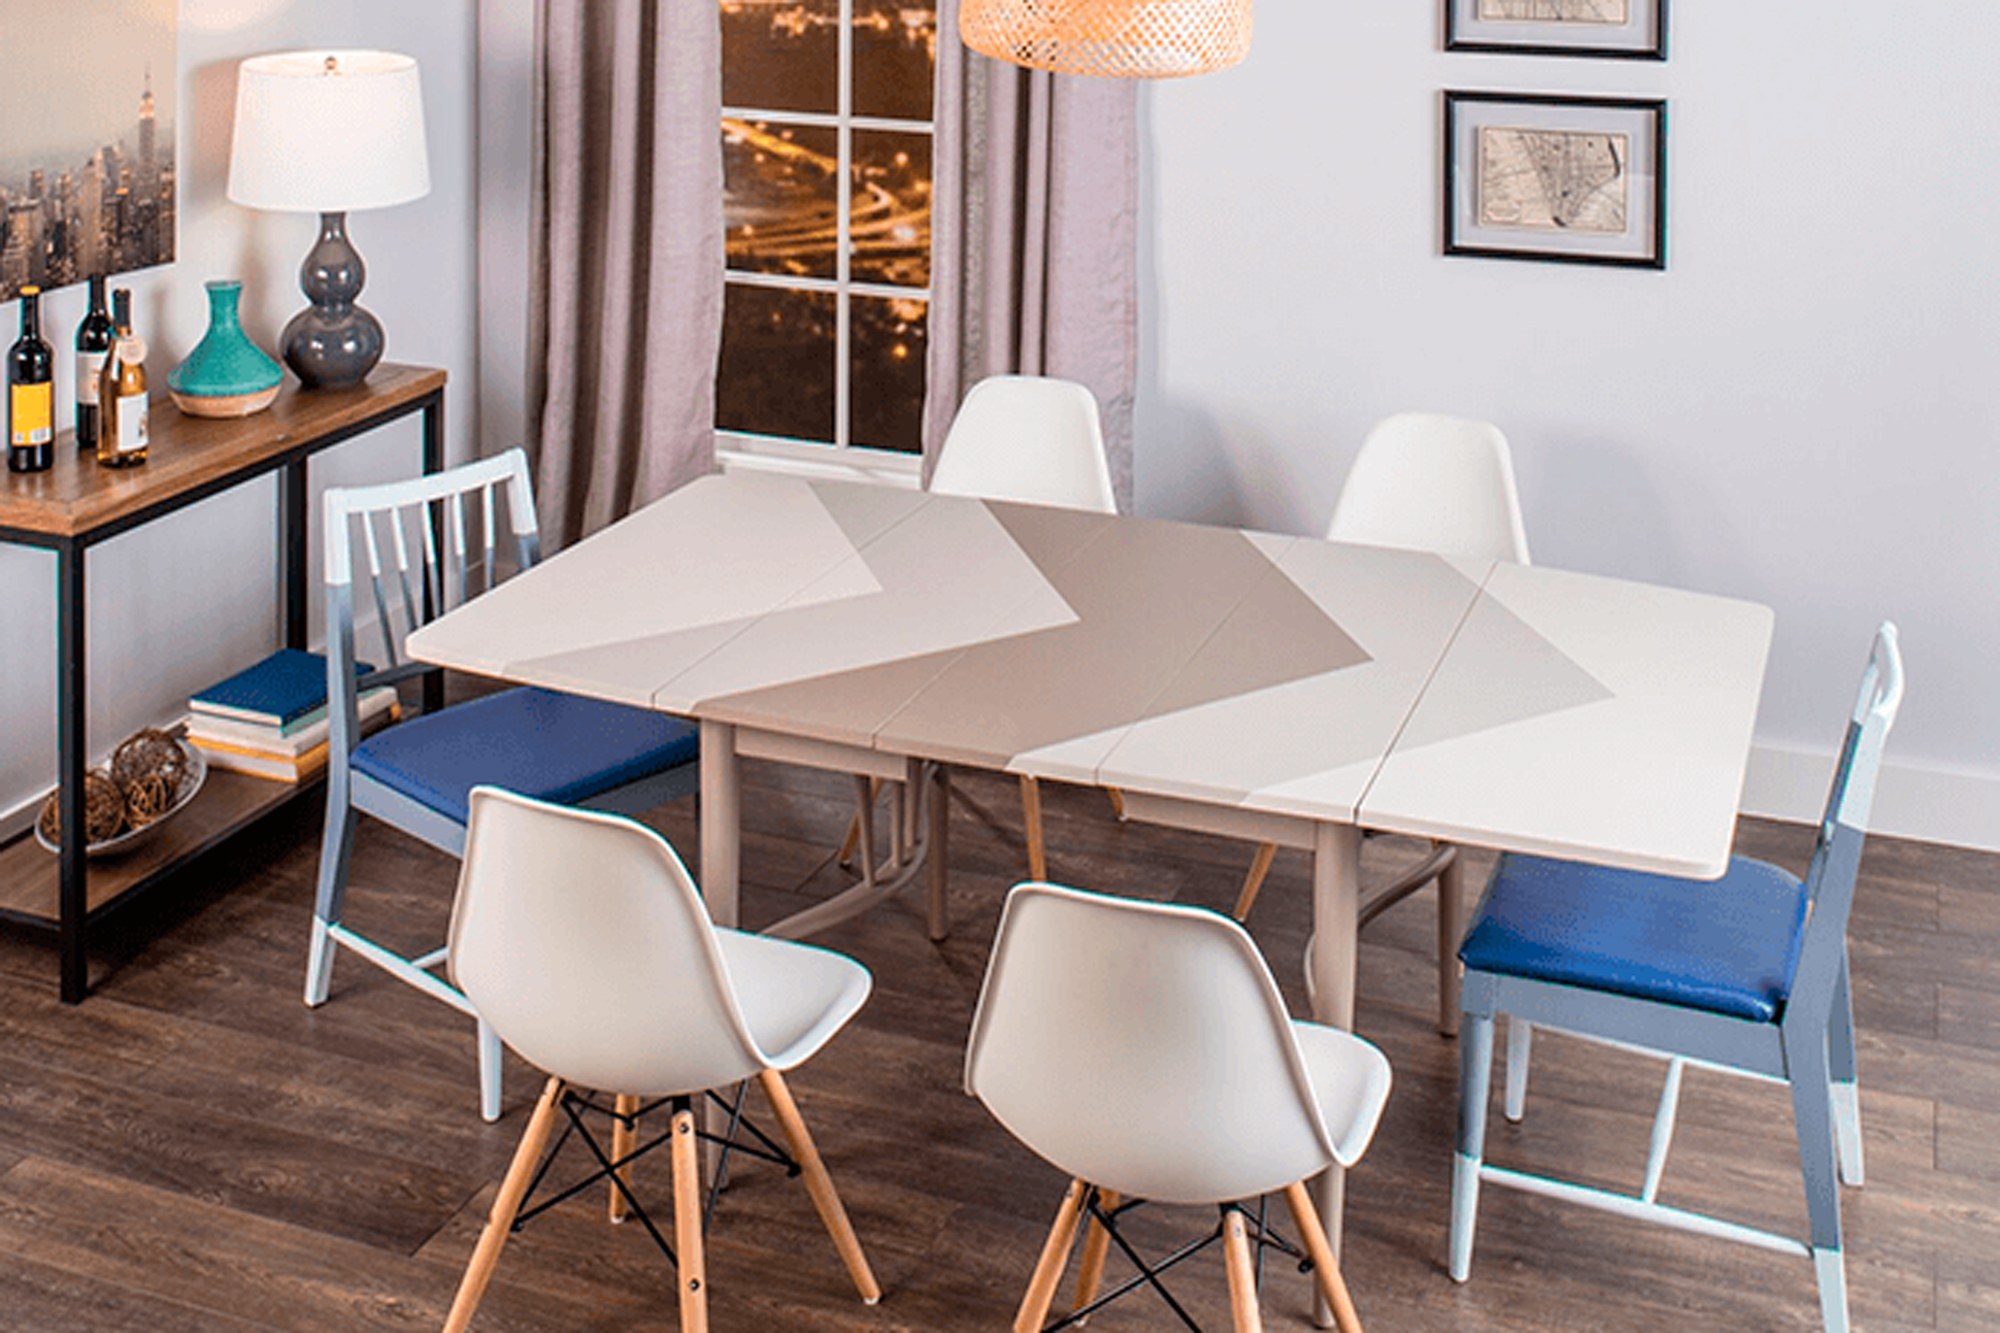
Table & Chairs Makeover
January 12, 2017Project Checklist:
- KILZ COMPLETE COAT® Paint and Primer in One
- 100-150 Grit Sandpaper
- Painter’s Tape
- Paint Brush
- Measuring Tape
- Chairs
- Table
- 3/8”-1/2” Synthetic Roller
Step 1:
For best results start with a properly prepared and previously painted or primed surfaces. Remove any loose or peeling paint and wash off dirt or grease with a non-soapy detergent or a TSP substitute. Rinse well and allow surface to dry.
Pro-tip: For glossy surfaces, scuff sand with the appropriate sandpaper prior to coating.
Step 2:
Tape off areas to be painted. To achieve a geometric pattern we recommend using measuring tape to evenly space tape.
Step 3:
Stir paint before and during application to make sure it is mixed.
Step 4:
Remove the painters tape when the paint is wet, or have a razor to cut the film if you’ve let the paint dry.
Step 5:
Allow to dry. The product dries to touch in 2 hours (at 77° F and 50% relative humidity) or longer in cooler temperatures and/or higher humidity.
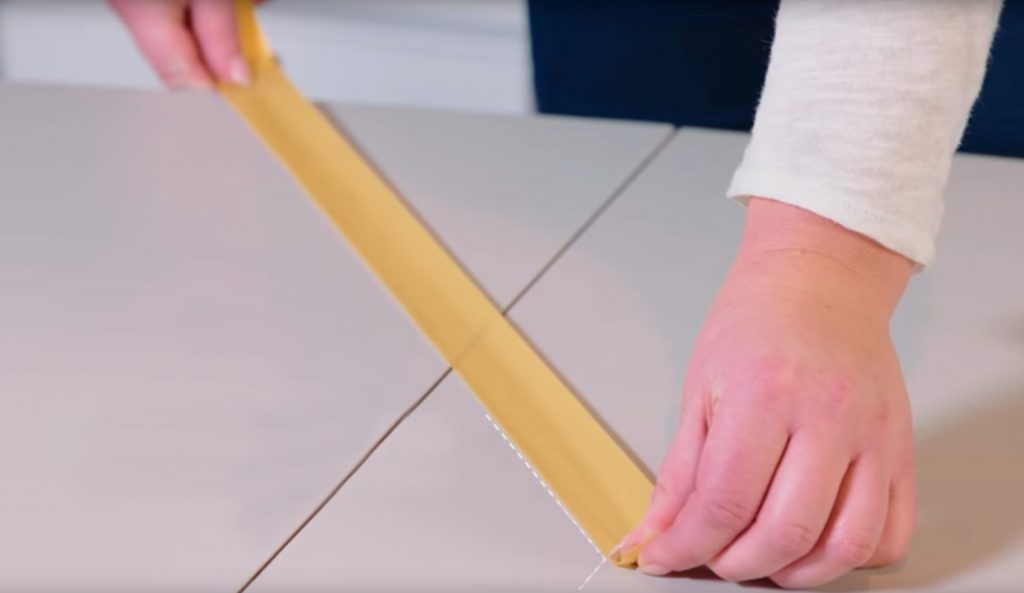
Pro-tip: Measure peak to peak, as well as the distance between the points along the side of the table.
Pro-tip: Use a high quality synthetic brush or 3/8”-1/2” synthetic roller for the application. When painting a horizontal surface, like a tabletop, apply thin coats.
RELATED ARTICLES
get inspired:
FOLLOw us:
@kilzbrand
SHOP
PRODUCTS
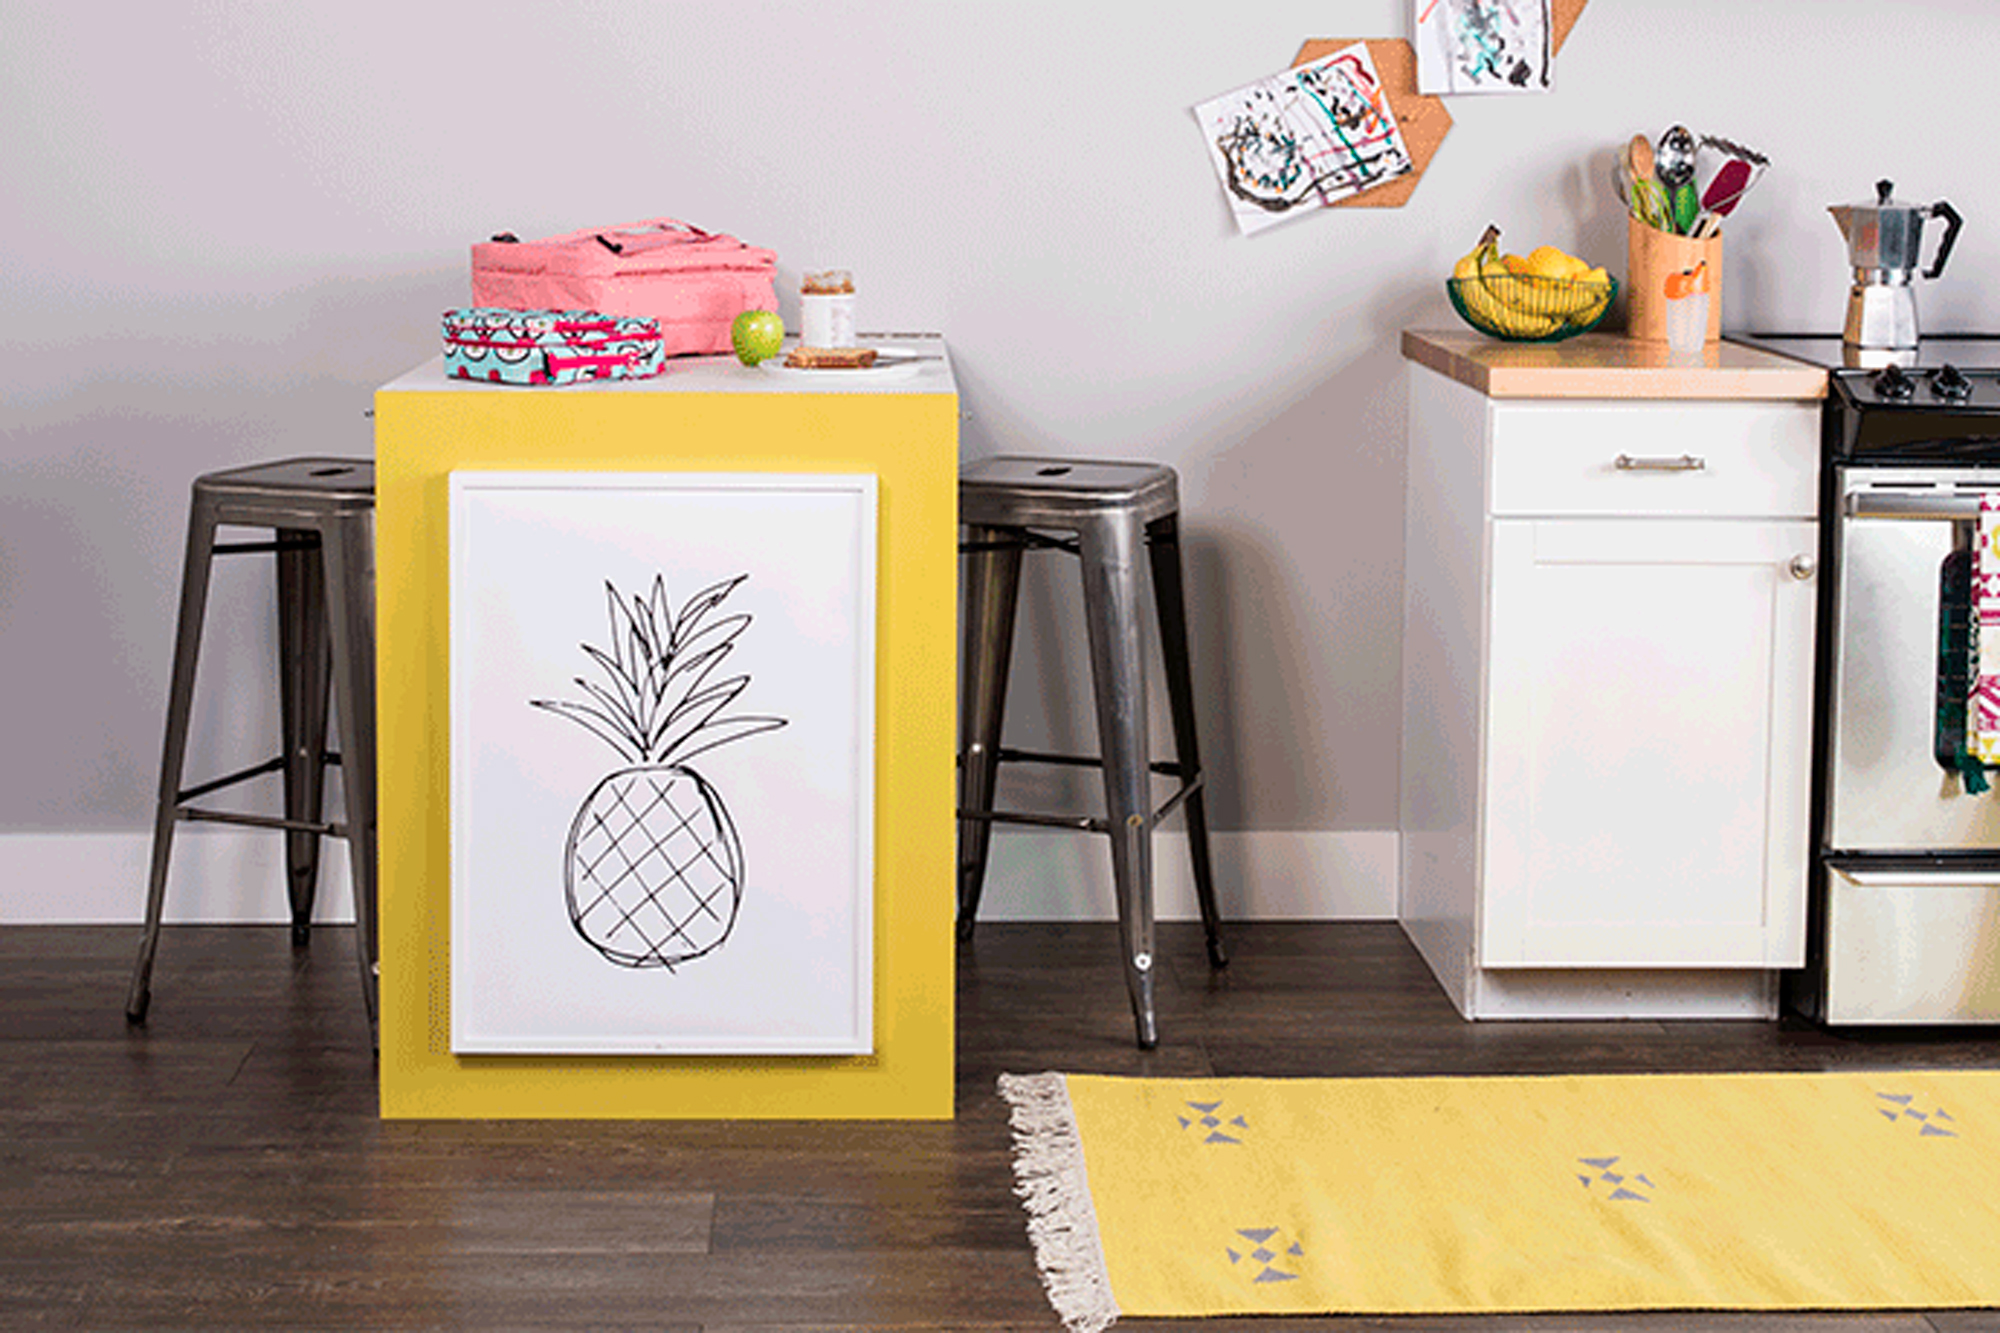
Small Kitchen Hack & A Pop of Color
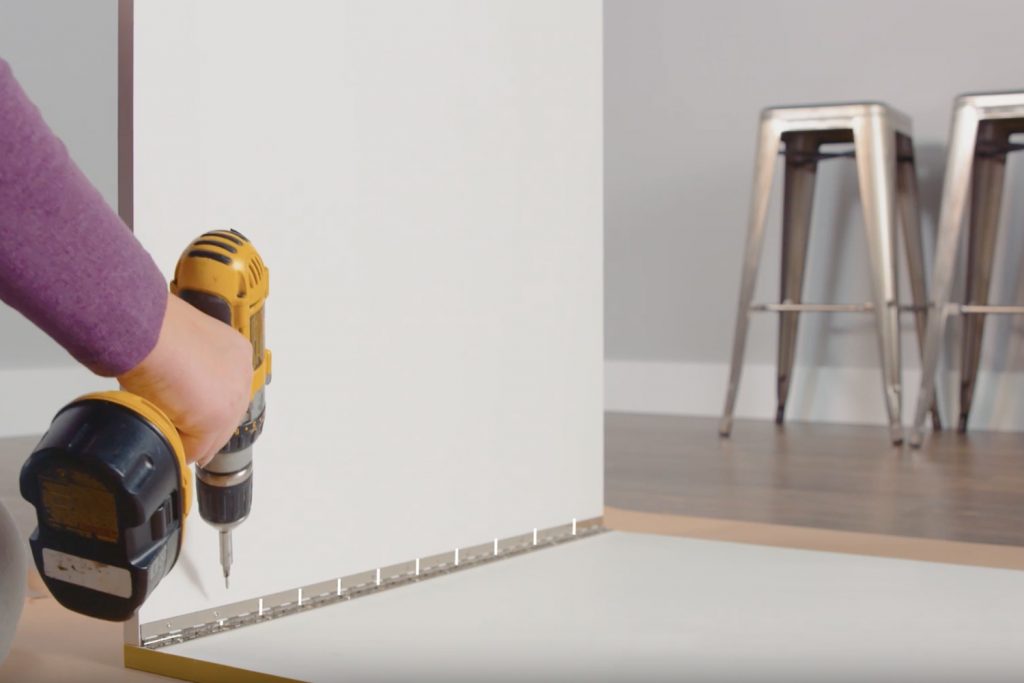
January 10, 2017This project is one of our favorites because of the unexpected twist that adds not only color but functionality to this space. If there’s not enough square footage for that 12 person dining table you’ve always dreamed of, we think you will love this solution. For this project we will show you how to create an optional tabletop space that retracts up and down allowing you to utilize at your convenience. This Murphy table will double your working counter space, and can even be used as a desk for the little ones to color! This concept can be used in a hallway, bedroom, office or garage for a working station!
Project Checklist:
- Plywood
- KILZ COMPLETE COAT® Paint and Primer in One
- 100-150 Grit Sandpaper
- Dust Mask
- Damp Cloth
- Paint Brush
- 3/8”-1/2” Synthetic Roller
- Framed Artwork
- Drill or Screwdriver
- Screws
- Piano Hinge
- Hook and Eye Latch
- Stir Stick
- Can Key
- Framed Artwork
- Measuring Tape
- Level
Step 1:
Start by cutting 2 pieces of 1/2″ plywood to size 28-1/4″ X 36″. Then cut 2 additional pieces of plywood to 1″ X 28-1/4″ for the wall cleats.
Step 2:
Sand all pieces of plywood with 100-150 grit sandpaper.
Step 3:
After sanding, use a damp cloth to remove any dust from the pieces of plywood.
Step 4:
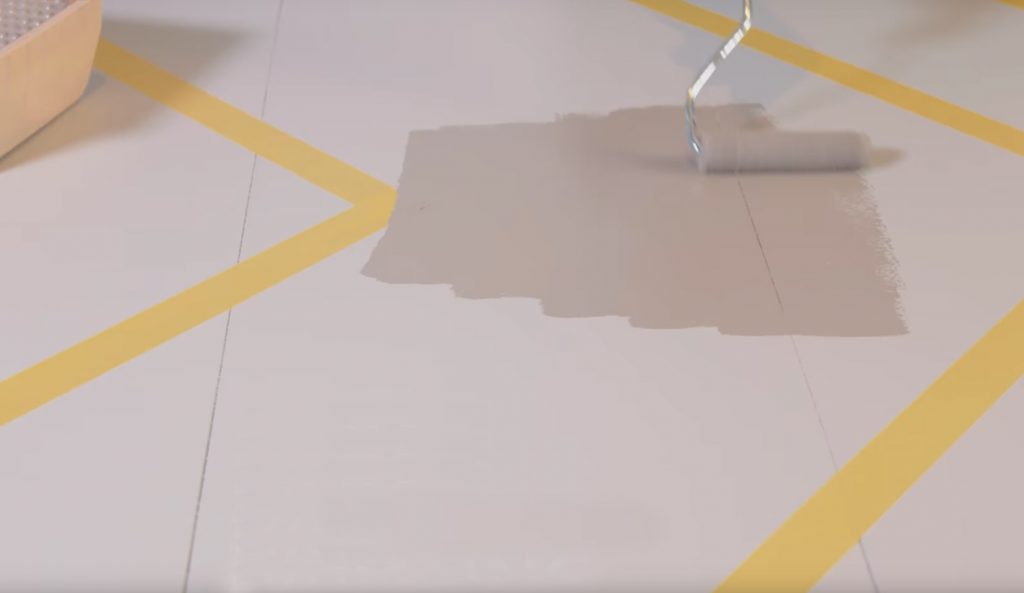
Open a can of KILZ COMPLETE COAT® Paint and Primer in One and thoroughly stir the paint.
Step 5:
Paint all of the pieces of wood with your selected colors and allow to dry.
Step 6:
Allow 2 hours dry time*, apply second coat if needed.
*Dark colors and high humidity areas may have extended dry times.
Step 7:
Next measure and cut the 2 piano hinges to size 28-1/4″.
Step 8:
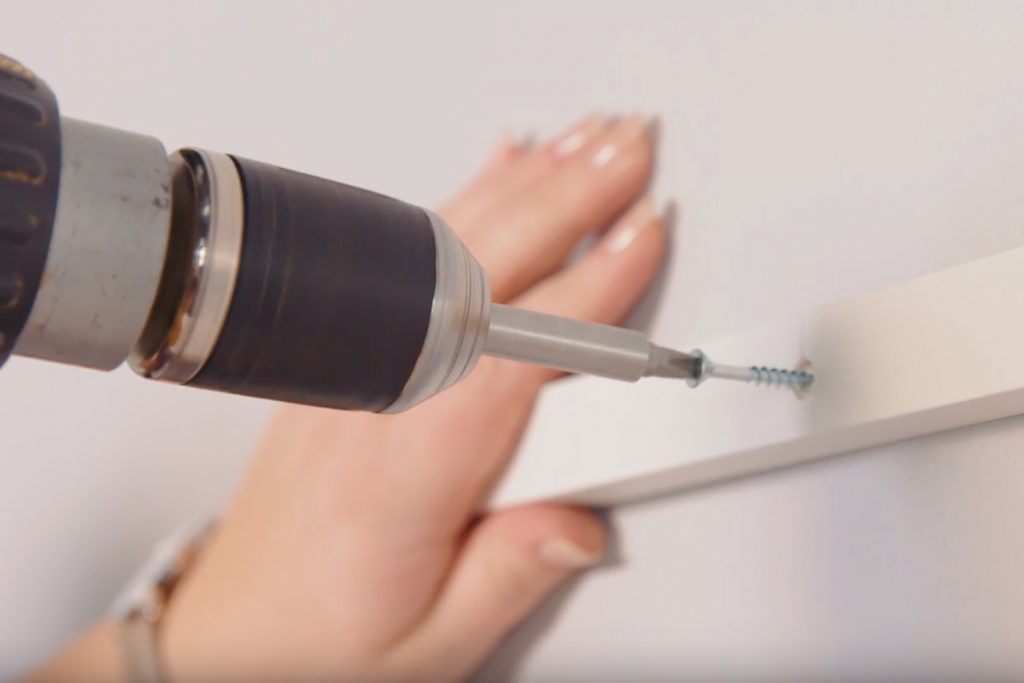
Using screws, attach the first piano hinge to connect the two larger pieces of plywood (table top and leg). Then attach the second piano hinge to connect the table top to the first cleat.
Step 9:
Measure and center the picture frame onto the front of the table leg. Once centered attach the frame with screws.
Step 10:
Attach the table top and lower cleat to the wall.
Step 11:
With the table folded against the wall, measure and attach the top cleat to the wall.
Step 12:
Finish by measuring and attaching the hook and eye latch to the top wall cleat and the table leg.
Pro-tip: For best results, apply with smooth strokes that go in the same direction as the wood grain.
Pro-tip: Use a power drill to attach the piano hinge.
Pro-tip: Use a stud finder to ensure the table is properly secured to the wall.
If there’s not enough square footage for that 12 person dining table you’ve always dreamed of, we think you will love this solution.
RELATED ARTICLES
get inspired:
FOLLOw us:
@kilzbrand
join the conversation:
SHARE this post: