Tag: Pro Tip
How-To Paint a Dark Accent Wall
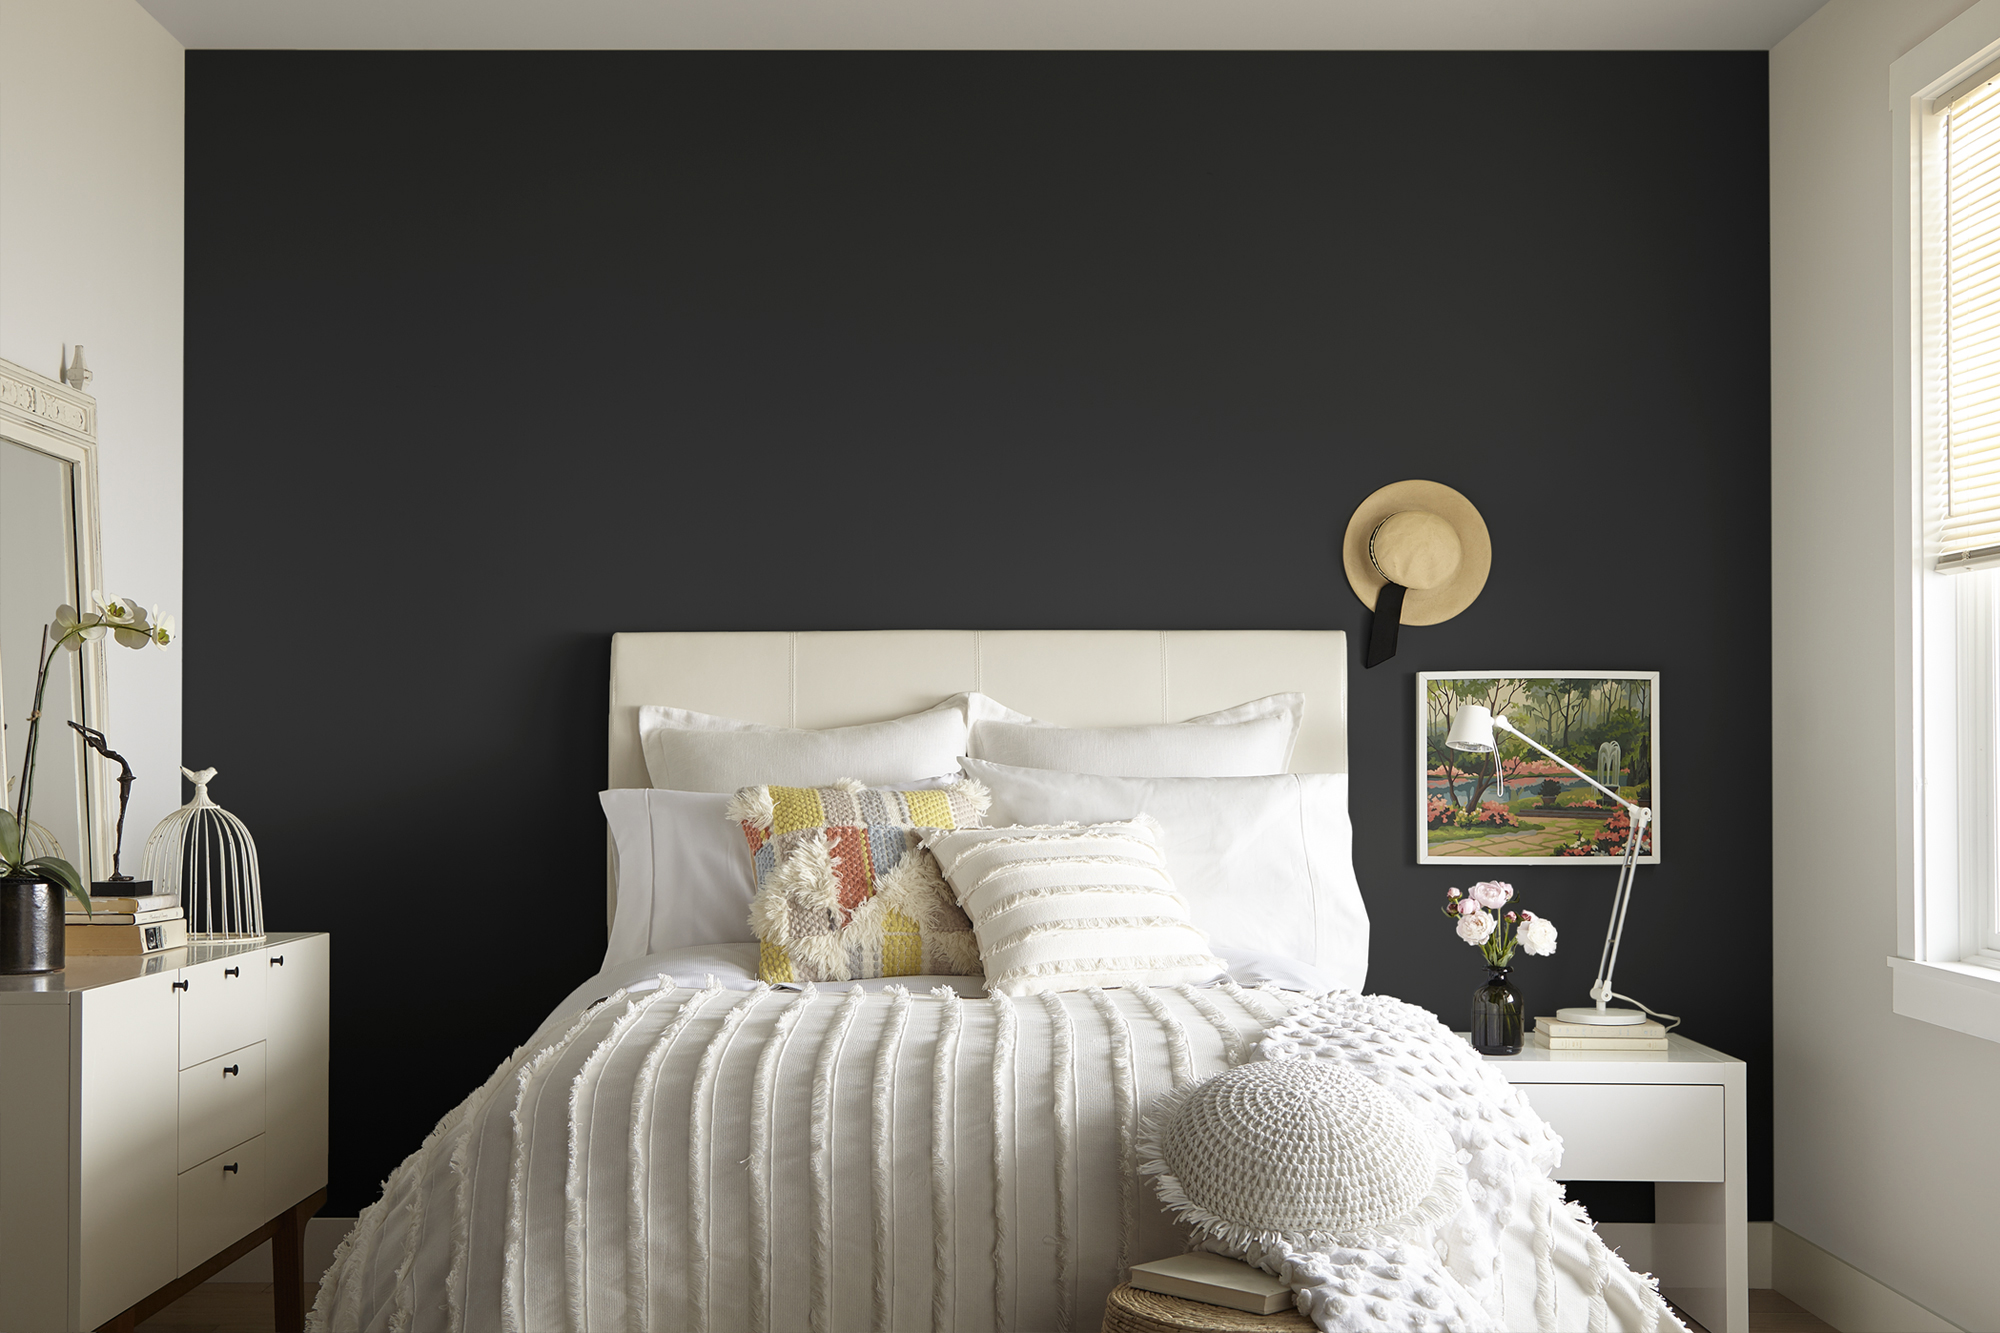
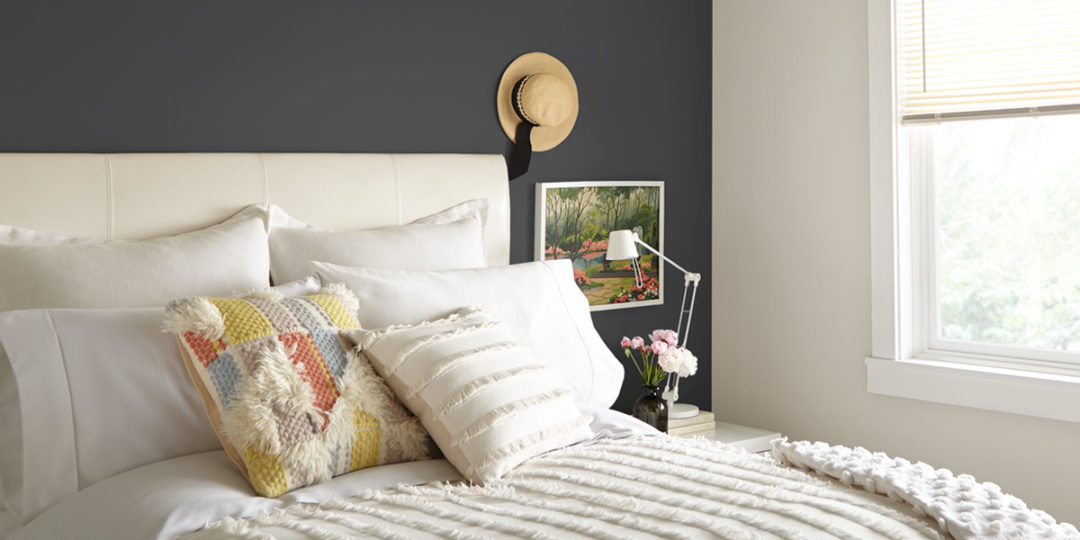
August 30, 2019An outdated wall color is replaced with a bold hue in this easy to replicate bedroom transformation, giving a once bland space a fresh look and feel. It’s typical of many painting projects to be applying new paint over a previous color, and when you’re going from a lighter shade to a darker paint color do you need to prime? The Pro’s answer is yes! Priming before painting allows a truer and richer color from your top coat, so even if you think your new color is dark enough to cover the old paint, you might not get the exact result you were expecting if you don’t prime first.
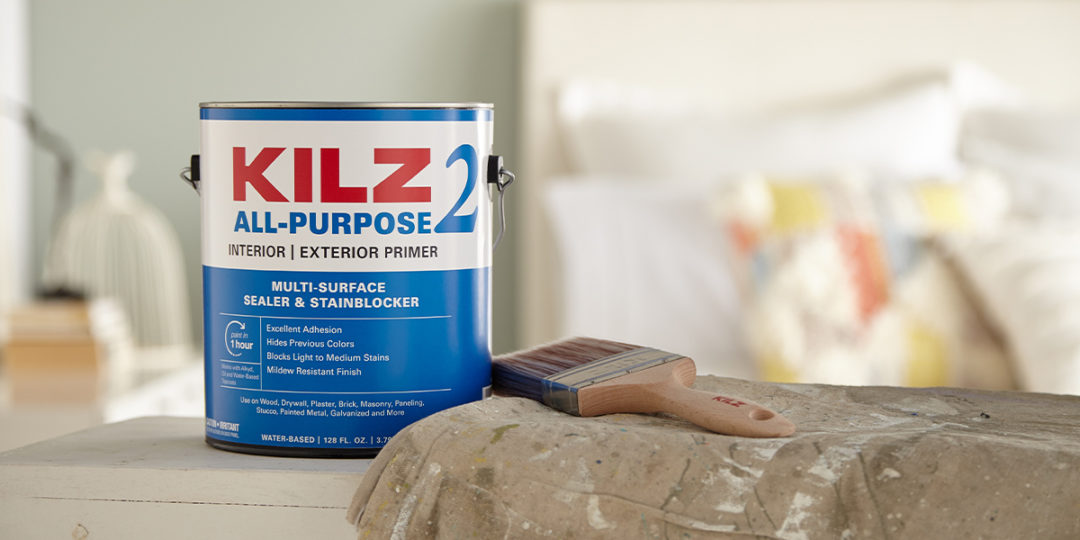
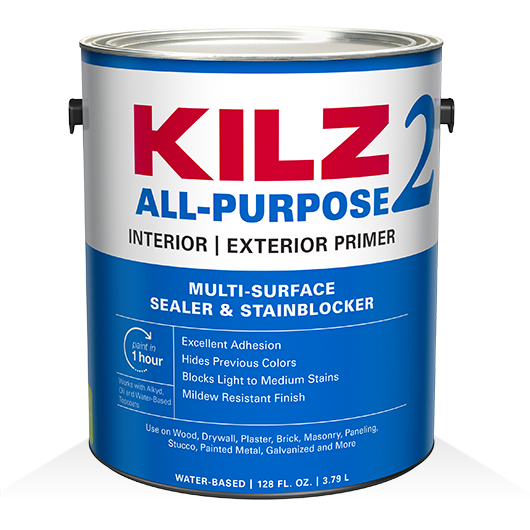
For this bedroom makeover we chose KILZ 2® All-Purpose primer, a multi-surface sealer and stain blocker that is great at hiding a previous light or mid-toned color. KILZ 2® was perfect for the job as we were taking the wall behind the bed from light to dark, but also changing the wall with the window from the old grey-green to a crisp white – this really made our final accent wall pop!
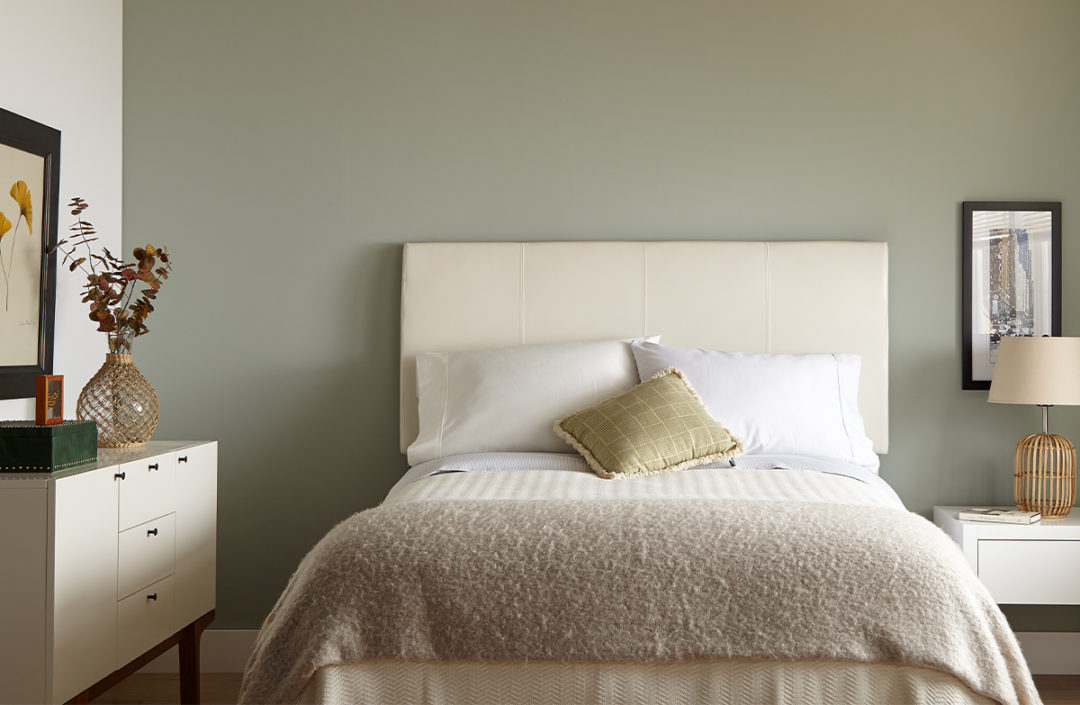
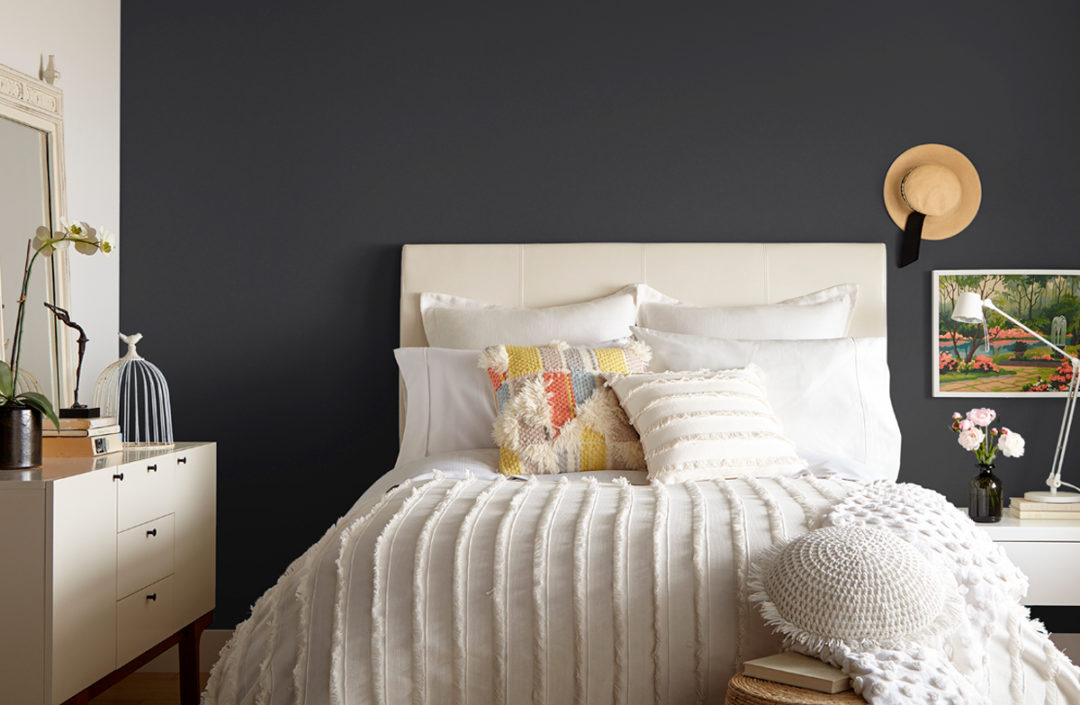
At first glance the before-to-after transformation of this space might look like it took a lot of work, but the biggest change was the new paint color. The beauty of a dark accent wall is that it can dramatically elevate your space, without the need for many other changes. We chose BEHR PREMIUM PLUS® in Nocturne Blue HDC-CL-28 for the accent wall and White Modern TB-09 for the remaining walls. A deep gray with a dark blue undertone, Nocturne Blue appears as almost black on the wall which resulted in the bold look we desired while still having a level of softness ideal for a bedroom.
After the priming and painting were done, we added new bedding and a few fresh accessories and the stunning bedroom makeover was complete. If you’re feeling inspired to paint your own dark accent wall, step-by-step instructions are below.
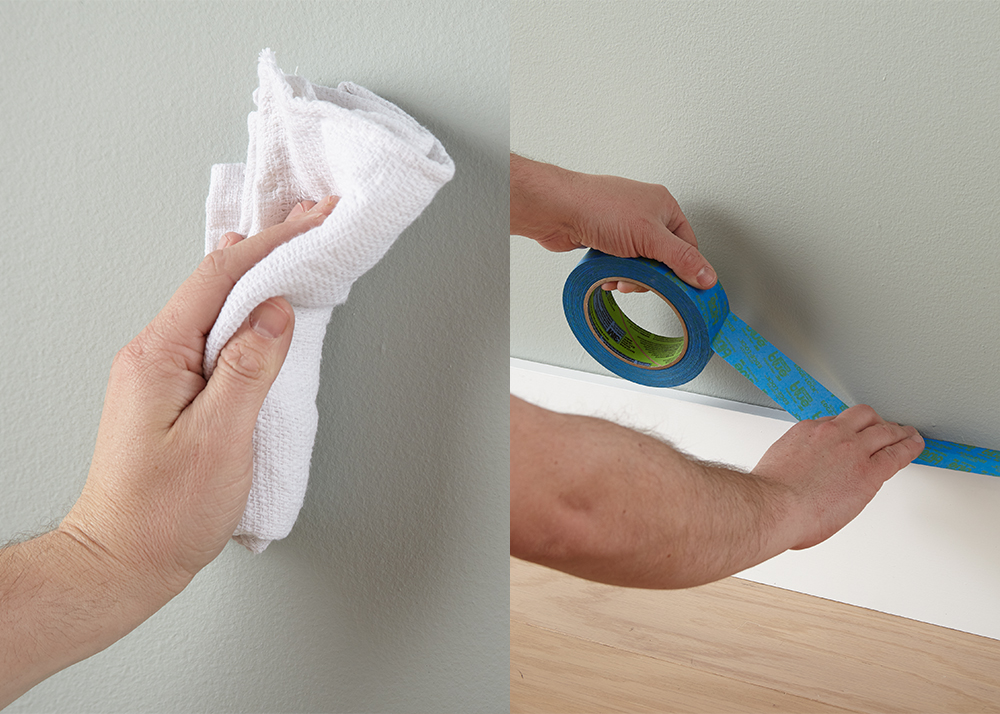
Step 1:
Wipe down the walls with a damp cloth to ensure they are clean and free of dust. Allow the surface to dry.
Step 2:
Tape around the baseboards, trim and moldings.
Step 3:
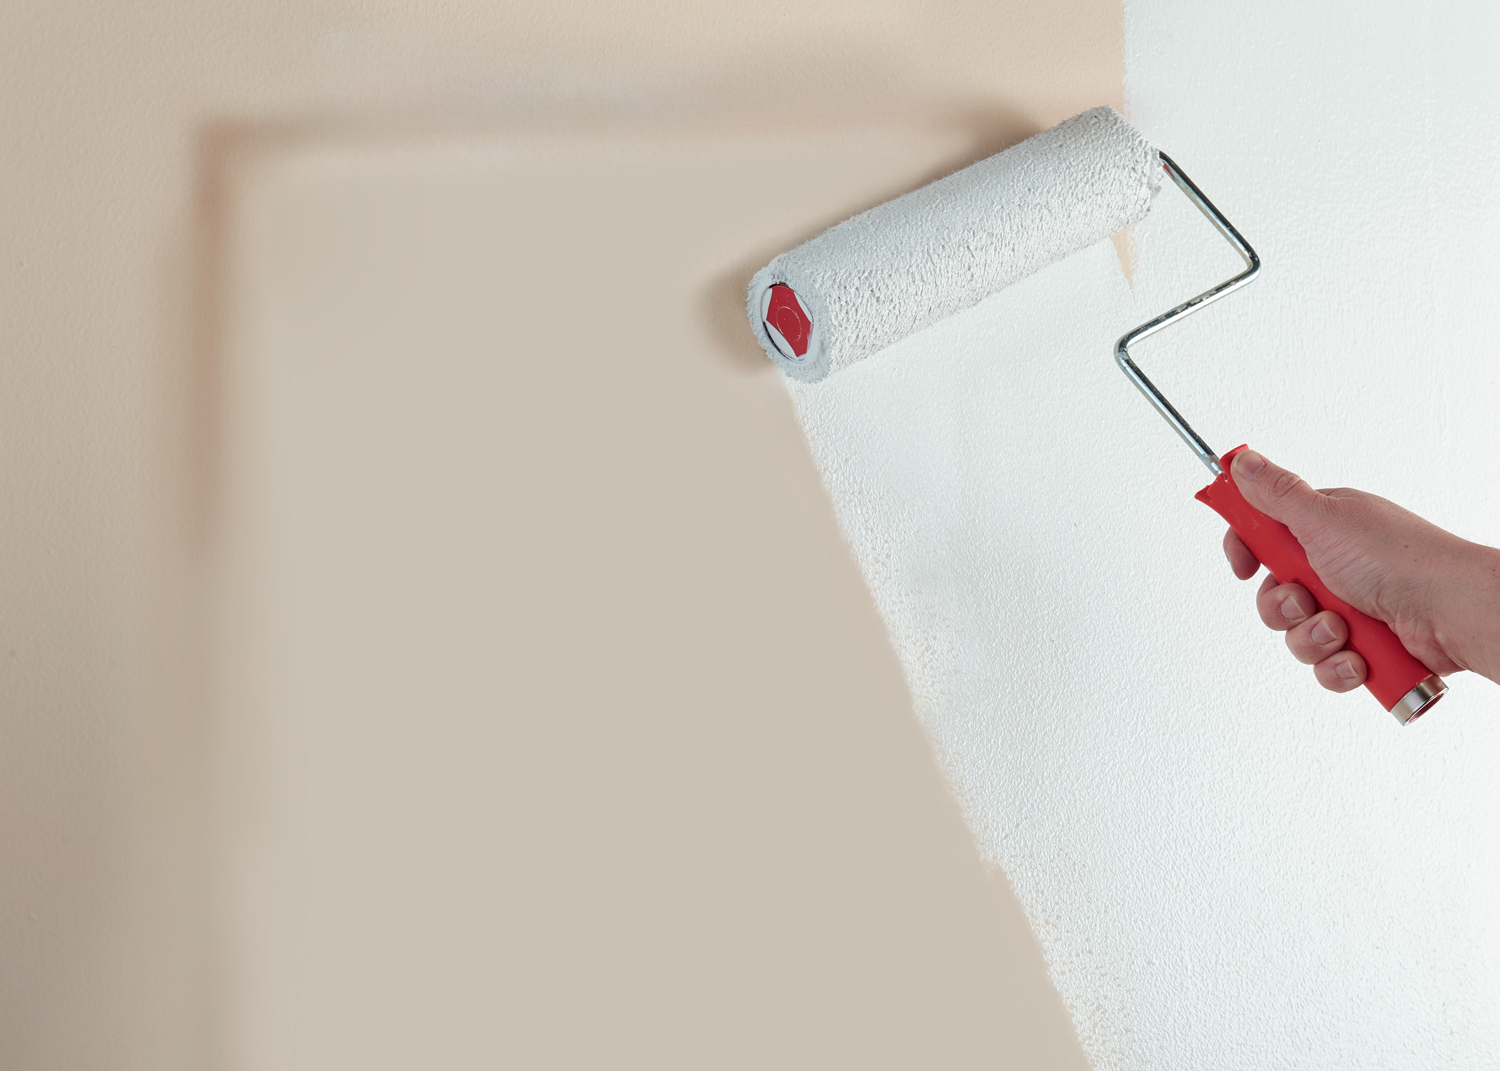
To ensure a perfect paint finish, start by applying 1 coat of KILZ 2® All-Purpose – stirring thoroughly before and occasionally during use. Allow 1-hour of dry time.
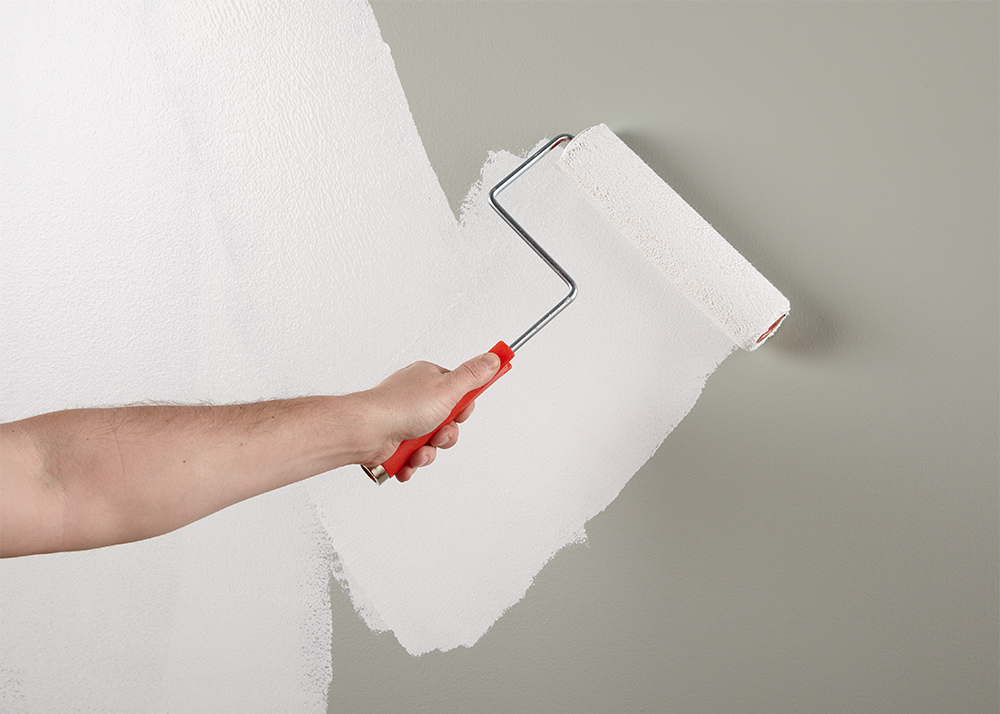 Pro-tip: Apply primer using a brush first to “cut in” around the edges, then use a roller to fill in.
Step 4:
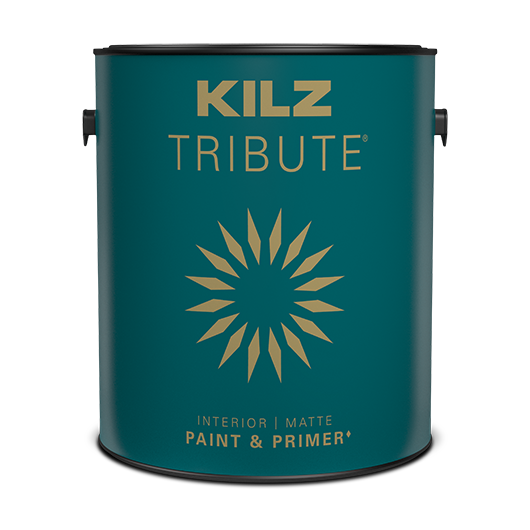
Next, apply KILZ Tribute® in White Modern on all walls except the chosen accent wall. Use a brush first to cut in around the edges 4 to 6 feet at a time, then use a roller to fill in those sections before moving along.
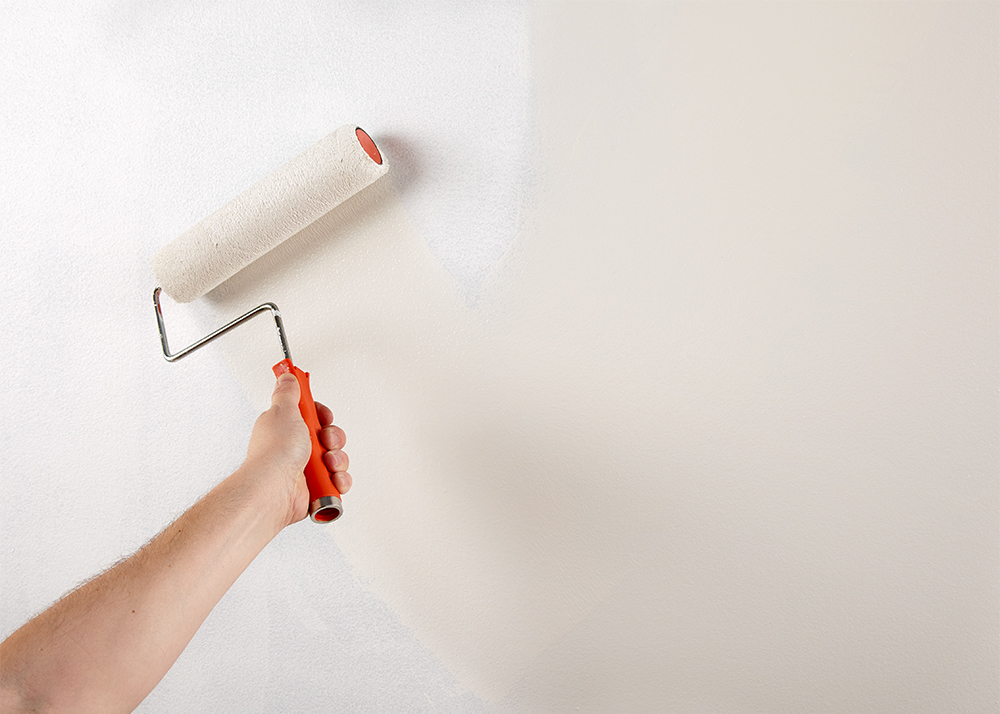
Step 5:
Next on the chosen accent wall, apply BEHR PREMIUM PLUS Nocturne Blue. Use a brush first to cut in around the edges 4 to 6 feet at a time, then use a roller to fill in those sections before moving along.

Step 6:
Remove tape prior to paint drying.
RELATED ARTICLES


get inspired:
FOLLOw us:
@kilzbrand
SHOP
PRODUCTS
3 Secrets to Stain Blocking
June 10, 2019Simply put, stains are a pain. From a marinara sauce splatter on your white pants to a water leak that ruins your once pristine living room wall, stains are often tough to tackle. When it comes to painting over stained walls, you might think that a quick coat of paint will do the trick. But you’ll likely be left with a stain seeping through the new topcoat.
Professional painters know the secrets to successful stain blocking, and it all starts with primer. Don’t know which primer to use? That’s where we come in! We know more than a few professional painters, and we’ve collected their secrets to stain blocking.
Secret #1 – Not All Stains Are Created Equal:
The key to successful stain blocking starts with assessing what kind of stain you’re dealing with.
Light Stains:
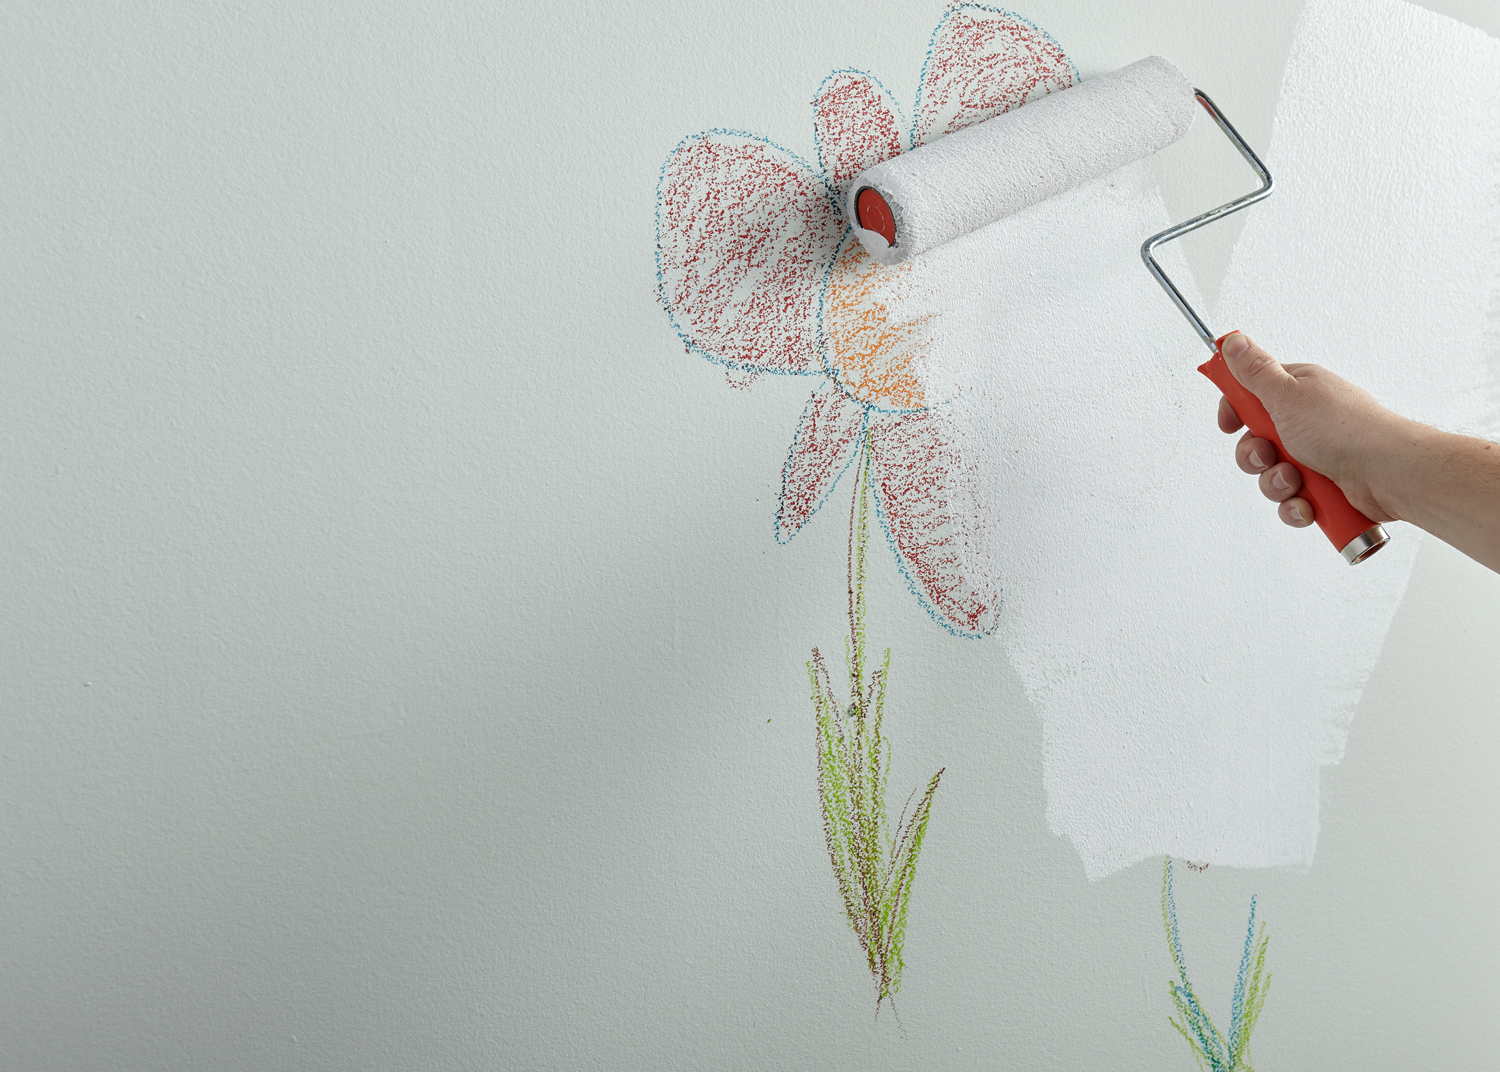
If you’re dealing with a light stain like scuff marks, pencil or crayon, you definitely still want to cover with a coat of primer before applying fresh paint. KILZ 2® All-Purpose is a great choice for blocking light stains – it’s fast drying and will get the job done!
Heavy Stains:
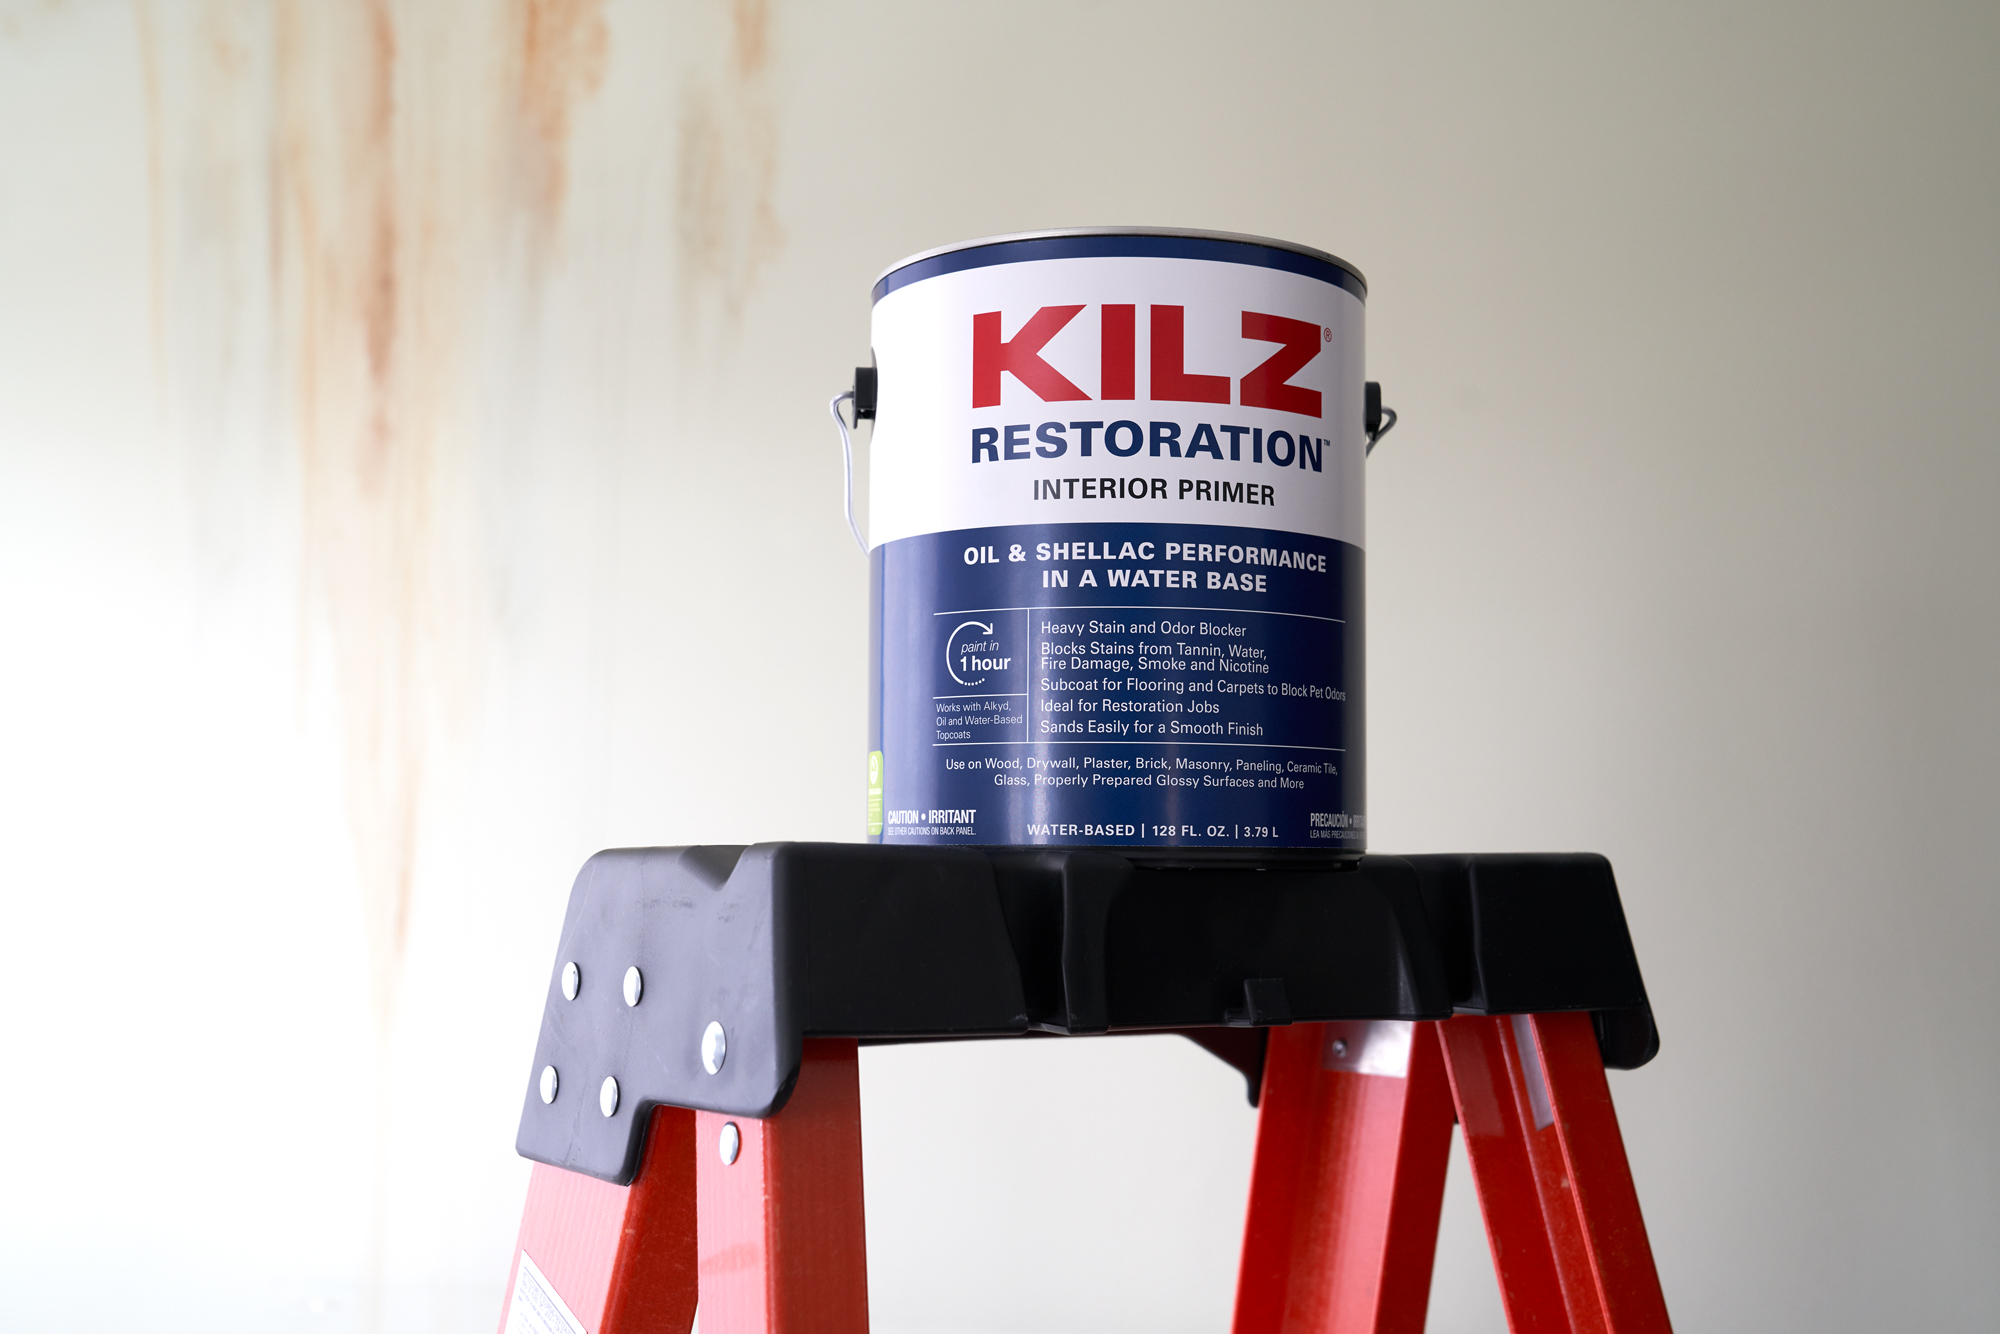
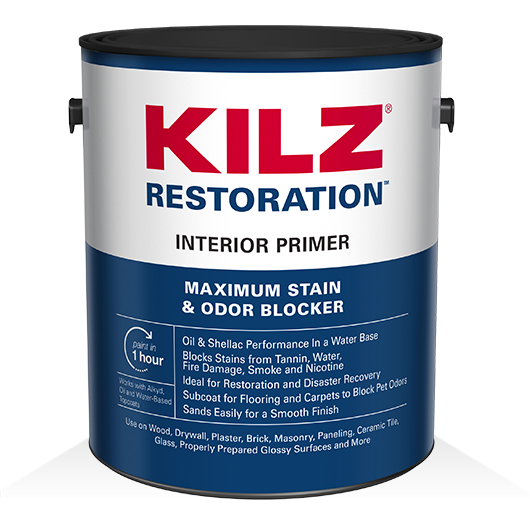
For severe stains like those caused by smoke, grease or tannins from certain types of woods, Pros will tell you it’s time to step up your primer game and use the oil-based KILZ® Original or water-based KILZ Restoration™ . Both are heavy duty stain blockers and trusted by professionals.
Secret #2 – Prep Work Leads to the Best Work:
Once you’ve assessed your stain type and procured the proper primer, it’s time to prepare the surface for stain elimination! Ensure that the surface is clean and free of dust, wipe down with a damp cloth if needed and allow to dry. You’re now ready to apply primer over the stain using a brush or roller.
Secret #3 – Do the Topcoat Test for Severe Stains:
When blocking sever stains you’ll want to test for stain bleed-through. Apply your topcoat paint to a small section after your primer is dry. If the stain bleeds through the topcoat, apply a second coat of primer and test again before top coating the entire area. If bleeding continues, a longer dry time is needed before top coating.
When you start with primer, blocking light and heavy stains doesn’t have to be a challenge!
RELATED ARTICLES
get inspired:
FOLLOw us:
@kilzbrand
join the conversation:
SHARE this post: