Tag: Primer Tips
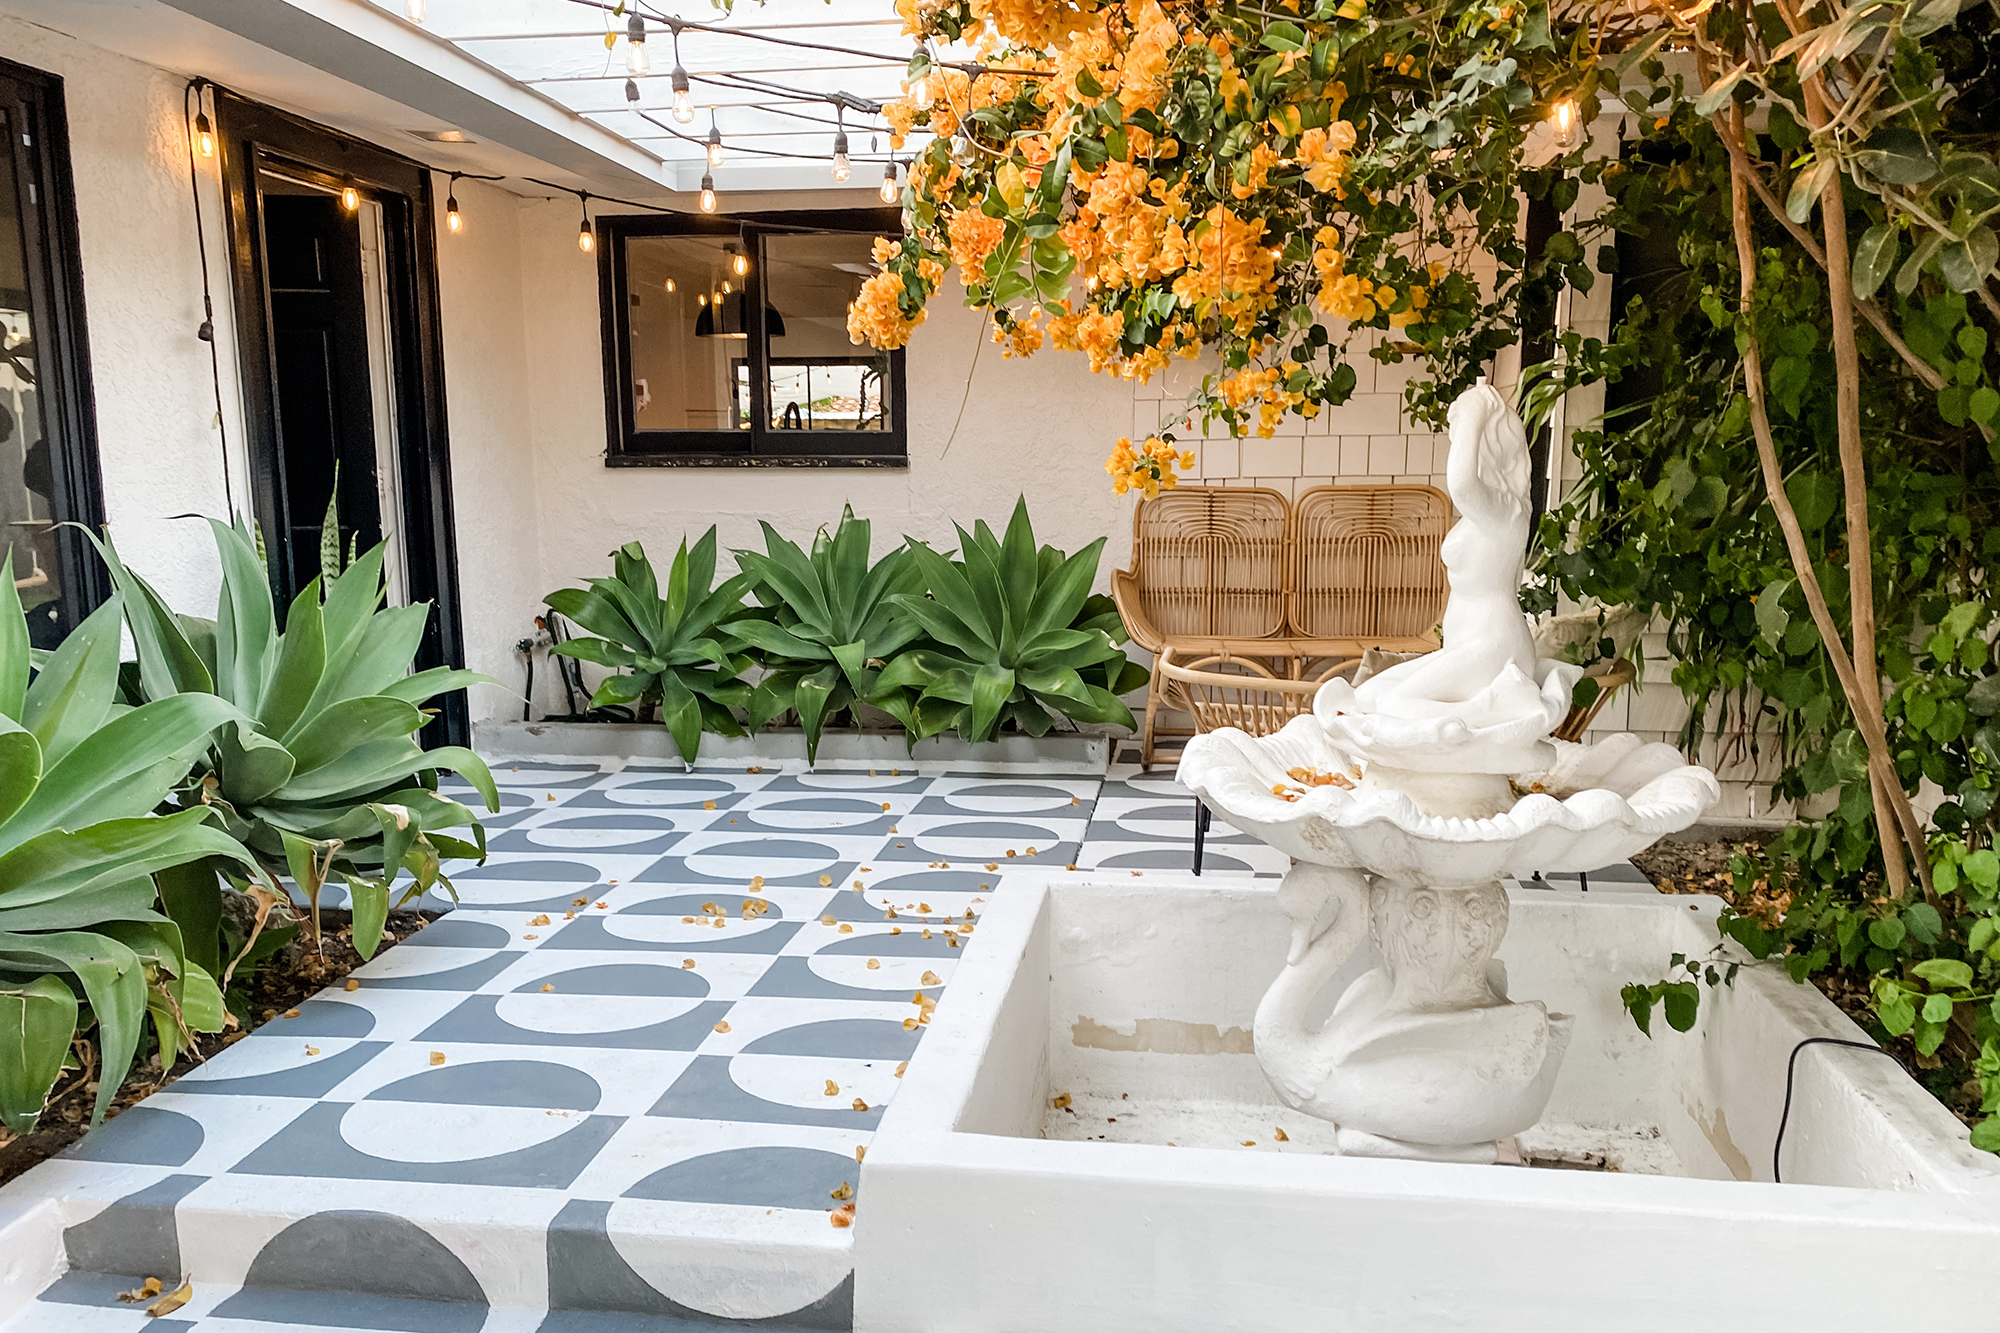
Pro Spotlight: Jesi Haack’s Mid-Century Courtyard Makeover
September 20, 2021 This month on The Perfect Finish, we have an inspiring Q&A to share that includes a stunning stenciled courtyard makeover. A friend of the KILZ team, Jesi Haack is a talented event designer with some serious interior design skills as well. Jesi’s full-service event design company, Jesi Haack Design, transforms traditional events into trendy affairs. She is also the Co-Founder of SLAACK Productions, a corporate event production company specializing in creative & interactive design experiences & installations.
Jesi recently completed a jaw-dropping makeover of her home’s front courtyard, and it inspires some serious DIY envy. Read on to learn more about Jesi and how she completed this gorgeous transformation.
Before we talk about your stunning patio project, we’d love to delve into your DIY/designer background. You own an event design and production agency, and on top of that you’re a super talented DIY-er and interior designer. Tell us how you first got into interior design and DIY’ing and how that led to where you are now.
Well, I’ve always loved making things look cool. Whether it’s for events or in my home. So once Covid hit and turned the lights out on our busy production company, I suddenly had a ton of time on my hands and no creative outlet. Pair that with buying our first fixer home and a huge income hit, I became a DIY’er! Hahaha! I just started figuring stuff out on my own because of boredom, lack of funds and a need for creativity. Once I started sharing my projects on social media, I didn’t anticipate so many people would like what I was doing! And then they started asking me to help with their homes, offices, and projects! It’s been a blast!
Where do you find inspiration for your DIY home improvement projects? Has work for your event design business inspired any of your interior design projects?
I’m inspired by so many different outlets and people. I follow a bunch of different types of builders and creators (I think of them as more than DIY’ers because it truly is an art what they do) and other people’s work is truly an inspiration. And yes! My event installation background is a huge aspect to my work and my style. I try to think outside the normal interior design box and bring in more three-dimensional aspects to interiors. More like art installations that make a big impact. At least that’s where my thought process is.
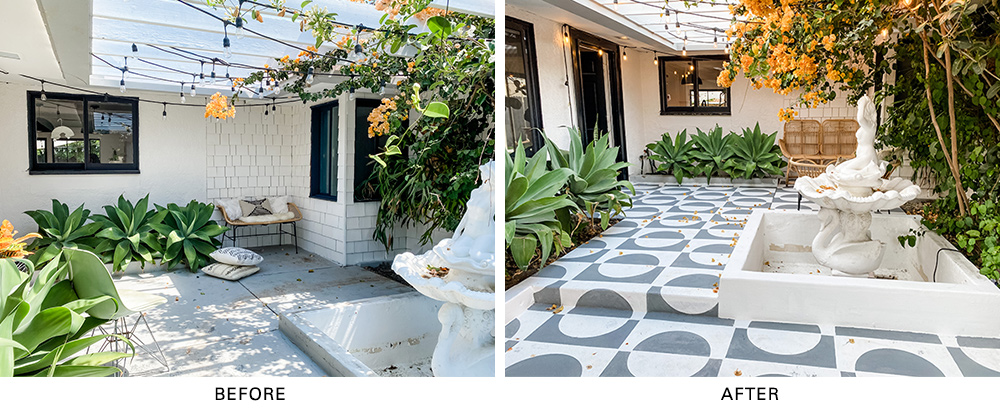
Let’s talk about your recent patio project. What inspired the design and what was the overall process?
I’ve spent a ton of time in Palm Springs for work and am so inspired by the architecture there and the mid-century design style. Our patio was so basic and the concrete so ugly, I knew I wanted to bring it alive with a pattern. I also knew it was an area I didn’t want to play it safe with. I wanted it to make people stop for a sec and notice before entering our home! It was a pretty simple process: clean – prime – stencil – seal!
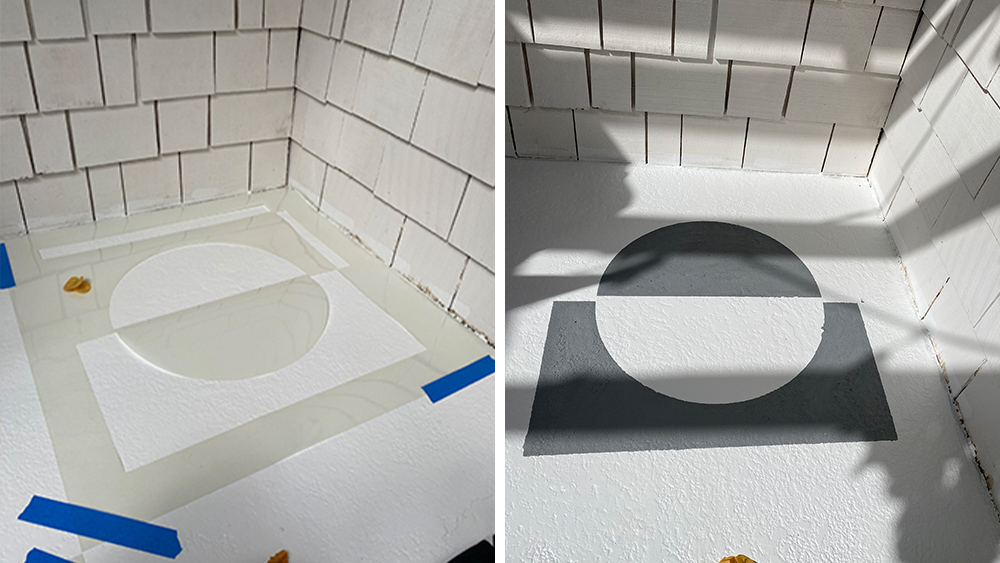
Which KILZ product did you use for the patio makeover and why? How do you think it impacted the project?
I used KILZ 3® Premium Primer and KILZ Over Armor® concrete coating. Kilz primers are my literal go to for any project because they seal the surface I’m working on. For this one in particular, a quality primer was clutch for covering up chipped paint and giving me a blank canvas to use for my stencils.
How did you first learn about KILZ? Have you used KILZ primers for any other projects?
I think my dad told me about Kilz long ago when I started creating. I’ve literally used the primer on everything! My baseboards which got rid of water stains and still have kept them away! Lots of painting projects for our events, the primer helps keep our wood sets from warping in outdoor settings.
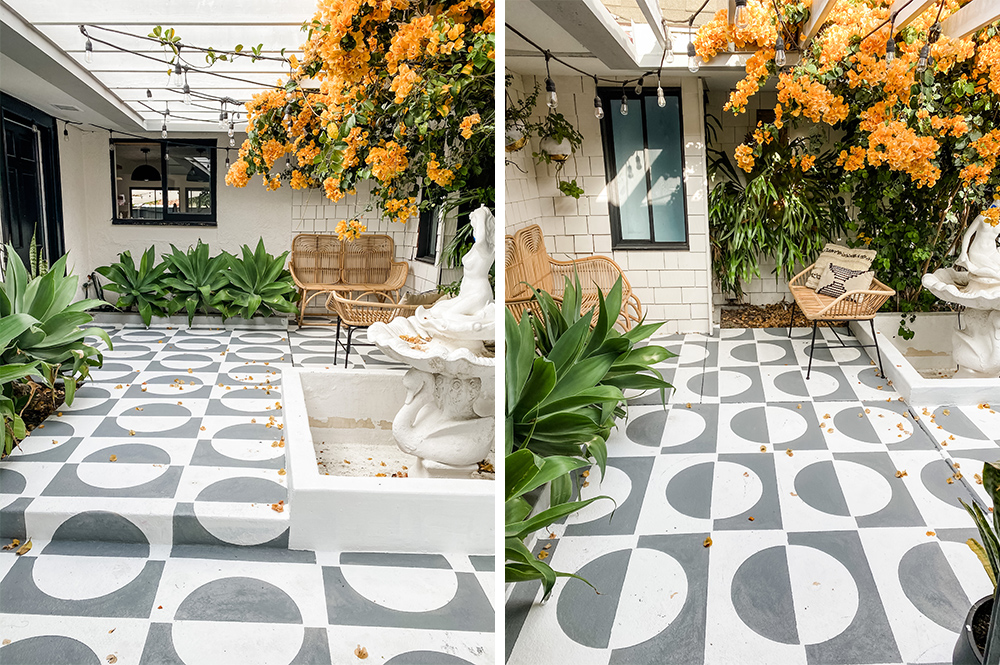
When completing any DIY or interior design project, what are your tips and tricks for success?
A tough lesson I have learned is don’t rush! This is so hard for me. I love diving in and getting to the end result. But don’t skip prepping! Properly taping off and using primer will make your project look more legit in the end and will save you touch up work when all is said and done!
Jesi Haack’s Step-by-Step Directions for a Mid-Century Courtyard Makeover
1. Power wash cement.
2. Use a cement cleaner and pour it on with a plastic watering bucket. Don’t use metal! Scrub with a stiff bristle brush.
3. Let dry completely, typically a day or two.
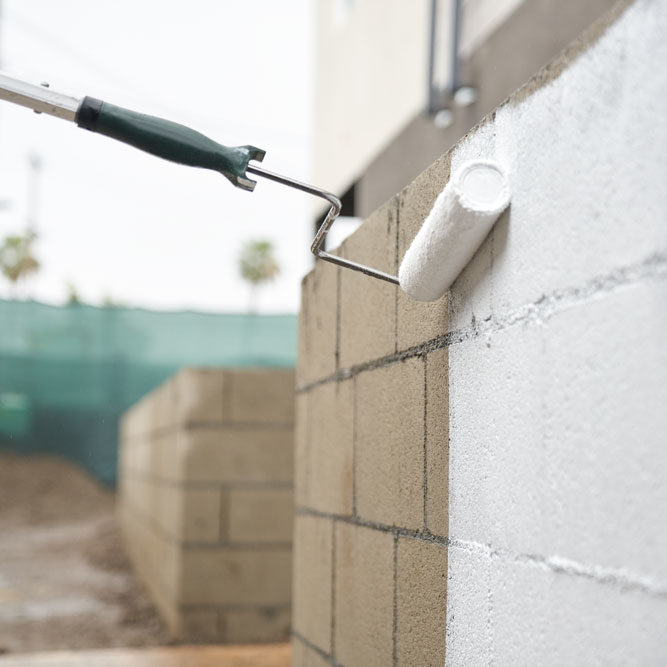
4. Prime! Use a roller to get a smooth layer. I did 3 coats because I was using Kilz primer as my base coat. Wait a few hours between coats.
5. Map out your pattern with chalk line. (I skipped this step and I regret it). This will ensure each time placement lines up and is straight. Make squares that are the size of your stencil.
6. Time to stencil! Lay stencil down on each square. Use an angled brush to paint on cement paint. I had two stencils so I would alternate so it would give the paint on the stencil a bit of time to dry so it wouldn’t transfer the paint that got on the stencil to the new square. Wash off your stencil every so often to keep your lines nice and clean. Don’t stress too much about lines, you can touch up at the end!
7. Touch up messy lines and spot clean where needed.
8. Let cure for 72 hours.
9. Paint on a cement sealer! Wait 24 hours before using!
Always remember to refer to our website kilz.com or product back labels for additional information on which primer is right for your project and detailed instructions on how to apply our products.
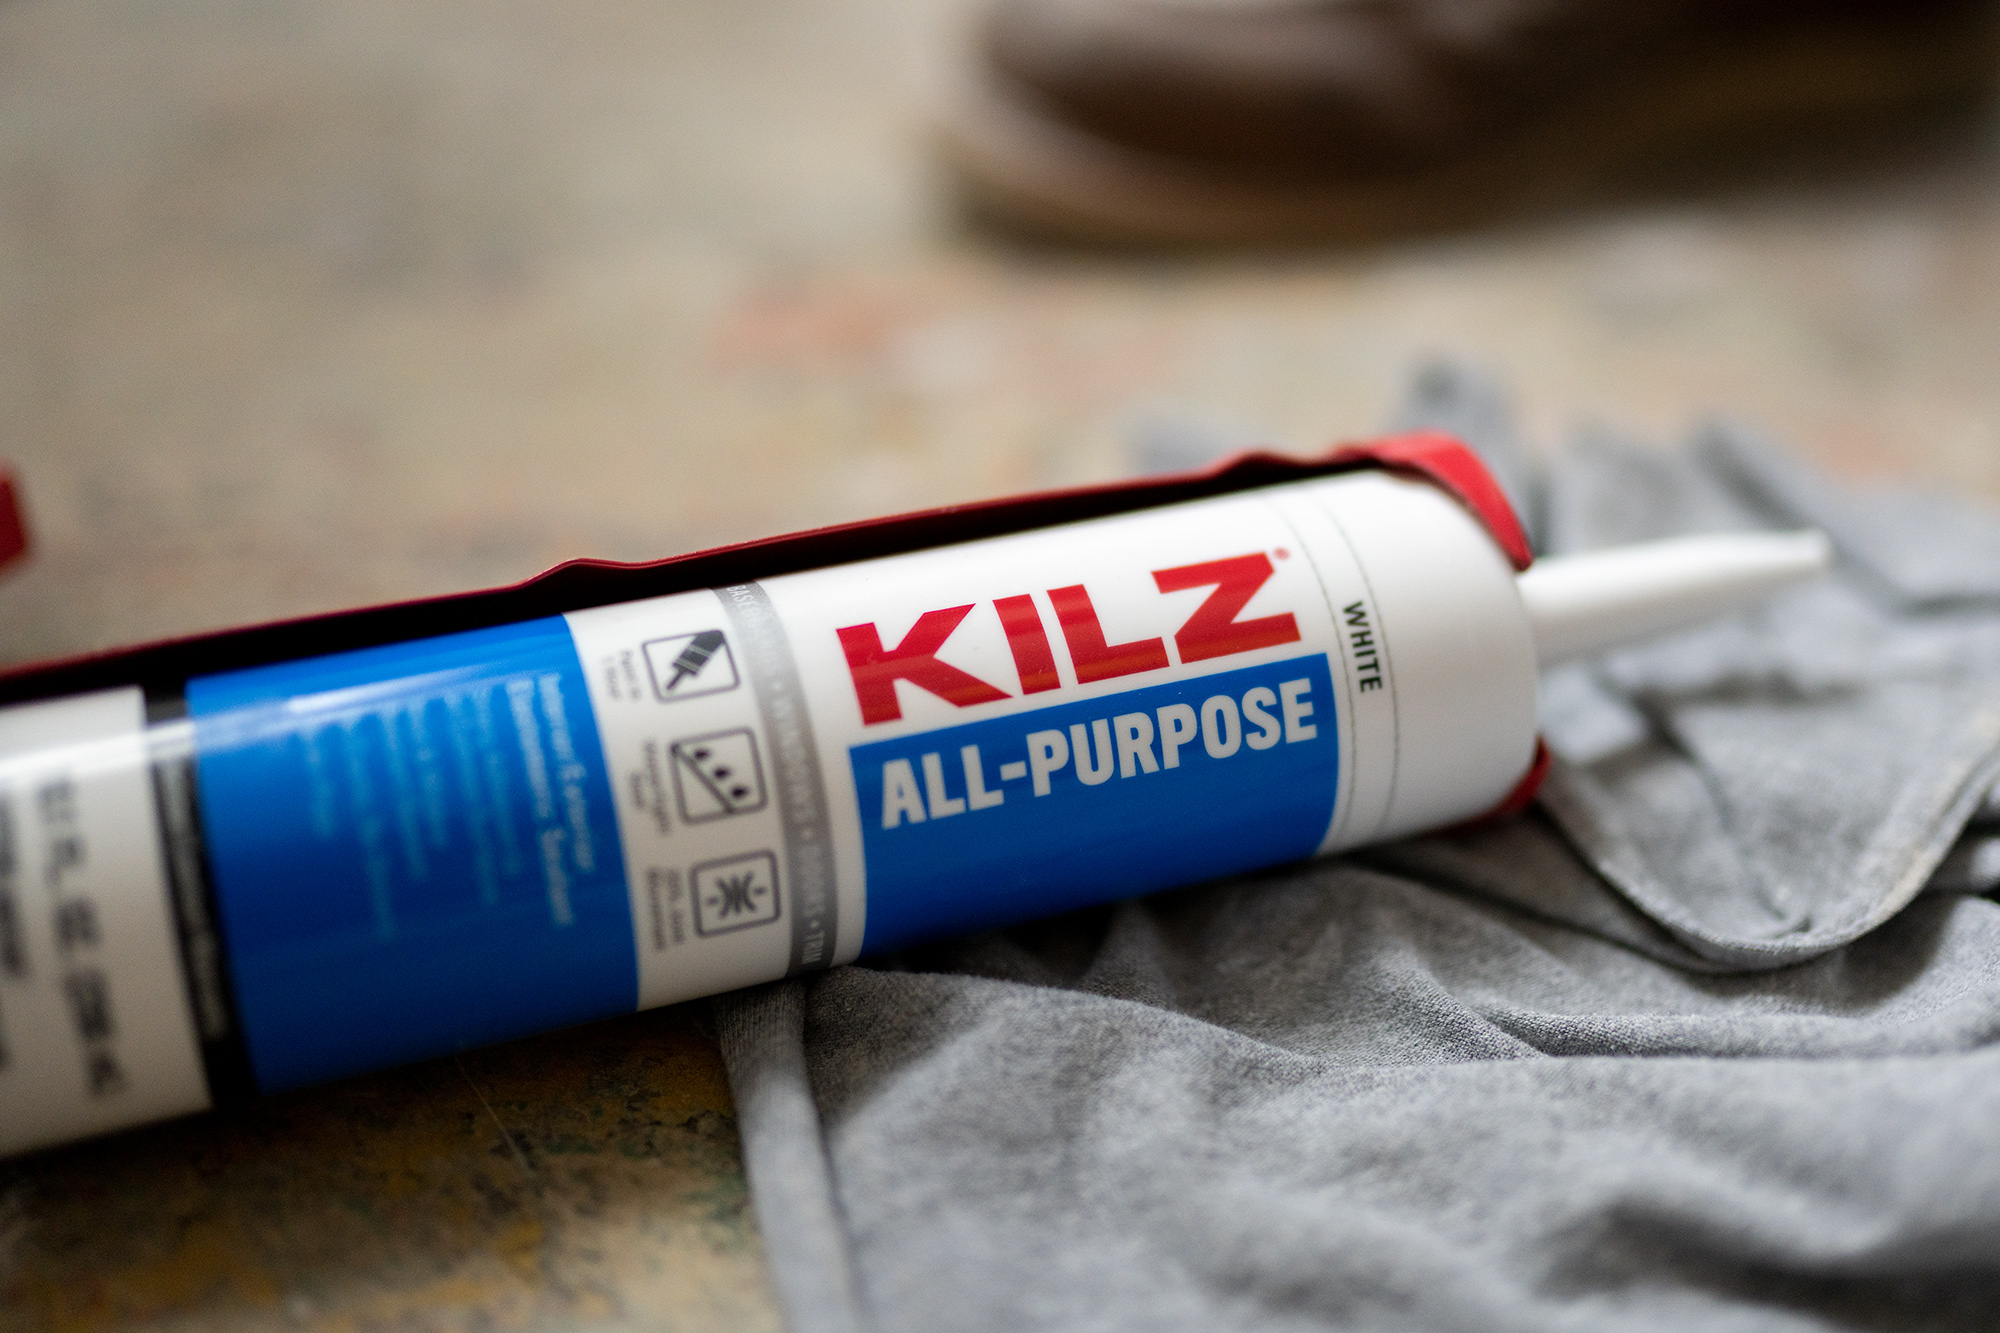
Ask the Pro: Caulks & Sealants 101
September 20, 2021 We talk a lot about primer here on The Perfect Finish, but today we’re excited to dive into a different home renovation product – caulks & sealants! KILZ recently launched a line of caulks & sealants, created for a variety of interior and exterior projects. To share more about these new products and offer tips and best practices for using caulks and sealants in a variety of DIY projects, we tapped Chuck Eisenhauer.
A Product Manager on the KILZ team for over three years with a background in Chemical Engineering, Chuck is an expert on all things caulks and sealants. Whether you’re trying to figure out which KILZ product is right for you, or where and how to use them once you’ve bought them – Chuck’s got your answer!
Let’s start with the basics, what is caulk?
“Caulk” or (less frequently) “caulking” is a material used to seal joints or seams against leakage in various structures and piping. The oldest form of caulk consisted of fibrous materials driven into the wedge-shaped seams between boards on wooden boats or ships.
What is the difference between caulks and sealants?
Most often these two terms are used interchangeably, and the two products serve the same purpose: to fill gaps between materials and to keep water and air EITHER in or out. For us, the main difference between a caulk and a sealant is elasticity. Caulks are fairly rigid when dry and are intended for use in areas with minimal expansion and contraction. Sealants are made from flexible material making them ideal for areas prone to more significant expansion and contraction.
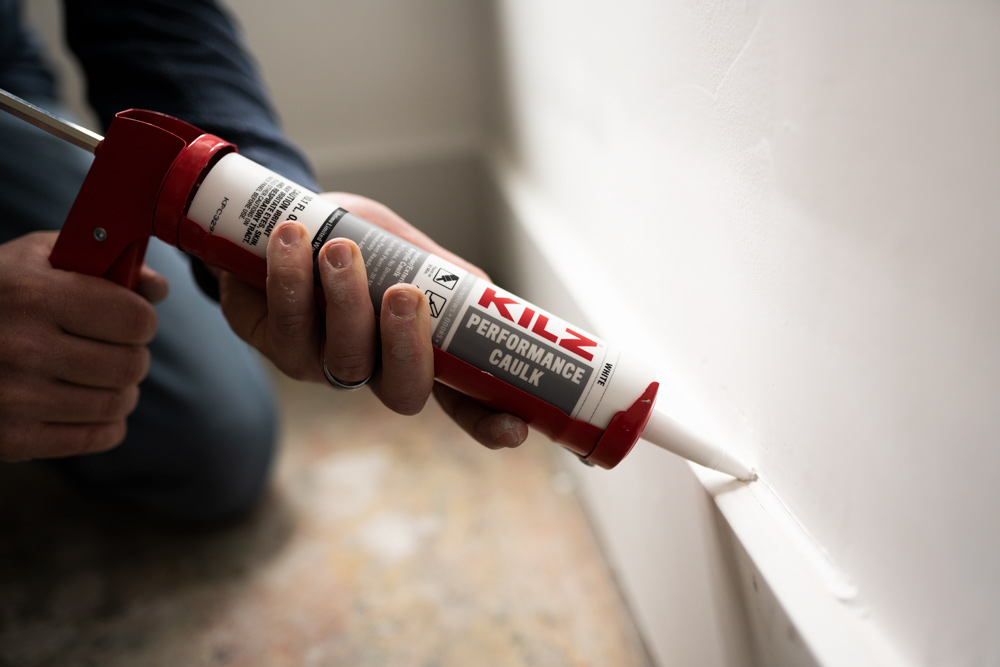
What types of projects typically require a caulking or sealing product?
Any project you need to seal a joint or seam! Typically, you will see caulks or sealants most often used in projects where someone is needing to replace old caulking or is sealing new joints/cracks/etc. before priming and painting. Most of our products are best used for sealing cracks, filling openings like nail holes, or sealing connection joints between stairs, walls, skirting boards, ceilings, windowsills, etc. Customers should refer to the back of the product label or the product Technical Data Sheet for information on what surfaces and situations our products can/cannot be used for.
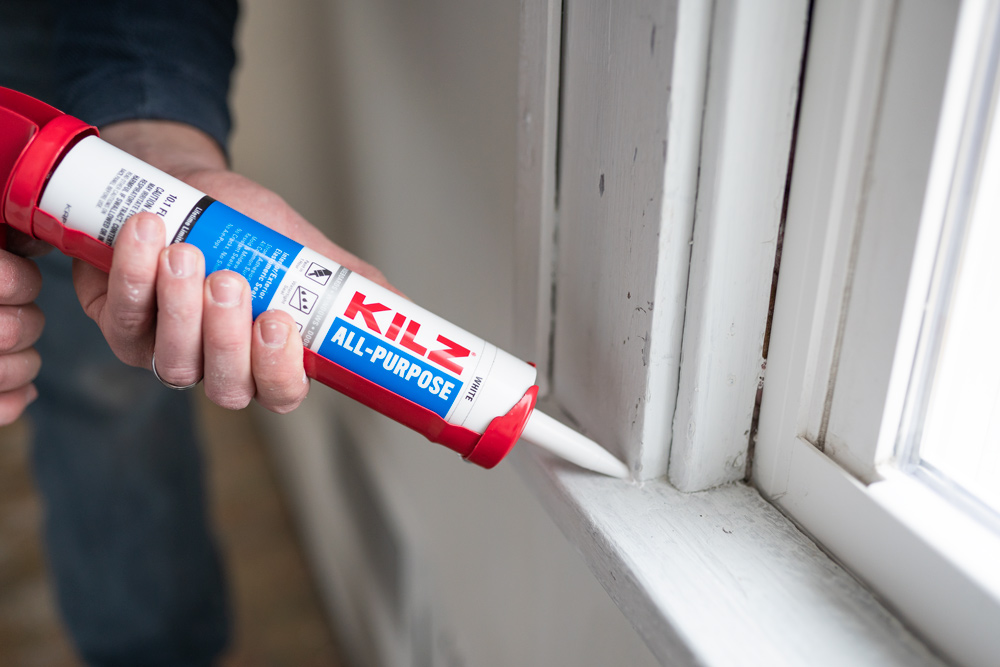
Are caulks and sealants products always white, or do they come in other colors?
Colors will vary from product to product, and brand to brand. Here at KILZ, we have two products that have multiple colors: our Waterproof Sealant and our Premium Seal. Our Waterproof Sealant, an interior 100% silicone, is available in both clear and white – perfect for use in kitchens or bathrooms. Our interior/exterior Premium Seal sealant is available in both white and black.
Can you paint over a caulked surface once dry, or should you use a primer first?
At KILZ we understand the value of using a primer in your painting projects and will always recommend using one of our KILZ® branded primers prior to painting. However, in situations where a primer is not available or not preferred, our caulks and sealants can be painted over directly once they are dry. Each product has a different dry time that is indicated on the label to let you know how long you should wait before priming or painting. When applying our KILZ line of caulks and sealants outside, the dried product should always be primed and painted over for best results.
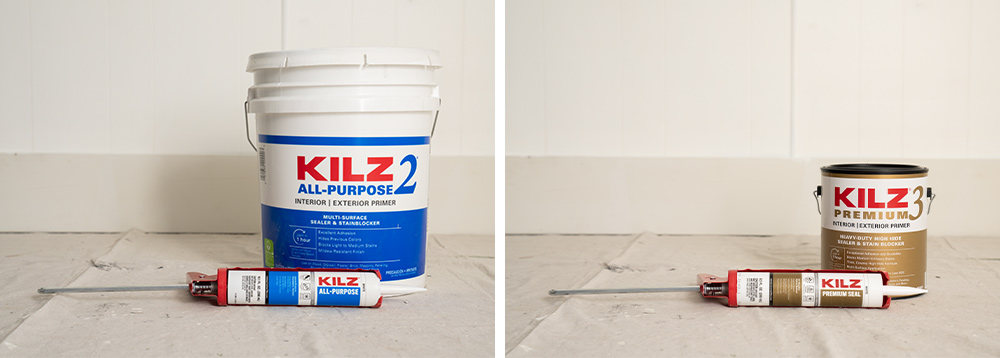
What are the key benefits of using a fast-drying caulk?
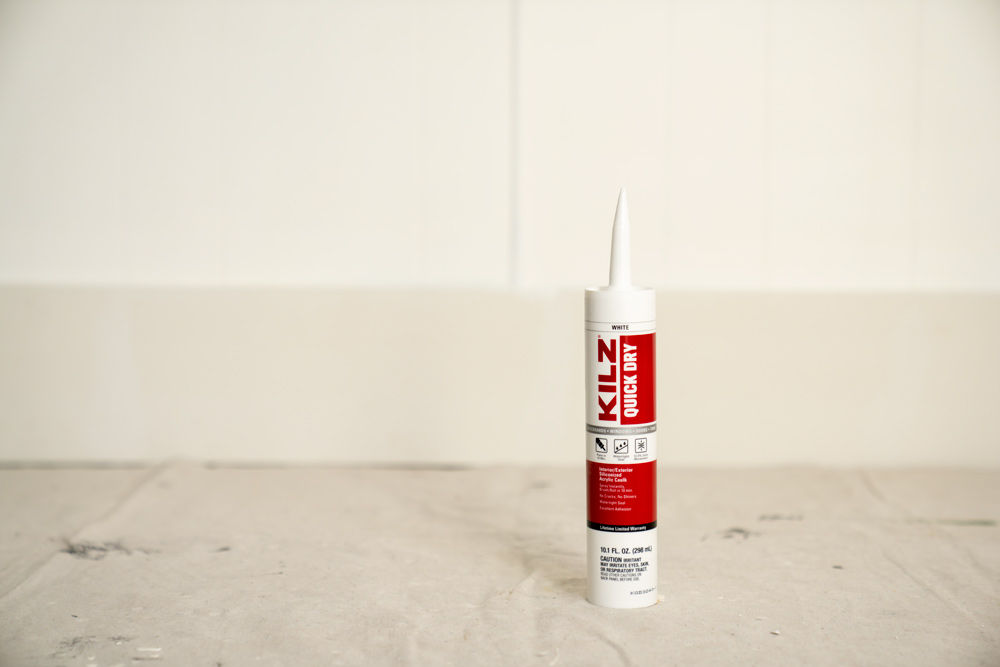
The biggest benefit is that you’ll be done with your project much sooner! Our KILZ Quick Dry caulk can be painted with a paint sprayer immediately after application, and only requires a 10-minute dry time before it can be painted with a brush or roller. Compared to 30-minutes or even hours of dry time required by other products in the market, you have an opportunity to save a significant amount of time on your project by using our KILZ Quick Dry fast-drying caulk.
Are there different caulk and sealant products for indoor and outdoor use?
There are! Most (but not all) of our products can be used both inside and outdoors, but some perform better in one or the other. For example, our KILZ Performance Caulk performs best indoor whereas our KILZ Premium Seal is best used for outdoor projects. When using any of our interior/exterior products outdoors, it’s important that they be painted over to achieve the best results. The only product that is specifically stated for indoor use only is our KILZ Waterproof Sealant – this product was not designed or intended to be used outside.
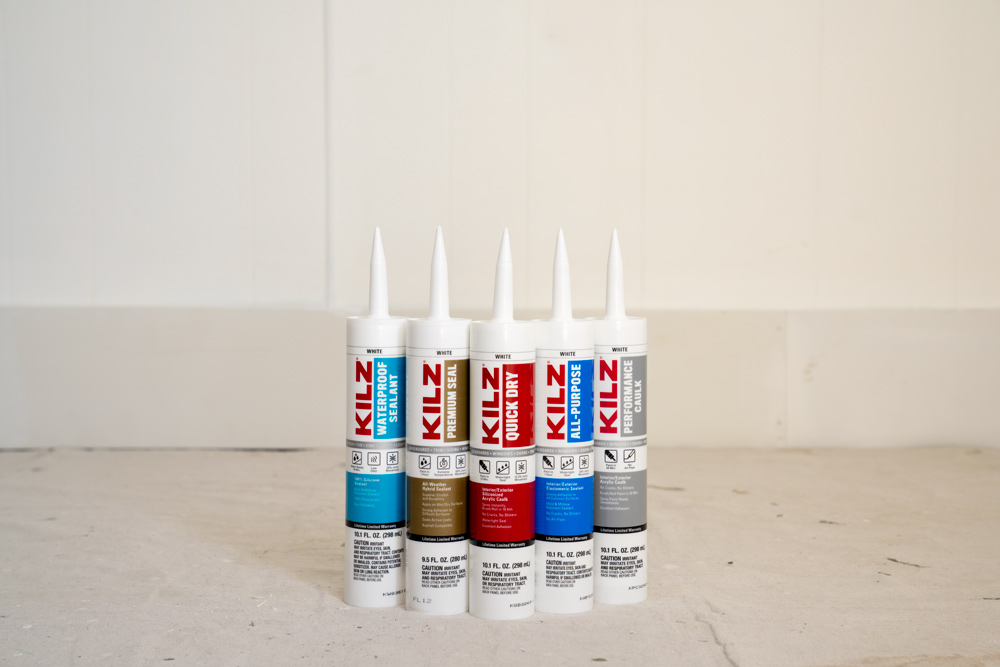
KILZ new line of caulks and sealants includes five new products, can you walk us through each and what types of projects they are formulated for?
• Our KILZ Performance Caulk is a high-quality interior and exterior acrylic caulk that prevents cracking when it’s dry and is easily applied with consistent flow (meaning no air-pops during application). This product is brush/roll paintable in 30-minutes, compatible with all oil and water-based paints, and can be painted using a paint sprayer immediately. This product is great for sealing joints between places like stairs, ceilings, and windowsills, and can be used to fill in cracks and nail holes.
• Our KILZ Quick Dry Caulk is a fast-drying, high-quality interior and exterior acrylic caulk that prevents cracking when dried and is easily applied with consistent flow during application. This unique formula creates a watertight seal and provides excellent adhesion to most common surfaces. This product is instantly paintable with a paint sprayer and can be brush/roll painted in 10-minutes! Similar to KILZ Performance Caulk, it is formulated for sealing joints and filling cracks or holes.
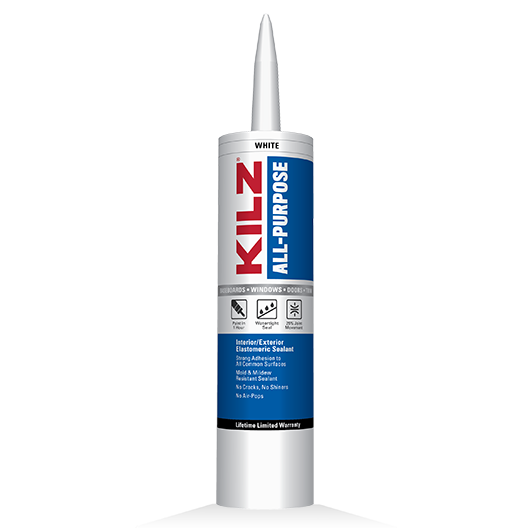
• Our KILZ All-Purpose Sealant is a premium siliconized acrylic latex with excellent adhesion and weatherability for both interior and exterior use. This easy to apply formula offers outstanding weather durability, has strong adhesion to all common surfaces, and has a high elasticity for flexible joints without cracking or breaking the adhesion bond. This product includes a EPA-registered mildewcide that prevents mold and mildew from forming in the sealant film, and is compatible with all water and oil-based paints. It can be used to seal common surfaces including windows and door frames, baseboards, sinks, tubs, countertops, ceramic tile and other common household projects and surfaces.
• Our KILZ Premium Seal is a non-yellowing, high performance silicone-hybrid sealant built to offer superior stretch and durability on the most difficult surfaces. Built to withstand extreme temperatures, this formula can be applied in both wet and dry conditions, is UV-resistant, is asphalt compatible, and can seal active leaks up to 1/4″ in size. Primary applications include expansion and control joints, sealing roofing and flashing applications, and masonry joints. You can also use this product to seal vinyl windows, door frames and sidings, and other metal building construction and synthetic materials.
• Our KILZ Waterproof Sealant is a versatile, low-odor, mold and has a mildew-resistant 100% Silicone sealant film offering permanent flexibility in a finished seal that will not crack or shrink. Ideal for interior areas that are prone to water exposure, this high-performing durable formula creates a 100% waterproof finish that is water-ready in 10 minutes. It is formulated for use on interior surfaces commonly found in kitchens and bathrooms including metal, wood, glass, drywall, granite, cultured marble, ceramic and porcelain tile and natural stone.
What other tools might you need when using a caulk or sealant?
First thing’s first: you’re going to need a caulking gun. Depending on the type of caulking gun used, you might need to have a safety razor or scissors to cut the plastic tip off the cartridge. For some products, like our Premium Seal and Waterproof Sealant, you’ll need to puncture a foil cap inside the tip. Next, you might want to smooth out or tool the final look of your caulked product by either using a caulking tool or a glove-covered finger. Finally, depending on which product you have, it will be helpful to have a clean rag and some soapy water, or solvent/baby wipes available close by for clean-up.
Always remember to refer to our website kilz.com or product back labels for additional information on which primer is right for your project and detailed instructions on how to apply our products.
Pro Spotlight: Tom Kraeutler Talks Kitchen Cabinets
August 24, 2021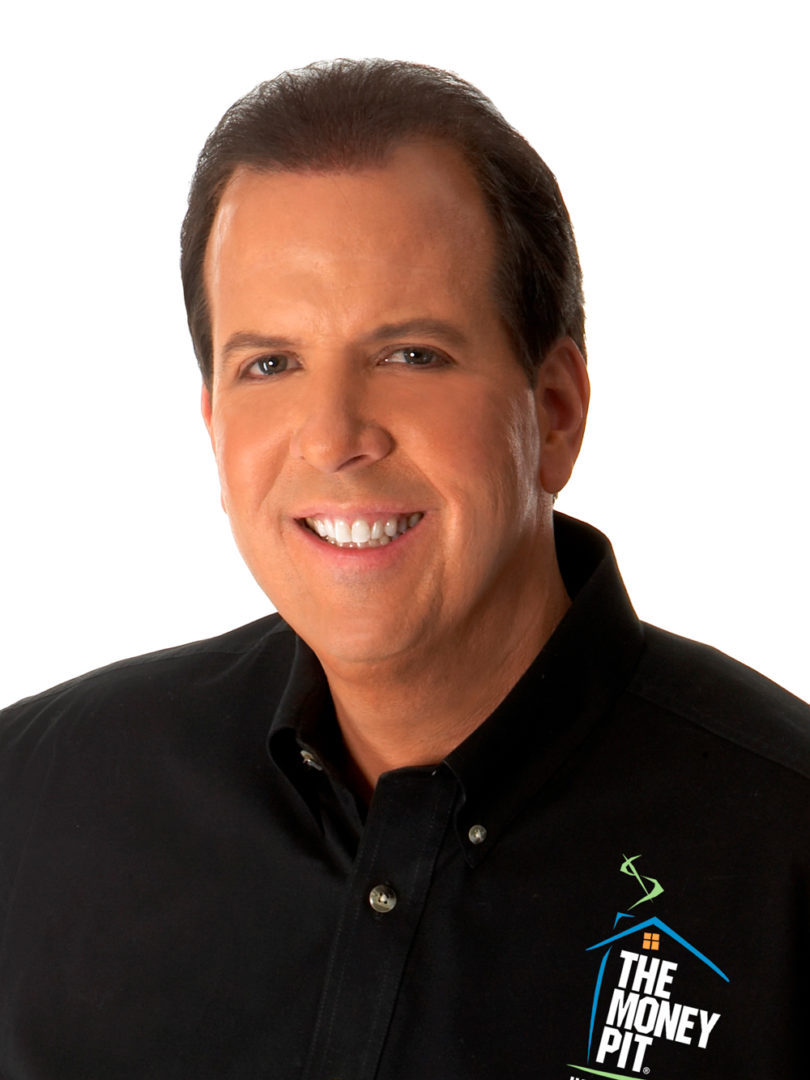 For this month’s Pro Spotlight, we are excited to share a post authored by Tom Kraeutler – Founder, Host and Chief Home Improvement Evangelist of The Money Pit. He is a hands-on home improvement broadcast journalist and the kind of guy homeowners want to call at midnight when their basement floods. He first earned his home improvement stripes as a professional home inspector, amassing over 20 years’ experience learning how houses are put together, and how they fall apart! Read on to learn Tom’s tips and tricks for one of our favorite projects, refinishing kitchen cabinets.
Refinishing Kitchen Cabinets: Simple Steps to a Colorful Makeover
Author: Tom Kraeutler
Kitchens are perhaps the busiest rooms in any home. Whether it’s meal preparation, homework space, or social gatherings, they serve as the hub of family life. And that means kitchen cabinets must stand up to years of heavy use. A constant cycle of opening and closing wears out their finish, pots and pans scratch them, and hinges and handles wear out. But while replacing kitchen cabinets can be a time-consuming, expensive, and difficult task, refinishing kitchen cabinets is not and can deliver stunningly colorful results.
Here’s what you need to know to get this project done.
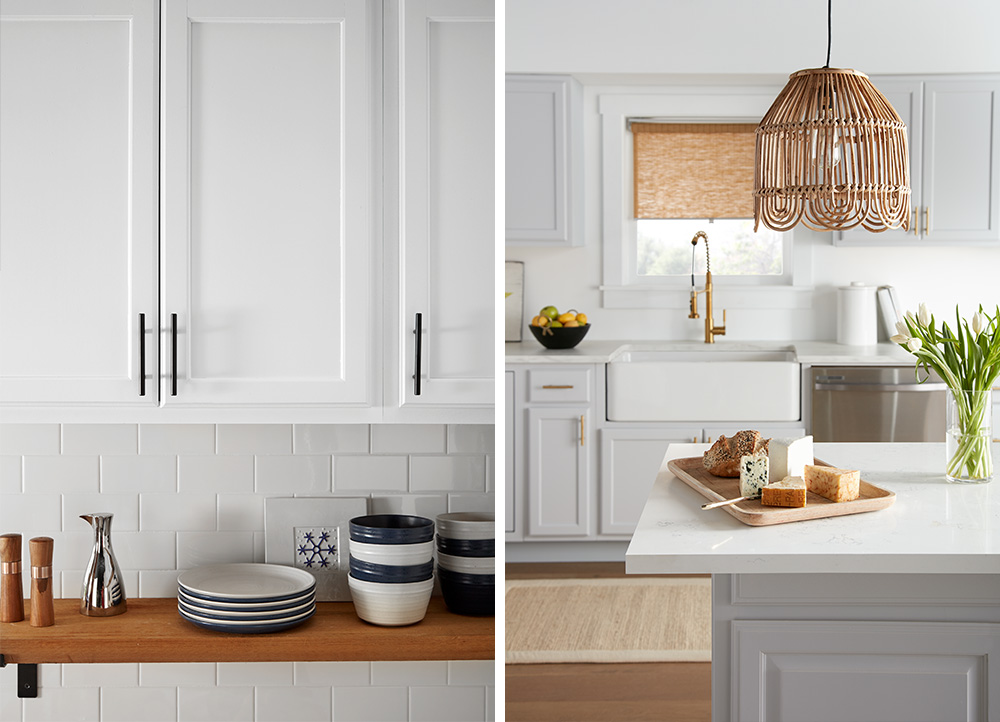
Getting Ready: Prep Makes Perfect!
My earliest DIY inspiration came from my father who always said the “gettin’ ready” was the most important part of the project! Years later and no longer an impetuous teenager just looking to get my chores done quickly, I realized how right he was. Before popping the lid of the paint can, set yourself up for success by getting the space and cabinets ready.
First, clear out furniture and clean out the cabinets from top to bottom. Then, remove all the cabinet doors, shelves, and drawers, and take off the hardware.
Tip: Label the doors and drawers in an inconspicuous area so you’ll know where they belong when the project is complete. For drawers, mark the bottoms. For cabinet doors, the area behind the hinge works well.
Next, cabinet finishes can be magnets for dirt, dust and grease so wash them thoroughly with a solution of TSP (trisodium phosphate). Be sure to clean the top of the cabinets as well, as dust that gathers here can float down and stick to the finish as it dries.
Evaluate the cabinet surfaces. Applying a new finish on top of an old finish that’s not adhered to the original surface is a recipe for disaster. Any loose, chalking or cracked paint surfaces should be scraped smooth. For most surfaces, and especially those that are glossy, a light sanding will help improve adhesion between the old surface and the primer.
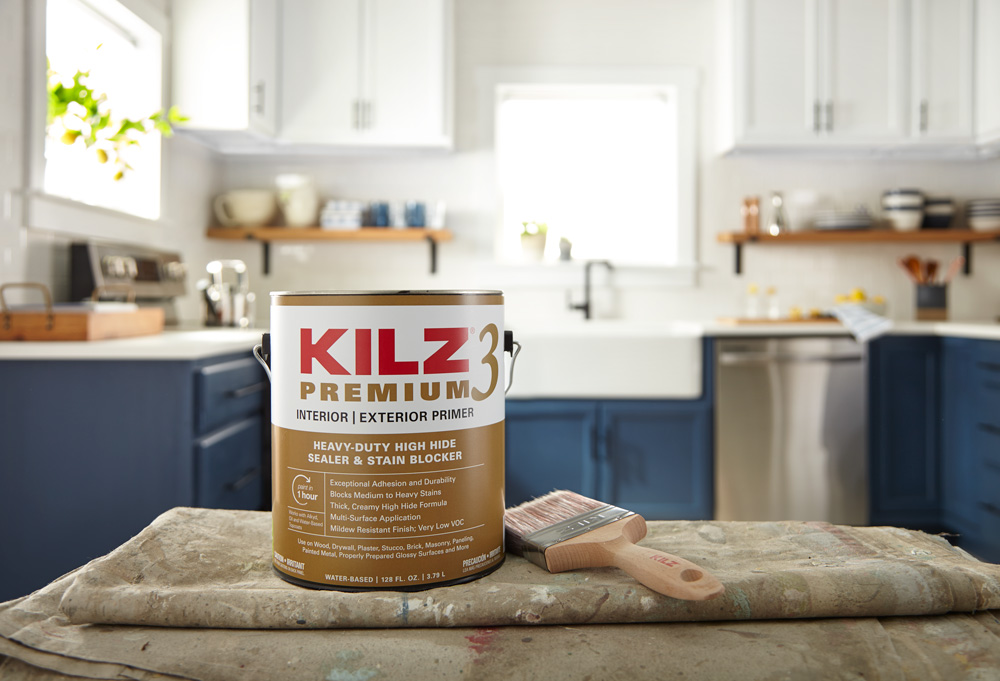
Primer Selection Drives Durability
Selecting the right primer for kitchen cabinet refinishing is critical. The primer helps assure the top-coat of paint adheres to the cabinet, provides durability and helps assure the final finish flows evenly with minimal brush strokes or roller marks.
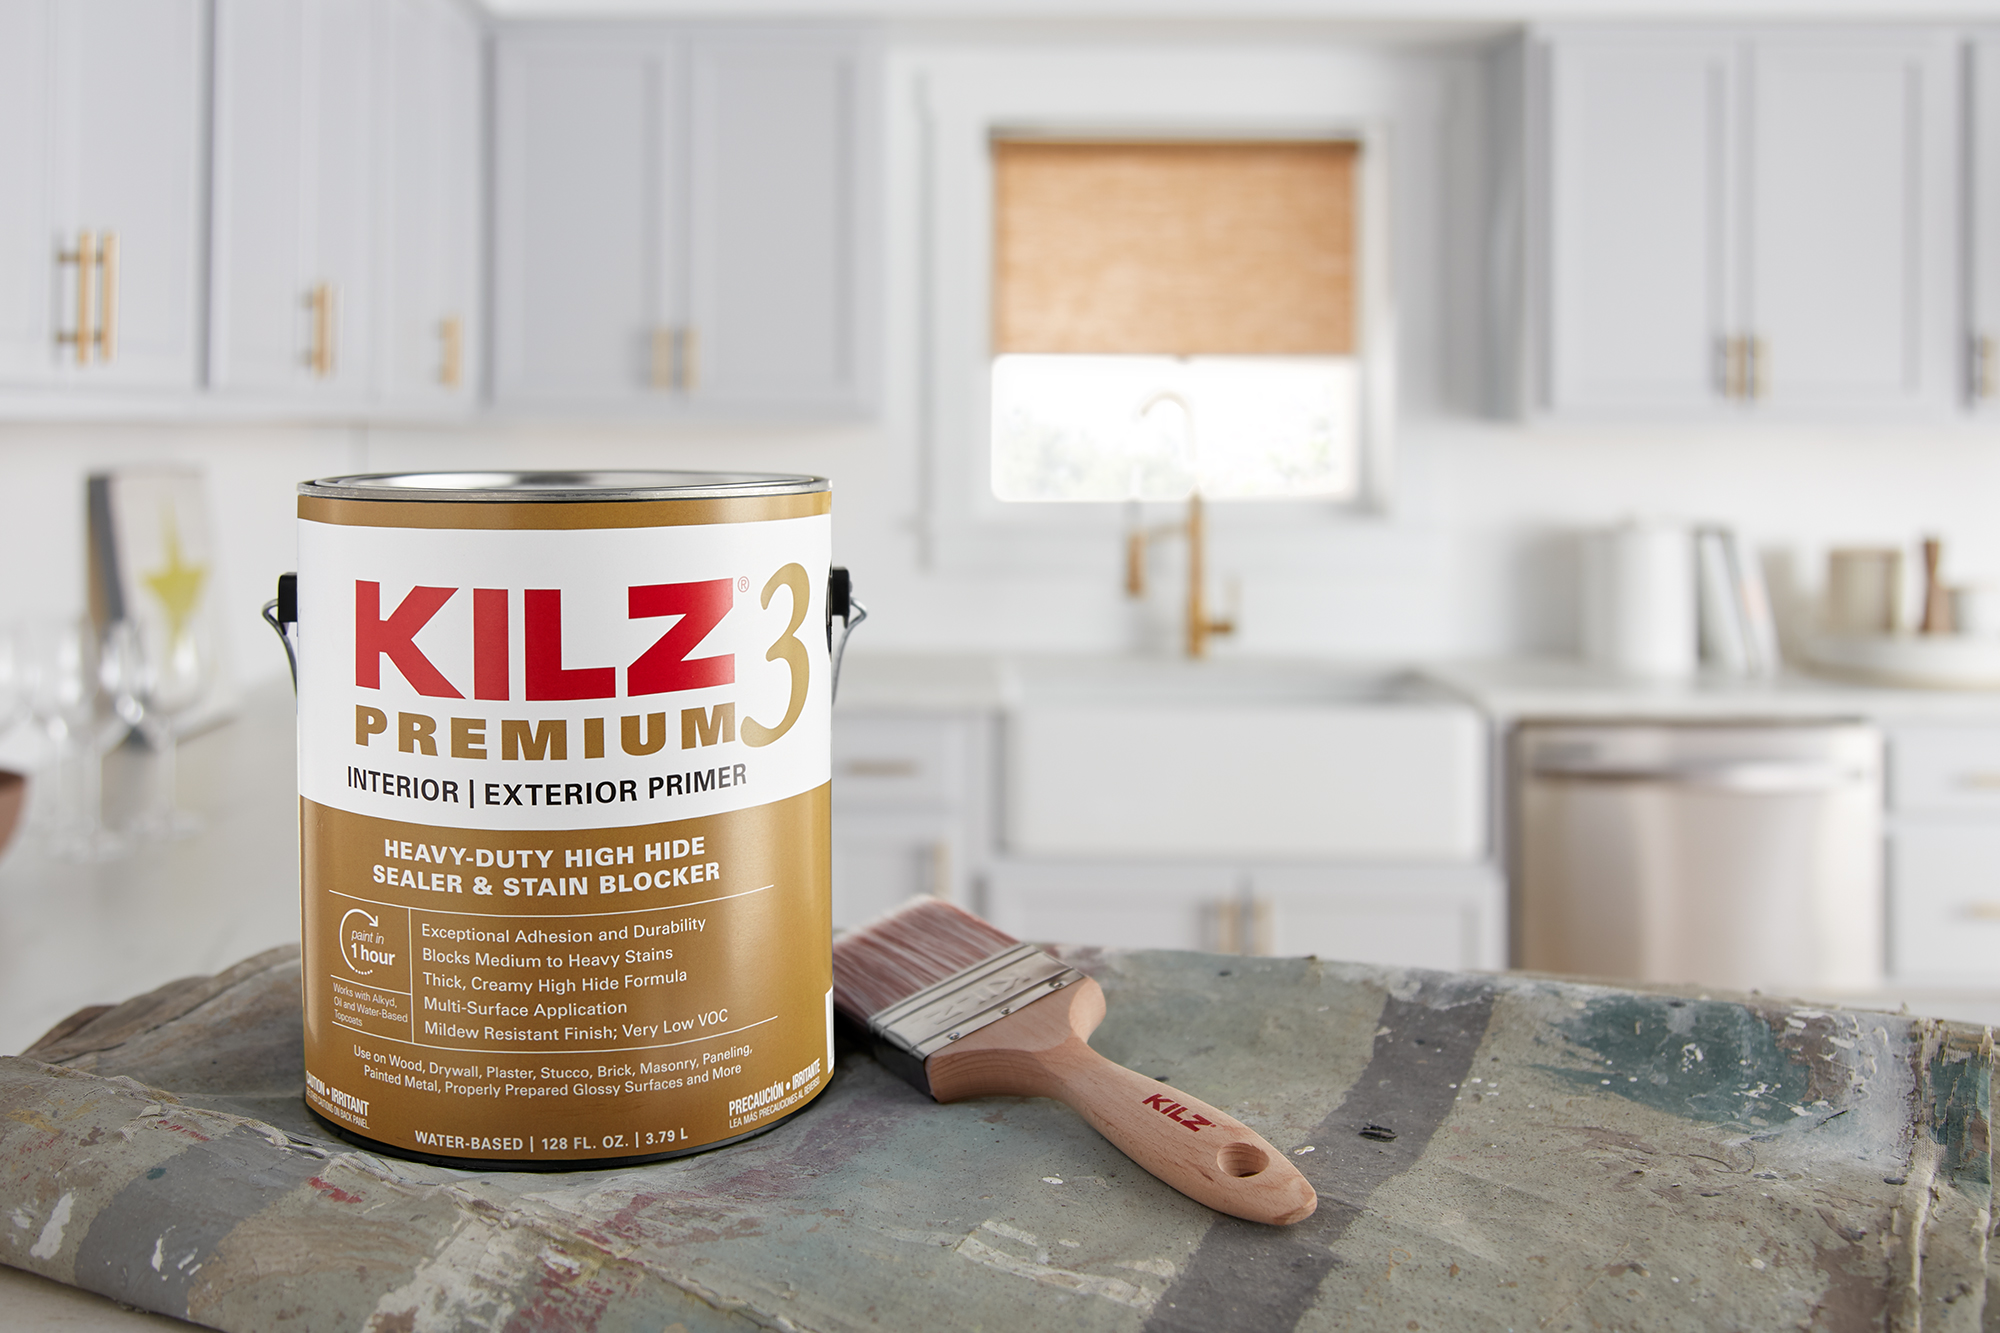
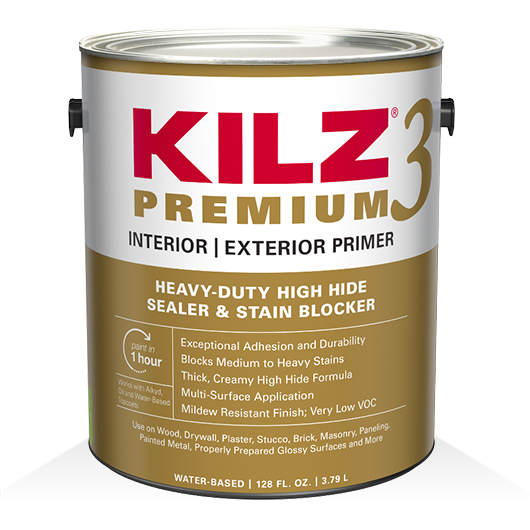
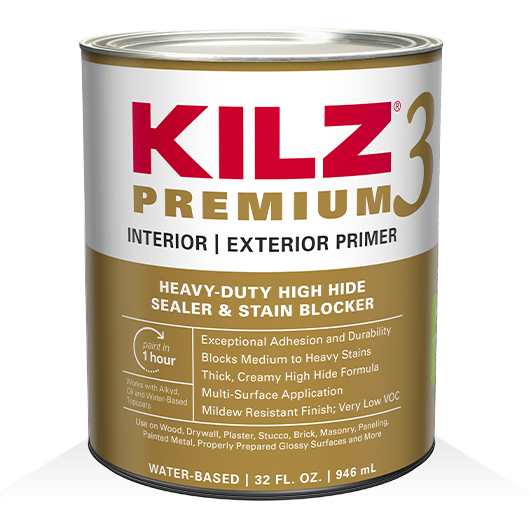
KILZ 3® PREMIUM Primer is an excellent choice for this part of the project. The primer provides exceptional adhesion with a mildew-resistant finish, making it ideal for projects in moisture prone areas such as kitchens and bathrooms. I also like that KILZ 3 is what’s known as a “high build” finish. This means that it can fill in minor imperfections in a cabinet surface or minimize deep wood grain patterns when painting oak cabinets, for example. KILZ 3 is also water-based for easy clean-up, dries quickly, and has a low-odor, low-VOC finish.
KILZ 3 should be applied evenly using a brush, roller, or airless sprayer, as specified by the manufacturer. Only a single coat is needed. Set up a space to layout the doors and drawers for priming, and then prime the cabinets working from the top-down.
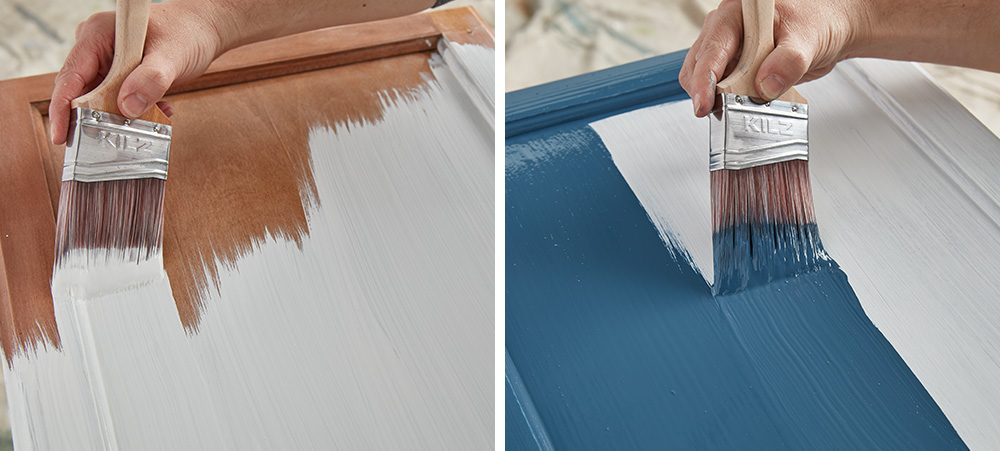
Top-Coat Counts
Just like primer selection is based on the product’s adhesion, moisture resistance and high-build formulation, equal care should be given to the selection of paint for the top coat. Over the course of your newly painted cabinet’s life cycle, doors and drawers will be opened and closed thousands of times. Moisture in the air will be a constant presence, as will oils and grease given off by years of cooking. Therefore, you’ll want to select a paint that has excellent durability and is very easy to clean.
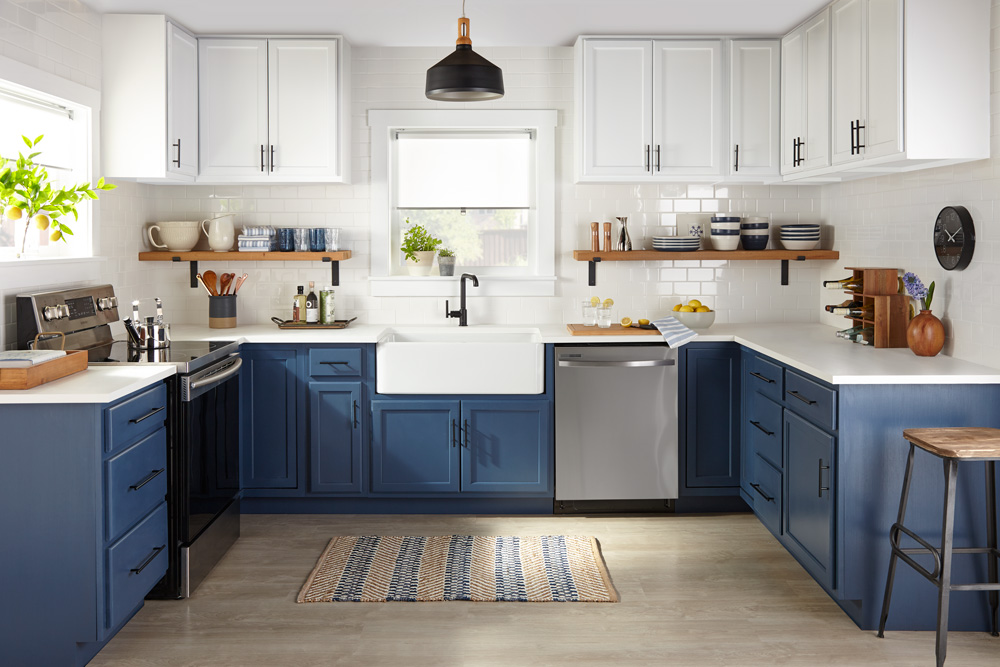
Look for paints made specifically for kitchen cabinets. Magnolia Home by Joanna Gaines® Trim, Door + Cabinetry Paint dries quickly, leaving a hard finish that’s remarkably durable and it is water-based for easy cleanup. For most projects, plan to apply two-coats and follow the manufacturer’s directions for application.
Add Some Bling
Once the painting is complete, you’ll have the option to replace the original hardware or add new. Given the work it’s taken to get to this point in your kitchen cabinet refinishing project, installing new door and drawer pulls adds some bling and provides a nice finishing touch.
This part of the project is easiest if the new hardware fits the holes left by the original hardware. However, if you plan to go in a completely new direction, it’s easy enough to fill and sand the old holes before you get to the priming step above. Personally, I also like to replace the hinges as well. New spring-loaded hinges look good and close nicely. Finally, install bumpers to the drawers and doors for added durability.
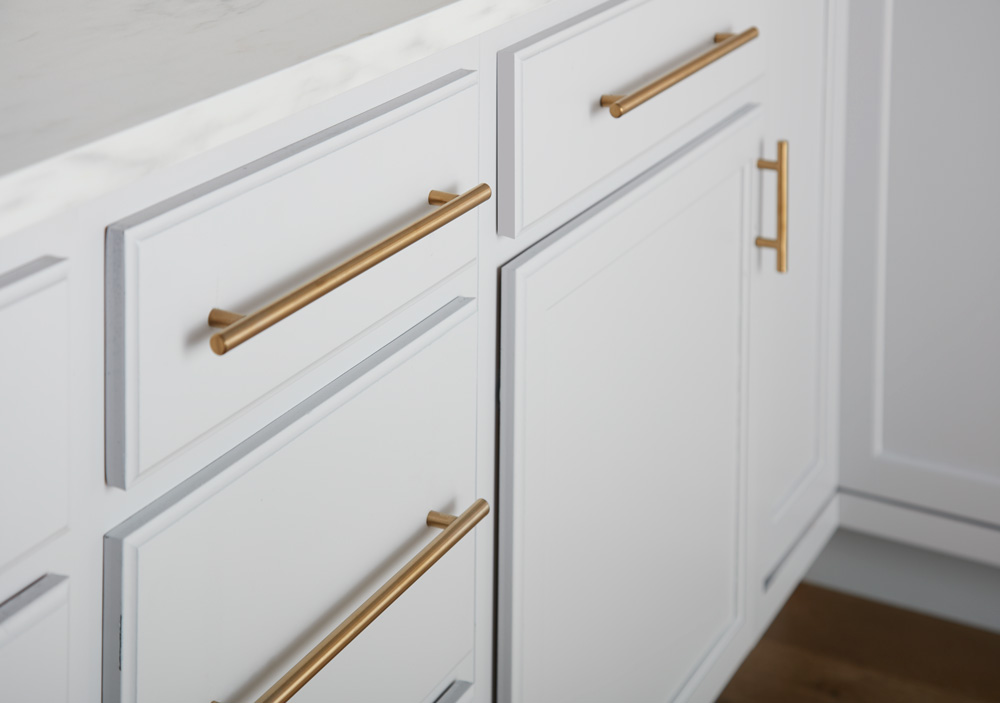
Today, solid-color kitchen cabinets are more popular than ever making this an ideal time to take on a kitchen cabinet refinishing project. But the success of refinishing kitchen cabinets depends entirely on the details. With the right prep work, a high-quality primer, and a colorful, durable top coat, you can transform this space with a fresh finish that can last for years to come.
Always remember to refer to our website kilz.com or product back labels for additional information on which primer is right for your project and detailed instructions on how to apply our products.
Pro Spotlight: Ryka Builders
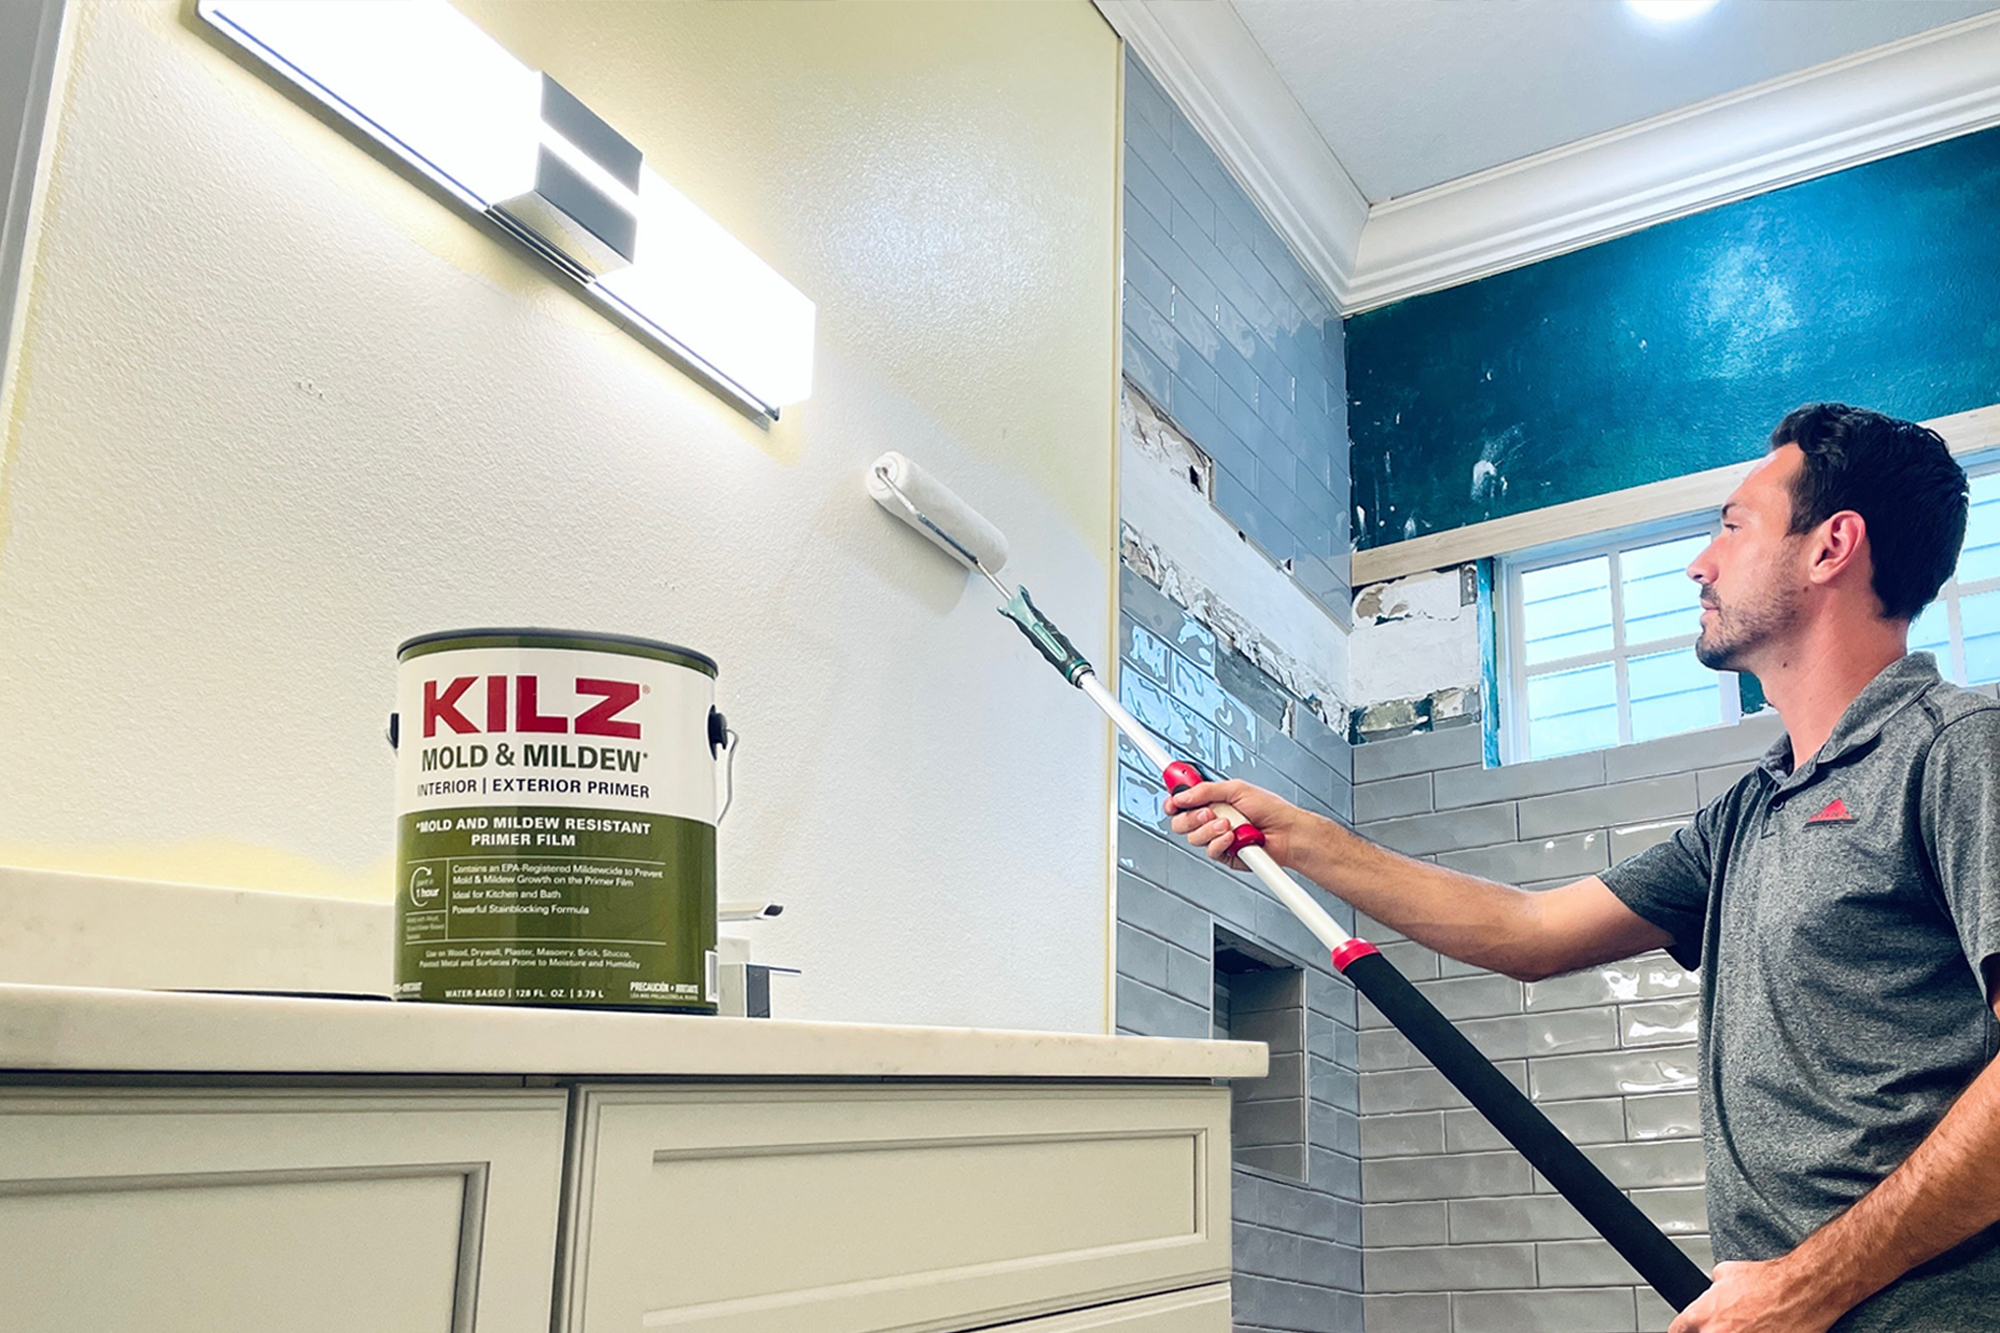
June 21, 2021 This month on The Perfect Finish we’re spotlighting Ryan from Ryka Builders. A veteran contractor with experience in both commercial and residential construction, Ryan recently completed a bathroom remodel with the help of KILZ® Mold & Mildew Primer and we are excited to share it here. Read on to hear from Ryan on why he chose KILZ primer for this job and get a glimpse into how he completed this stunning remodel.
Upscale Your Throne Room
By: Ryan, Ryka Builders
In this day and age, between social media, magazines, and television, beautiful home renovations are everywhere to be seen! The magnificent end results are truly inspiring, however there are proper steps that need to take place in order to get these reno jobs done efficiently and effectively. One of these important steps is the use of primer – KILZ® brand has multi-surface and specially engineered primers suited to take on any type of issue and best prepare surfaces before painting. Whether you’re a DIY’er or are planning to hire a contractor, you must be sure that the right steps are taken to keep your newly renovated home looking great for years to come.
I’m Ryan with Ryka Builders, and I’m a licensed general contractor with over 30 years of experience. Ryka Builders is a family-owned business that has been developing close, trustworthy relationships with our commercial and residential clients for many years. We are passionate about our jobs and care that they are done to the upmost standards. If you are looking to update your bathroom, I’m here to help share the proper steps and to make sure you have a quality finished product.
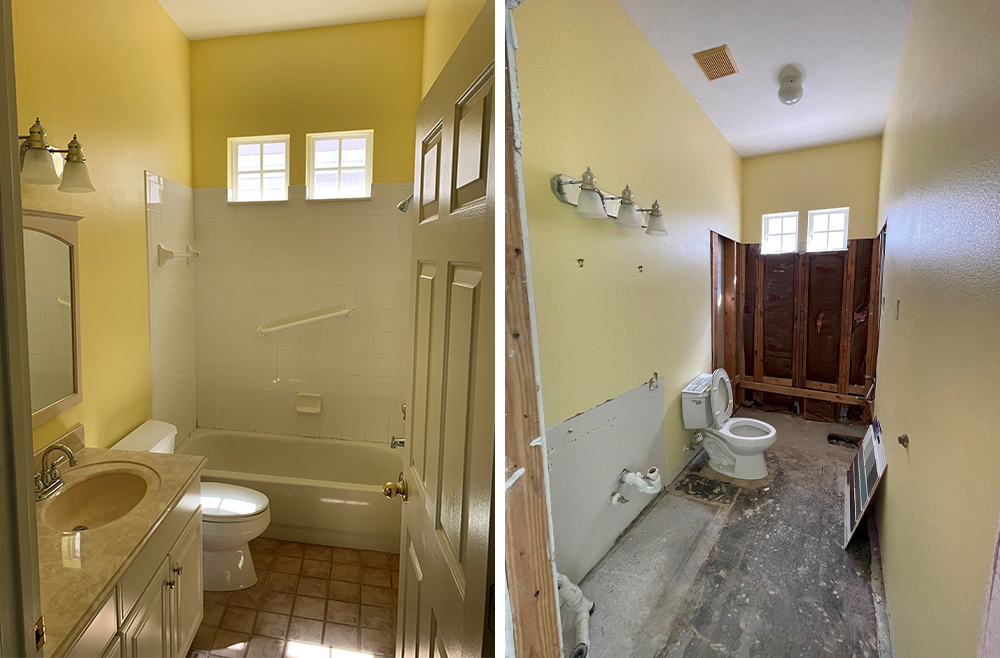
A recent client of ours bought a house sight unseen in Florida while residing in New York. She researched contractors in the Central Florida area and was impressed with our reviews and referrals from previous customers. After a video call with the owner, we were able to provide design guidance and expertise to help the client achieve her dream home makeover, and she awarded us the opportunity to do some major renovations on her entire home including this bathroom.
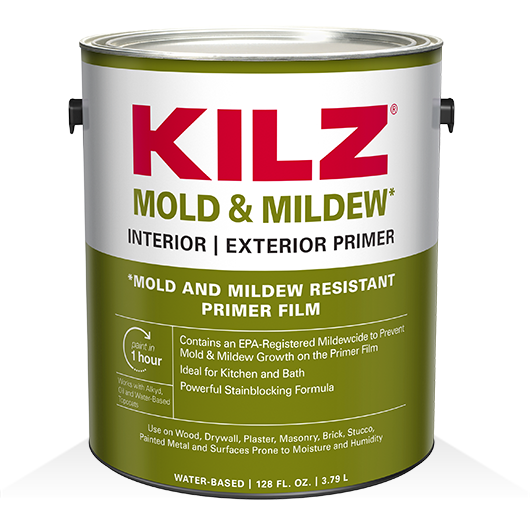
Once we started demolition, we discovered a great deal of mold present on the drywall, behind the old cabinets and on the baseboards. We knew right away that a mold and mildew remediation was a necessity; safety first. We brought in our licensed remediation specialist to do the necessary repairs. It is critical that whenever there is any sign of mold or mildew, it is always effectively removed from the surface and that the water damage that caused the mold or mildew damage is appropriately remediated as well. After this step was taken care of, we decided to go in and apply KILZ® Mold & Mildew Interior & Exterior Primer. This primer contains an EPA-Registered Mildewcide to prevent mold and mildew growth on the primer film, ideal for spaces like bathrooms and kitchens.
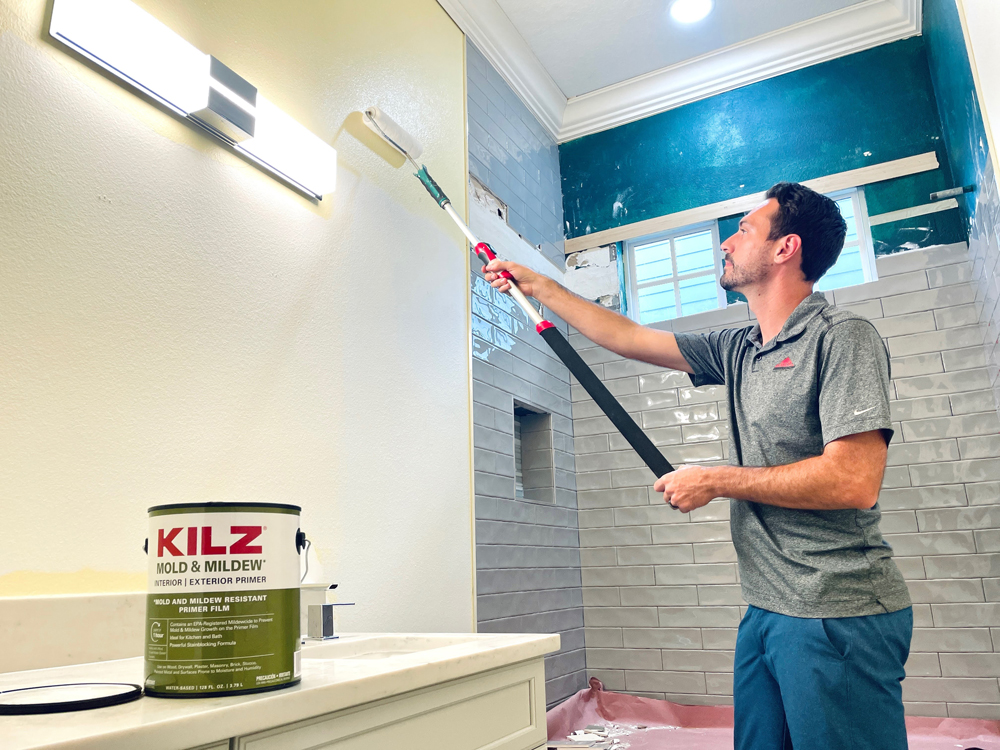
Using KILZ Mold & Mildew primer on all of the new drywall, as well as affected areas on the studs in the bathroom, sets a great base to start any bathroom remodel. For a bathroom paint project, not all primers are appropriate for the moisture and humidity that occur daily in this type of space. Bathrooms can be a breeding ground for mildew, if the proper products aren’t used. As a bonus, this amazing product also has a fast-drying agent with low odor, a very low VOC and has a water-based formula, making clean up a breeze with just soap and water. One of the many positive advantages of KILZ Mold & Mildew primer is that it is a water-based primer-sealer-stain blocker specifically designed for residential surfaces in high humidity, moisture and temperature environments such as bathrooms, powder rooms, kitchens and laundry rooms.
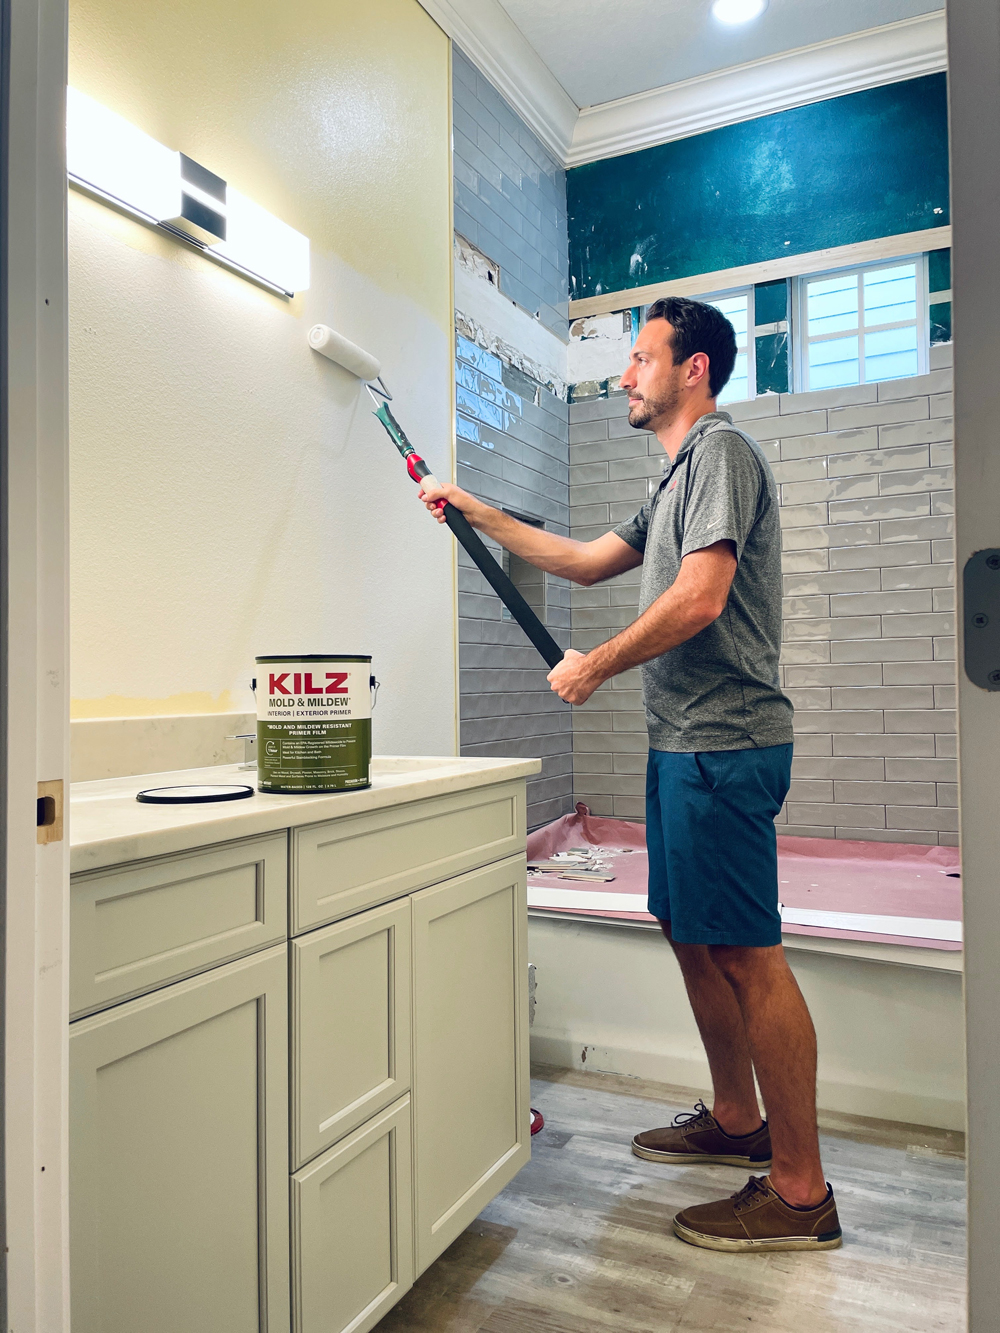
“KILZ primer products have been around for more than 40 years and is a brand we trust. We always look to them for products, because we know they have been tested and built for the challenges we come across in the industry.”
We also used KILZ Mold & Mildew primer on the ceiling of the bathroom where there was an old water stain from a previous roof leak that was repaired. The stain blocking agent in the primer worked wonders. With only one coat, the stain was eliminated. In fact, KILZ Mold & Mildew primer will also block medium to heavy stains such as felt marker, grease, ink, pencil and tannin as well. KILZ primer products have been around for more than 40 years and is a brand we trust. We always look to them for products, because we know they have been tested and built for the challenges we come across in the industry.
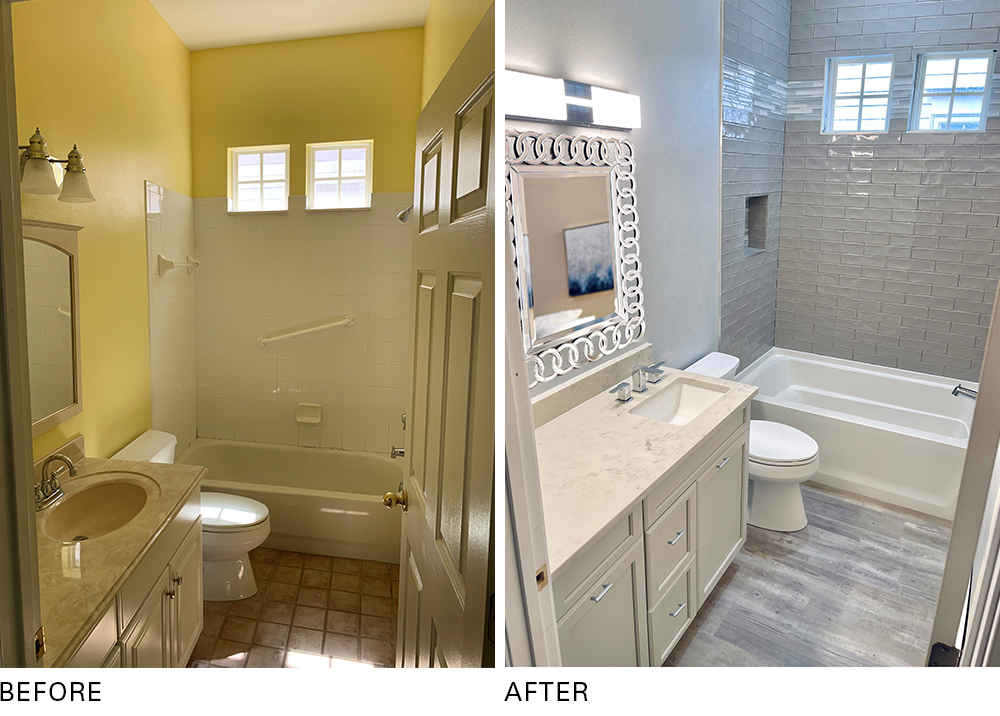 After we are confident that we have a great foundation and clean slate with the KILZ products, it’s time for the fun part – selecting tile, paint colors, hardware and plumbing fixtures, so that the client can see their vision come to life. Our client chose a very simple and sleek grey subway tile for the tub area and a beautiful complimenting shaker style vanity with chrome finishes and fixtures. For the walls, we went with a very appealing grey paint color (Silver Bullet N520-2 by BEHR®). For the flooring, the client decided on a waterproof, wood plank look, luxury vinyl that we used throughout the rest of the home as well.
Our client loves the end result, and this bathroom is ready to be made homey with plush towels and her favorite scented candles and possibly a cute little Pinterest-y bathroom sign. In the end, we’re confident that she will love it for years to come, because we took zero shortcuts to make this bathroom a success.
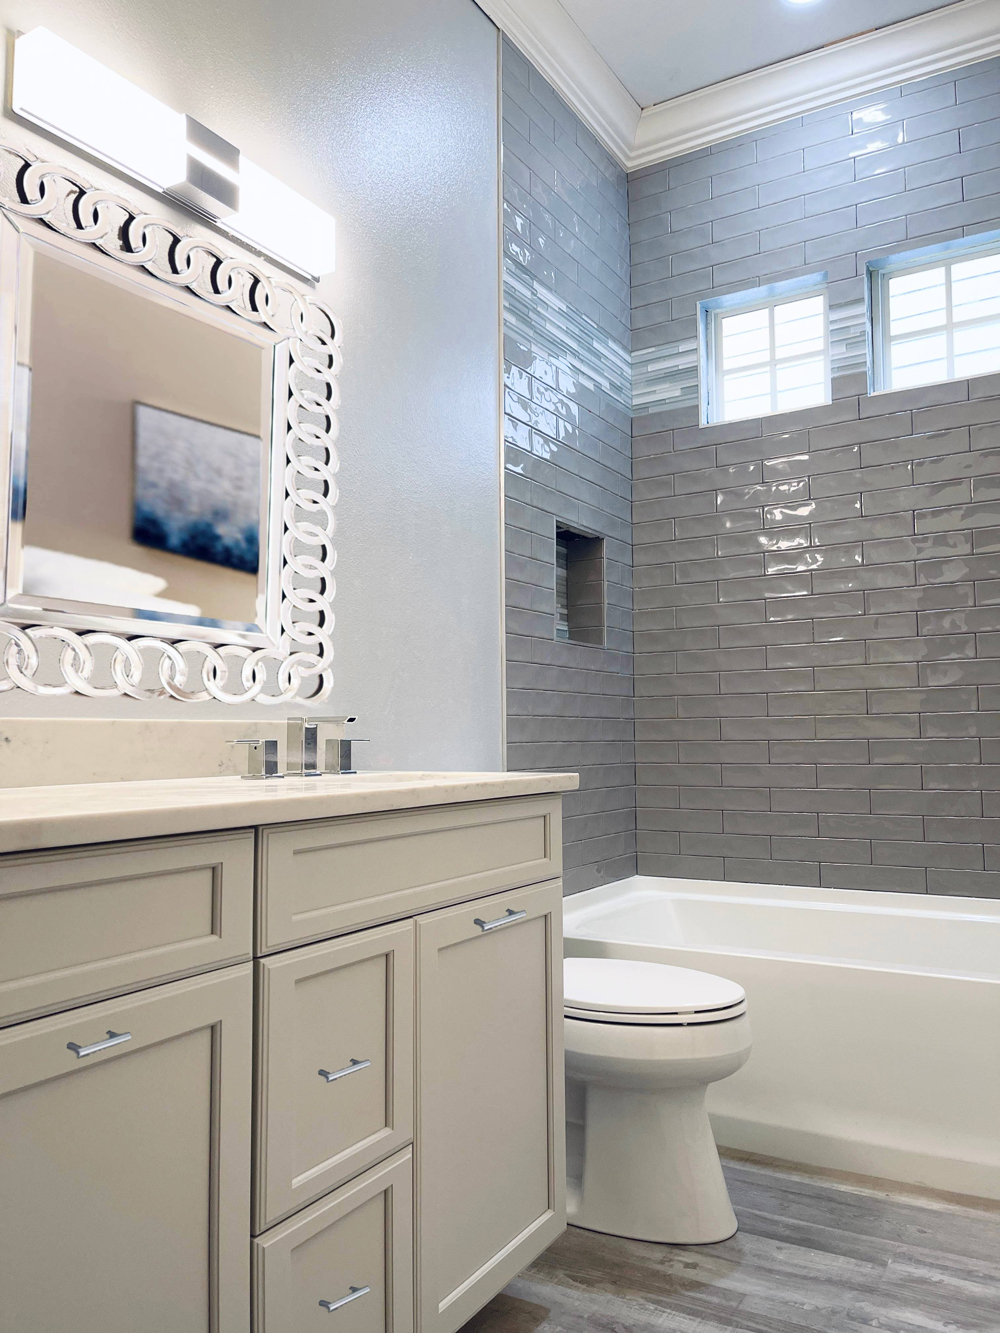
As you can see the finished product came out just how we wanted, and we feel good knowing that we took the additional steps to provide a better built product for our client. Many contractors just try to get through the job quickly, however, we know that if we exceed our client’s expectations and provide additional customer service and quality control elements, we will build strong and lasting relationships. This has helped us grow our business over the last 30+ years with many returning customers and strong referrals. A big thanks to KILZ for helping us get this bathroom project completed. Now, on to the next one!
Always remember to refer to our website kilz.com or product back labels for additional information on which primer is right for your project and detailed instructions on how to apply our products.
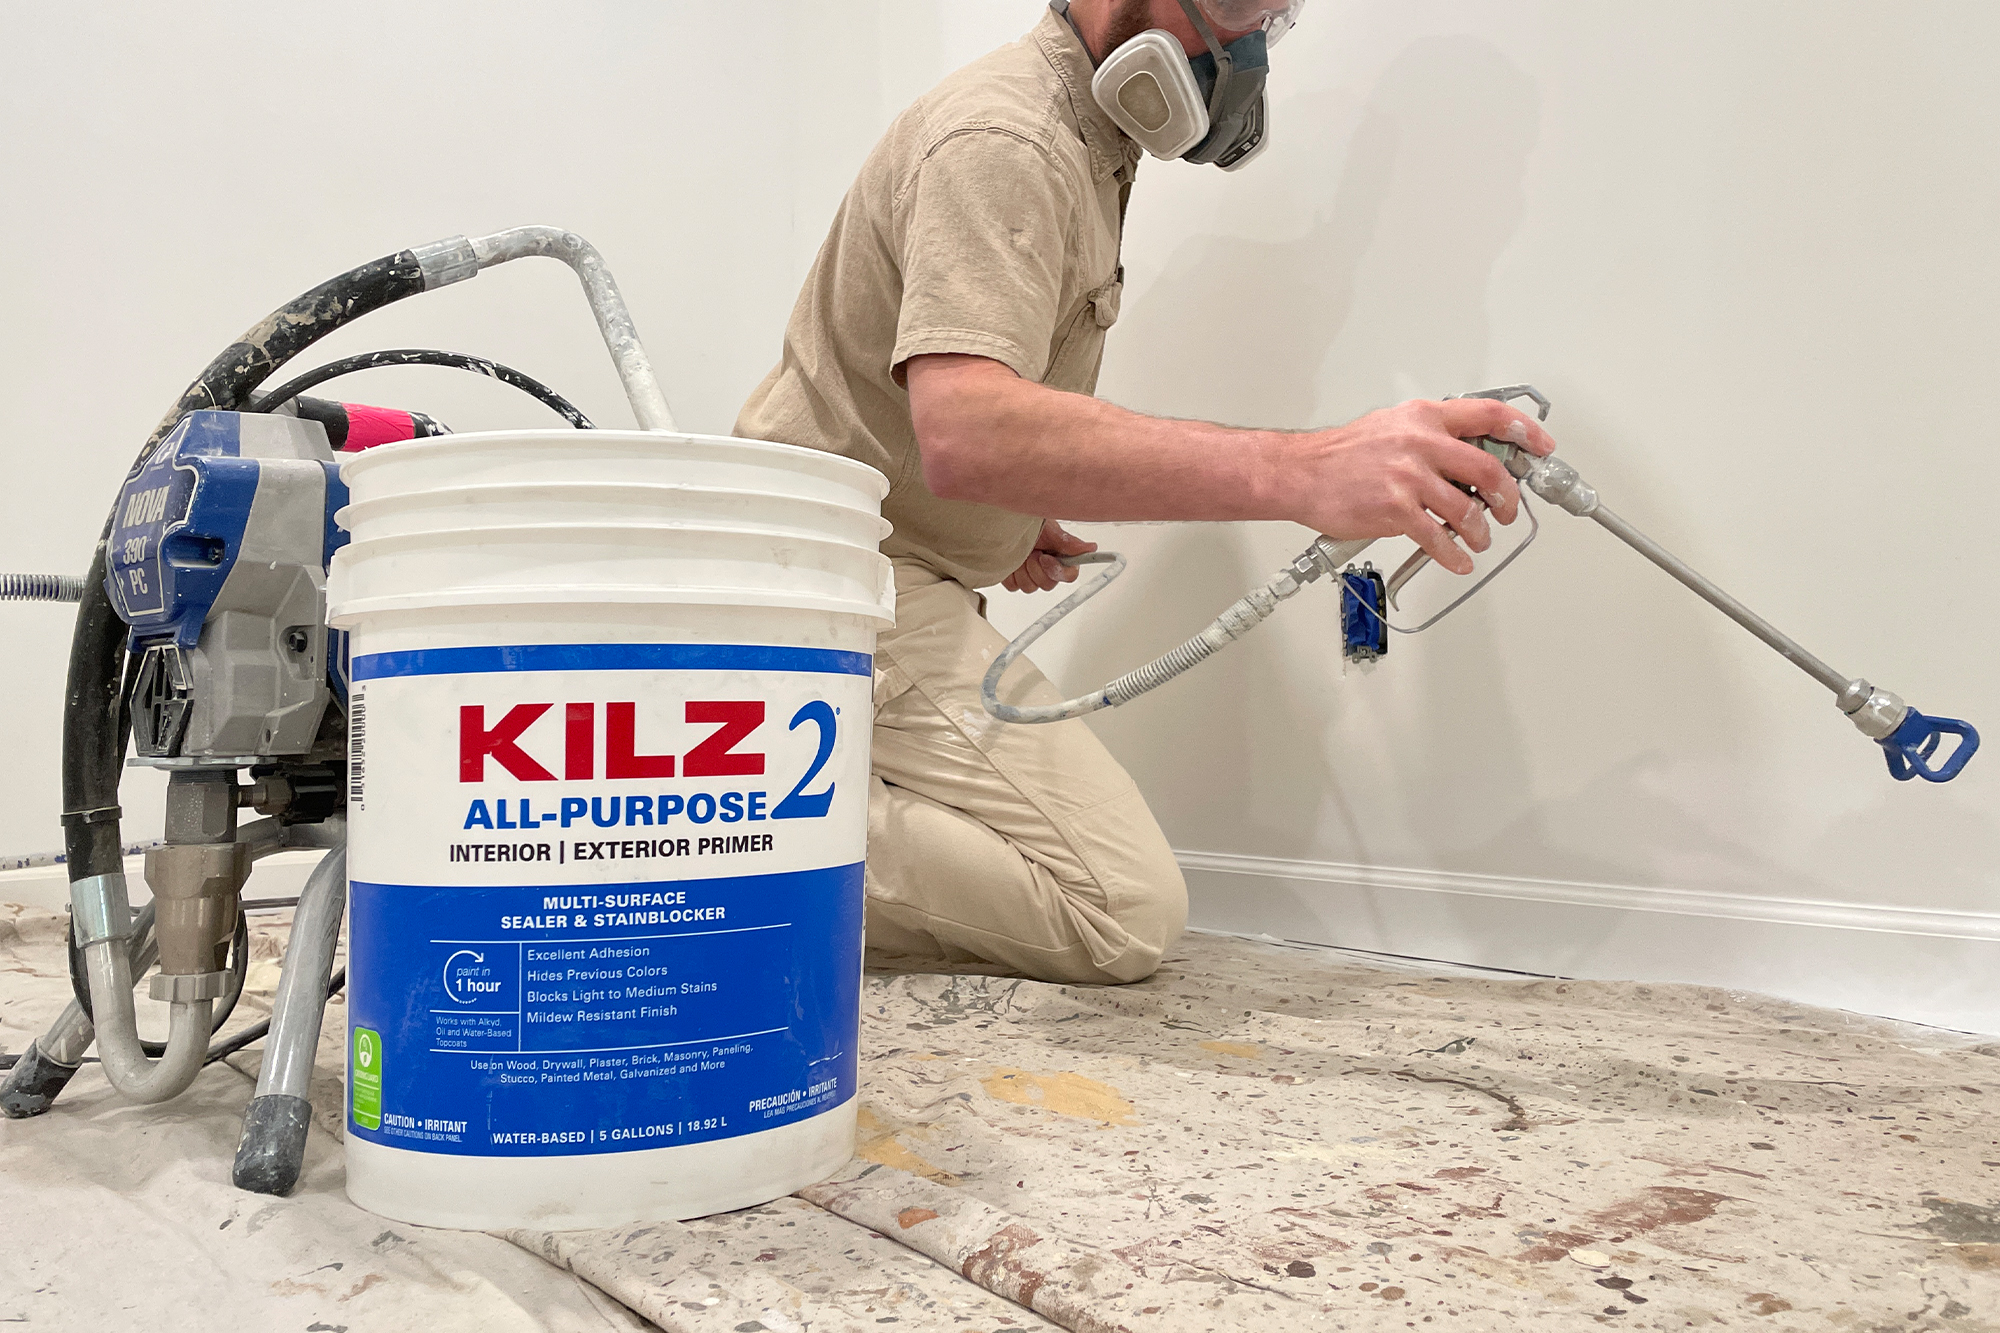
Pro Spotlight: Nick Slavik
May 11, 2021KILZ® Brand products have been trusted by professional painters for over 40 years to deliver quality, long-lasting results. But you don’t have to just take our word for it! Today on The Perfect Finish, we’re excited to share a Q&A with professional painter Nick Slavik. He’s been in the business from a young age and if anyone knows about how to properly prep for and complete a paint job, it’s Nick. Born into a painting family, Nick is on a mission to improve the industry one painter at a time. His company is built on mentoring new painters with five core beliefs: Trust, Constant Improvement, Putting Forth Effort, Discipline Equals Freedom, and Quality Always Wins.
Novice painting professionals and DIYers alike, get ready to up your painting knowledge with this primer-focused interview. Let’s get rolling!

Why is KILZ your go-to primer brand?
It’s one of those things, if it doesn’t fail, keep using it. And it’s been 13 years of my own business. We just don’t stop using it. The only thing I need to think about is, “Will they have enough at the store?”
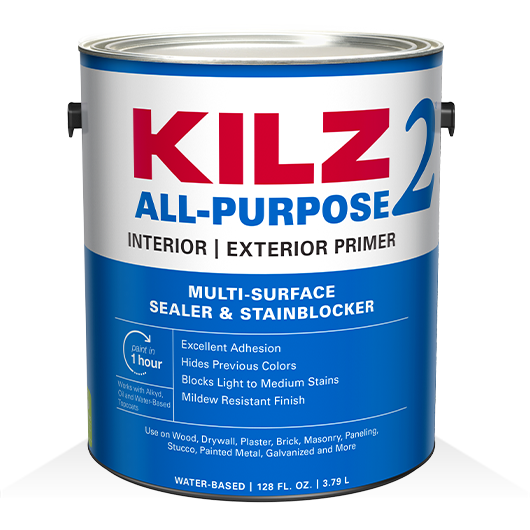
Where do you use KILZ 2® All-Purpose Primer the most?
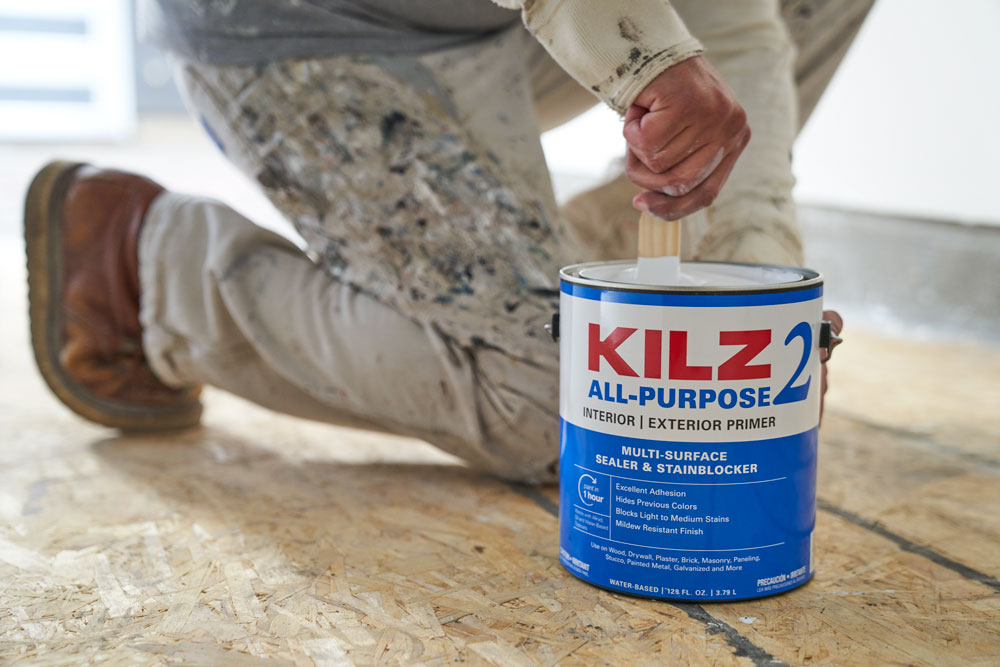
Exterior on barns and some historic homes that are wood. It almost feels like it amalgamates the wood and goes deeper than a super heavy-bodied primer. For interiors, one of the best uses is for breaking color, going from a deep color to a light color or vice versa.
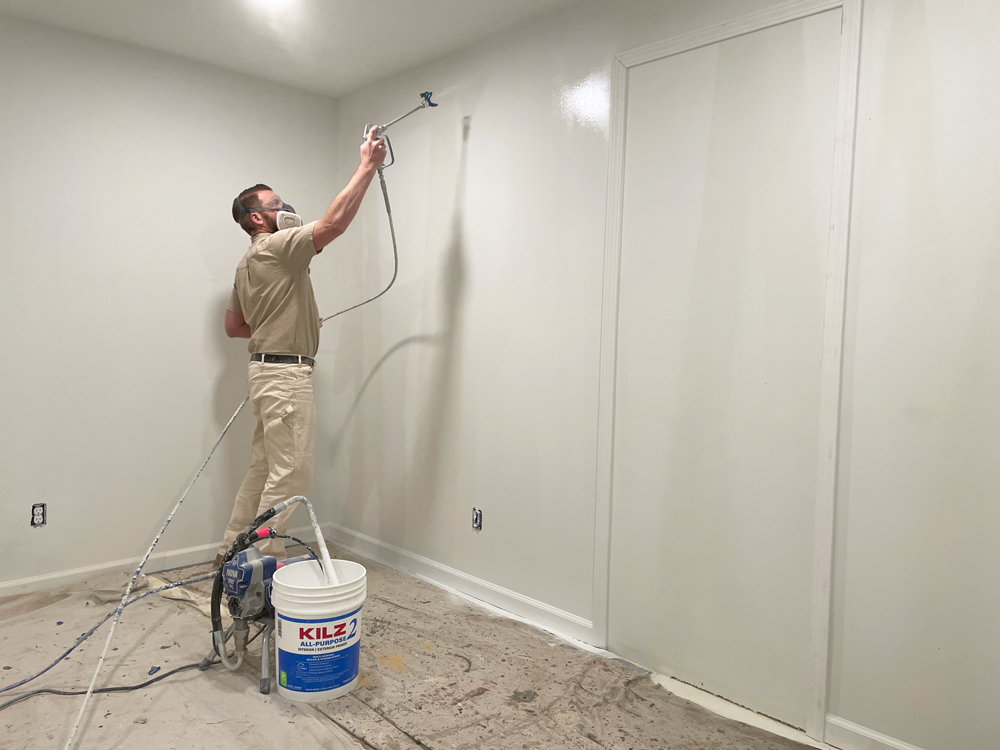
How does KILZ 2 All-Purpose Primer spray?
So, because of its consistency, very well. Honestly, I would be perfectly comfortable with buying a five-gallon bucket, putting a sprayer in it and just spraying without straining, just because the chance of it clogging is going to be very, very small. But as a standard operating procedure, we strain all our coatings before spraying anyway.
How fast or slow should you move with a sprayer?
Spraying is filled with variables that are personal preferences. Knowing that nobody is going to use a wet mil thickness gauge: don’t get a sag and make sure you cover the surface. Somewhere in there lies the truth.
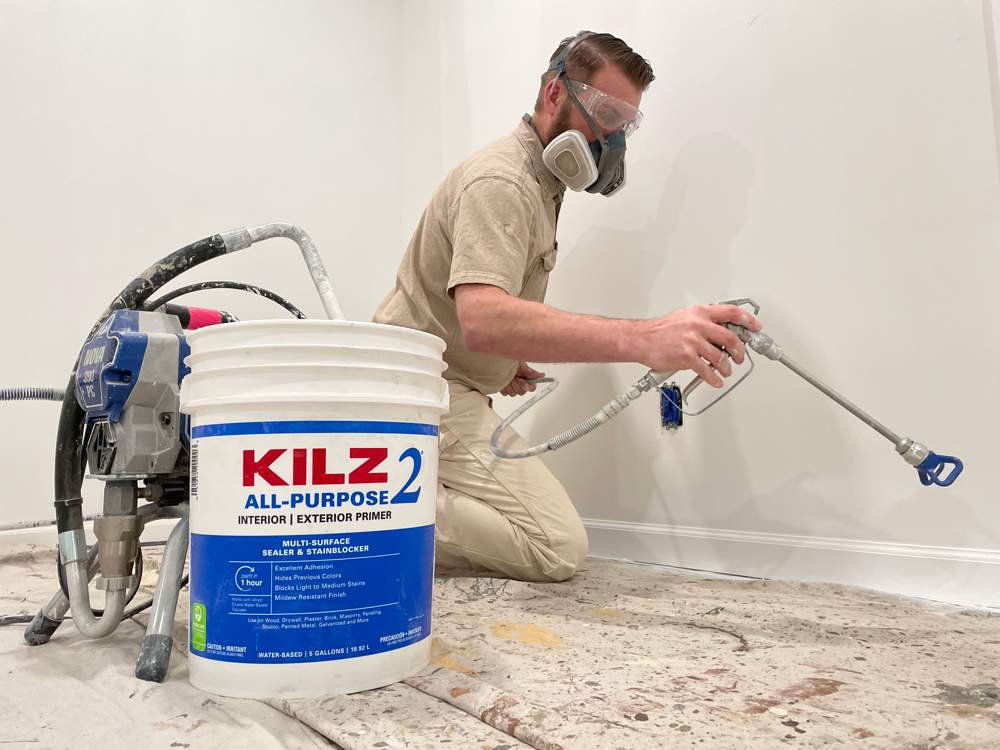
What sprayer settings would you recommend for KILZ 2 All-Purpose Primer?
The two main tips that we use are sort of double tipped tips where it goes through one orifice, atomizes it, and then hits another and atomizes it again. And those are magic tips. They produce the best efficiency, the least overspray, the best finishes you’ve ever seen in your life. Everybody always asks, what pressure do you put your sprayer? And the answer is super unsatisfying, most of my sprayers don’t have a dial indicator on them, so we actually don’t know what pressure it’s at, but if you spray and you get those kinds of little tails, or arms, or feet on the outside edges, you just bump the pressure up until they come in [to the main line] and you get a nice fan. And that’s it.
*This post is a paid partnership with Nick Slavik.
Always remember to refer to our website kilz.com or product back labels for additional information on which primer is right for your project and detailed instructions on how to apply our products.
Ask the Pro: Primer Makes a Paint Job Better
April 19, 2021
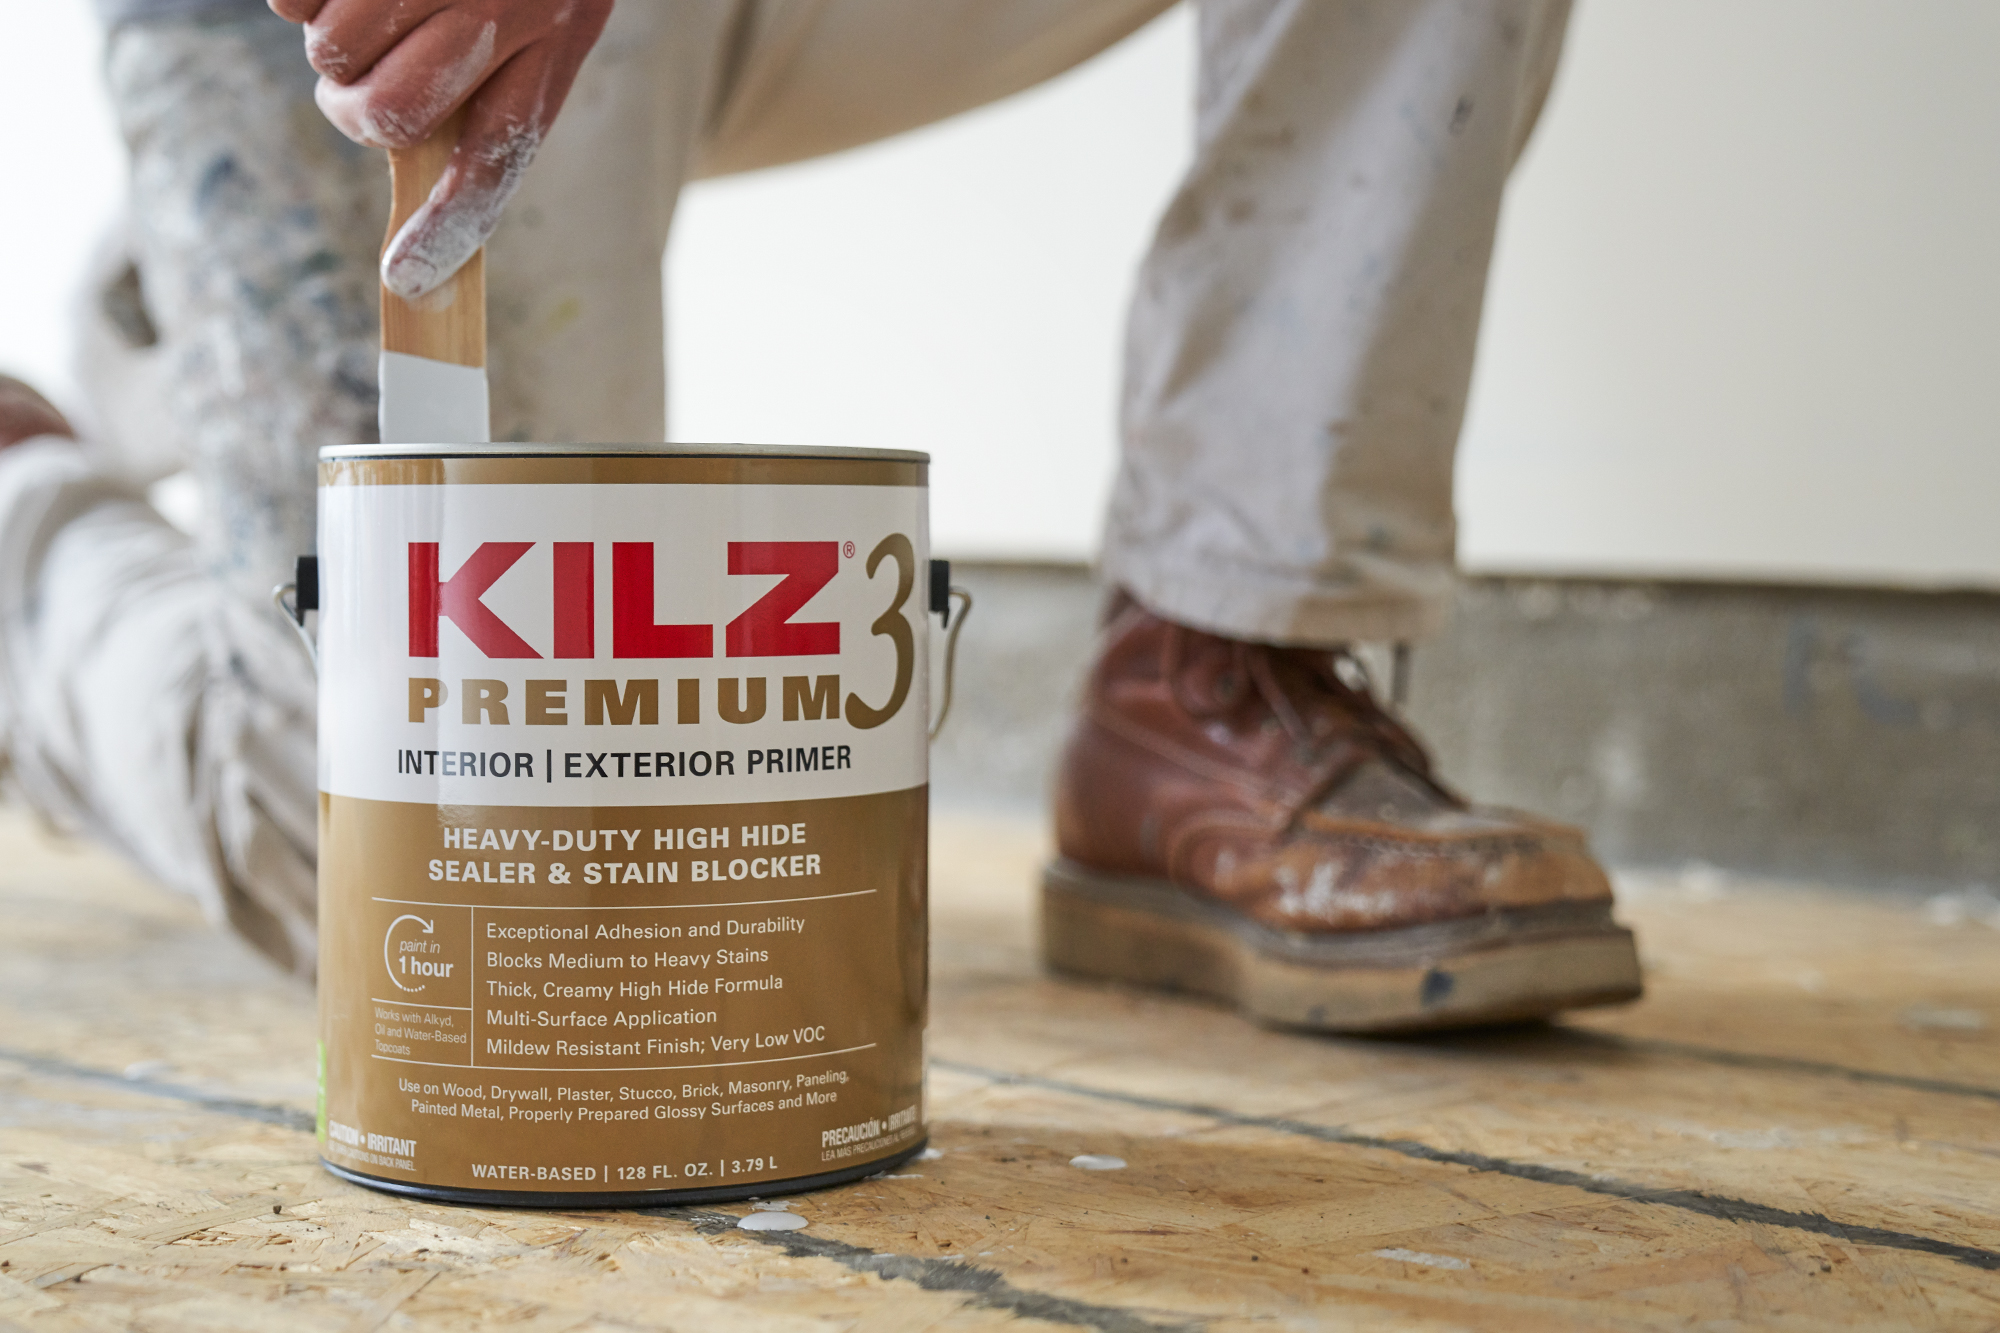
It’s no secret that here on The Perfect Finish we’re advocates of proper prep work, and for us that conversation always includes priming before you paint. Primer can do a lot for your paint job, and the professionals know it’s worth the extra step.
To share all the reasons why and how primer makes your paint job better, and answer some often asked primer questions, we brought back Product Manager John Golamco. He’s been on the KILZ team for over six years and has a wealth of primer knowledge. Ready to learn more? Let’s get rolling!
Is primer only necessary when your paint does not have primer in it?
Applying primer is an essential prep step when you apply paint or a topcoat coating. As such, it is important to apply primer first and then (once it’s dry) apply the topcoat/paint over the primer coat. Primer is engineered differently from paint – primer has more resin/binder in the formula, which is the “sticky stuff” that helps with adhesion and other additives that give the primer its ability to solve a variety of problems. Paint, on the other hand, has more pigment in the formula in order to deliver color.
How does primer make my paint job more durable and long-lasting?
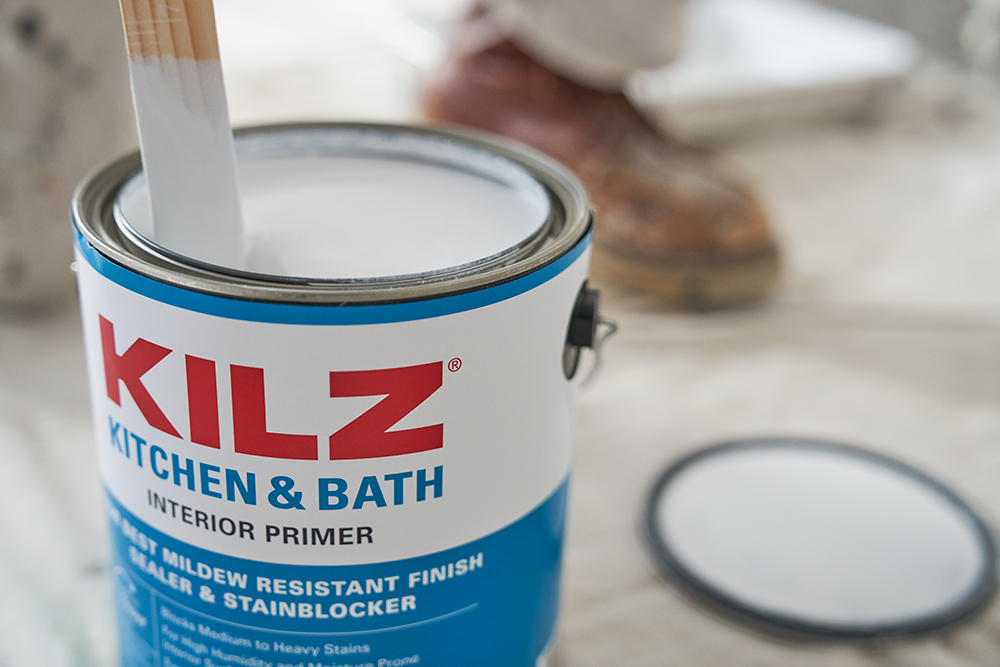
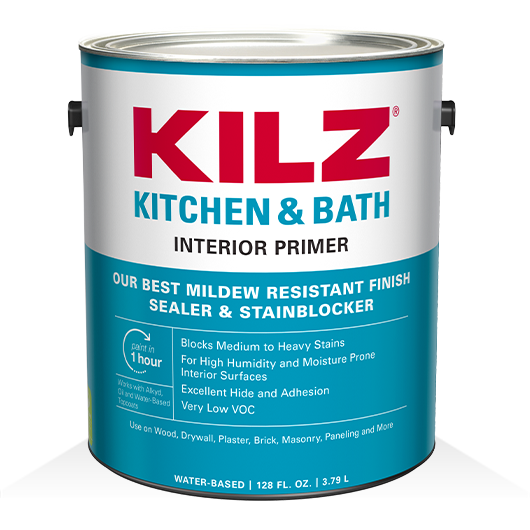
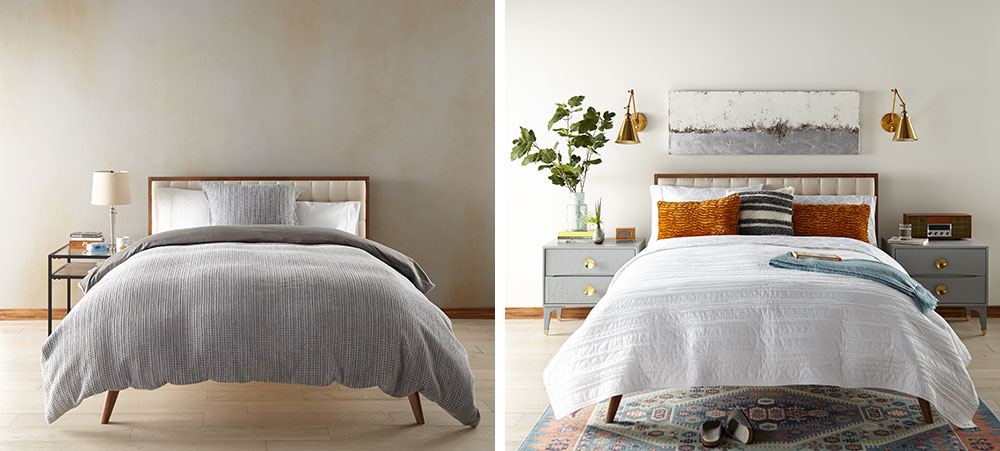
Primer helps the paint or topcoat stick to the surface better and prevent problems like peeling and cracking – ensuring the topcoat lasts longer on the surface. Depending on the type of primer (there are several types), it can solve a variety of surface related conditions and problems that could ruin your topcoat paint if you didn’t apply primer first. Primers can evenly and uniformly seal porous surfaces; hide previous colors or marks and stains; block and seal in bleeding stains (like tannin, grease, nicotine, water stains… just to name a few!); seal in unwanted odors; enhance adhesion and help bond the paint/topcoat to the surface; and prevent mold or mildew on the primer film surface, and other special features. There are even primers formulated for different spaces in the home, like KILZ Kitchen & Bath Primer.
How many coats of primer do I need?
Typically, you only have to apply one or two coats of primer to achieve optimal results for which it is intended. One common misconception is that you need to continue to apply coats of primer until you completely cover the surface in a white finish or hide every area possible like you would do a paint. It is not the primers job to provide the final complete paint finish – that’s the paint’s job. Even if it doesn’t look completely covered, one or two coats is all you need as long as it is evenly applied. For blocking water stains or tannin from a “fresh” red wood surface, more premium stain blocking primer is recommended.
Does primer work on all previous paint sheens?
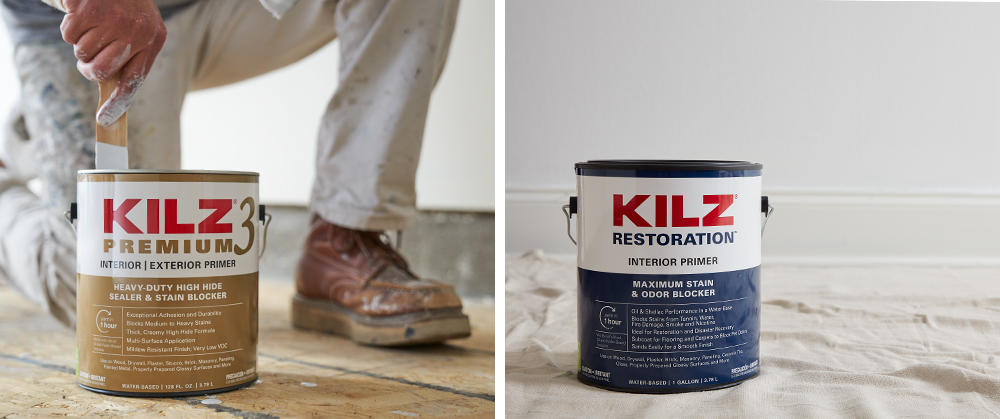
Just like most things you can buy, there are different types of primers ranging from the simpler ones that are made to just seal porous surfaces to the more sophisticated ones that offer additional features and benefits. Typically, the higher performing, more premium primers have better adhesion performance that allows it to stick to more surface types. Typically, the denser/harder the surface and the more sheen (higher gloss), the more difficult it is for paint or primer to adhere to. We recommend using high adhesion bonding primers for dense, glossy surfaces. Sometimes it is also necessary to perform a light sanding of the surface to help the primer bond to it. A high-performance primer such as KILZ 3® Premium Primer or KILZ® Restoration Primer will work with most paint sheens.
Can I apply primer on wallpaper?
When it comes to painting over old wallpaper, the best practice is to remove it completely, remove any old wallpaper glue and dirt residue, ensure the surface is clean and smooth and then apply primer and then topcoat with new paint. However, if painting over old wallpaper is needed, we recommend ensuring the old wallpaper is not peeling and adhesion to the wall is still sound. Then use an oil base primer such as KILZ® Original Primer to prime the surface before applying paint. Using an oil base primer will make sure there is less chance the adhesive of the wallpaper (which may be exposed at the seams) is compromised.
Is there a primer with a clear finish?
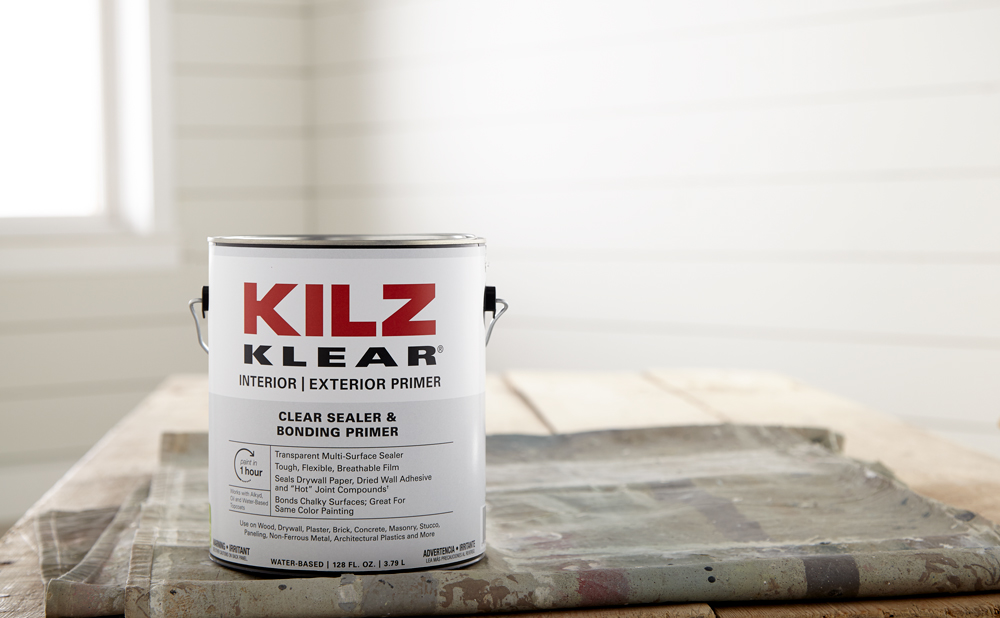
Most primers will adhere to wood however there are special primers that will apply in a clear transparent finish. We recommend KILZ KLEAR® Clear Sealer & Bonding Primer – a high performance fast-drying, multi-surface clear primer developed to seal highly porous surfaces inside and outside your home. It is also recommended for use when painting the same topcoat paint color on top of an existing paint coat.
Can primer be applied to peeling paint?
Applying primer or any additional topcoat coating to already peeling paint is not recommended. The adhesion or bonding of the paint to the surface is already compromised. Adding more layers of primer or any coating will add weight to the compromised paint and might cause it to peel off completely. We recommend removing the peeling paint and starting fresh with a clean surface.
Always remember to refer to our website kilz.com or product back labels for additional information on which primer is right for your project and detailed instructions on how to apply our products.
Pro Spotlight: A Well Made Mudroom
March 23, 2021Today on The Perfect Finish we’re excited to spotlight Christy from Oak Hill Millworks. She is an all-around design and DIY pro, with exceptional skill in woodworking. KILZ® Primer was key in her incredible mudroom renovation project, read on to learn more!
Did you know that a well-made mudroom can change your mindset? – Christy, Oak Hill Millworks
Hey there! I’m Christy, owner of Oak Hill Millworks, a creative venture based in the greater Pittsburgh area that aims to educate, entertain, & empower. Most of the topics I focus on have to do with woodworking & DIY, which is why we’re here! I want to share with you how I used tried & true KILZ primer to help drive my recent mudroom remodel home. KILZ is a brand that I have used since I can remember. My grandfather was a cabinet maker and he himself endorsed KILZ brand primer. It’s just one of those brands you can rely on, you know what I mean? And honestly… with how problematic life has been over the past year with so many unknowns, using KILZ is a simple solution in my mind.
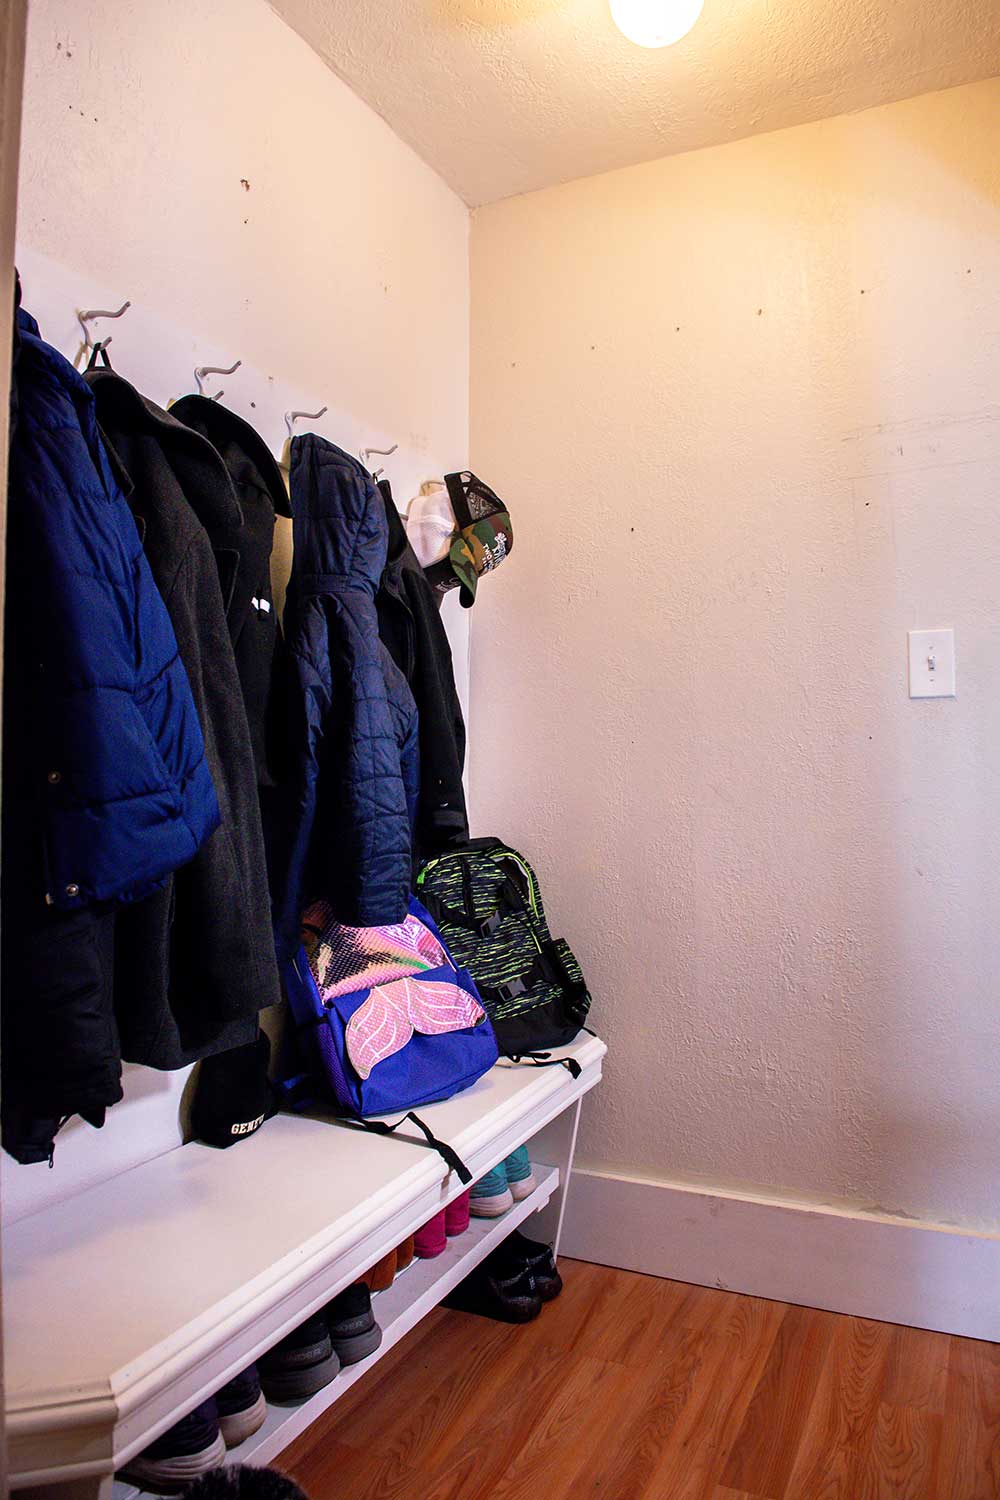
Speaking of problems, my old mudroom and I did NOT get along. It was all function and no form. It still had plaster and wood lath from the 1950’s – I knew it was going to require brand new drywall and some new built-ins for me to be really happy with the remodel. I knew I would have some unknowns to contend with because remodeling an older home can come with surprises like unlevel floors, out of square walls, and insufficient wiring. When KILZ offered to help out by sending me their primer & paint, I knew I was in good hands because like I said, with so many unknowns, it’s reassuring to have something you can depend on.
Day 1 was #demoday! I did my best Chip Gaines impression and just ran straight through the old wall. Noooo, I didn’t do that. After all, our living room wall was on the other side so I had to be pretty careful with the removal of the old plaster and lath boards. I even saved a bunch of the wood lath because I want to make something out of it to pay homage to the old mudroom. I had to remove the existing bench that held a lot of our shoes but just was a total eyesore. I removed old baseboard and trim around the door, did A LOT of cleaning, and began to prep for building the new mudroom from the studs up. Here’s what it used to look like.
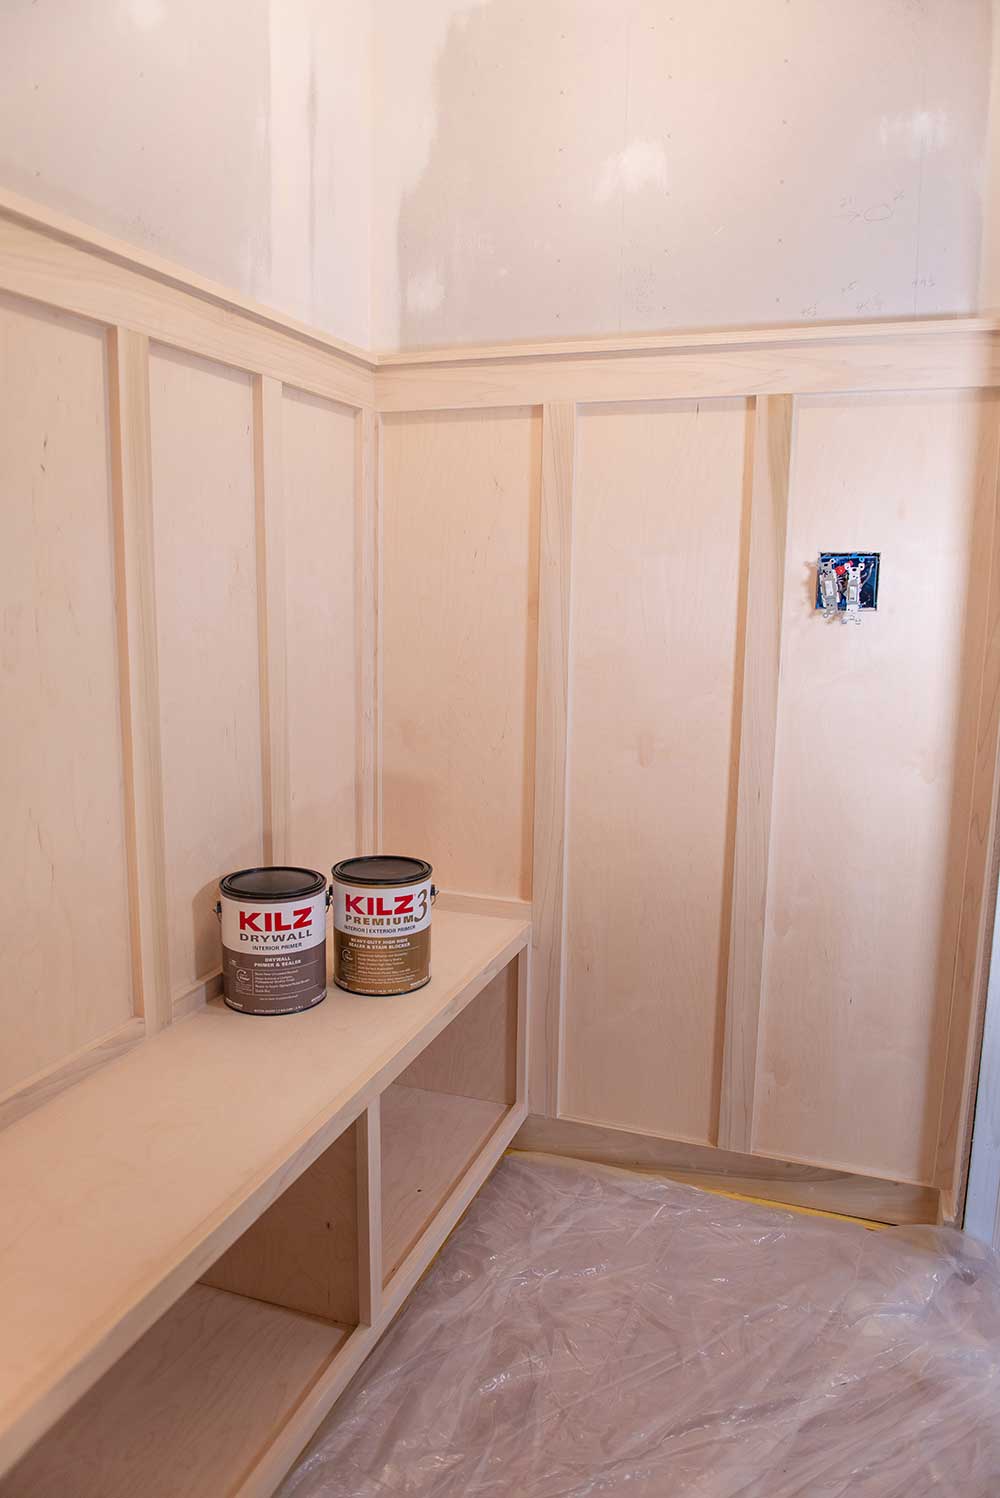
After the new drywall was in, I installed my newly built bench and gave the walls an aesthetic facelift by adding board & batten. An important step to remember when doing any sort of DIY house project with wood, whether it is trim or moldings, is that you are going to need a quality acrylic based caulking to fill in any seams before you prime. Careful when selecting one – most are silicone based, which primer won’t adhere to as well. And just one more hot tip here even though this is not a blog post about caulk but I care about your sanity so I gotta say it: don’t go wild and cut a large opening for the caulk to come out of. The smaller the opening, the easier it will be to lay a nice bead of caulk down with a smoother finish. One less thing to worry about.
When it was time to prime, I felt like I could finally relax. I’m telling you, using a brand like KILZ is like lounging into your favorite spot on the couch… it just feels right. Yes, this is the homestretch of your project if you’re looking into paints and primers. But make no mistake, you need to finish strong! Laying a solid foundation for your paint is of the utmost importance. And I can’t stress this enough…. Take the time to prep your space properly by laying down some inexpensive plastic drop sheets and using a quality painter’s tape to protect trim, baseboards, or whatever is nearby that you don’t want to get paint on. It – takes – time. It’s not fun! But your paint job will be better because of it and you’ll be happier in the long run.
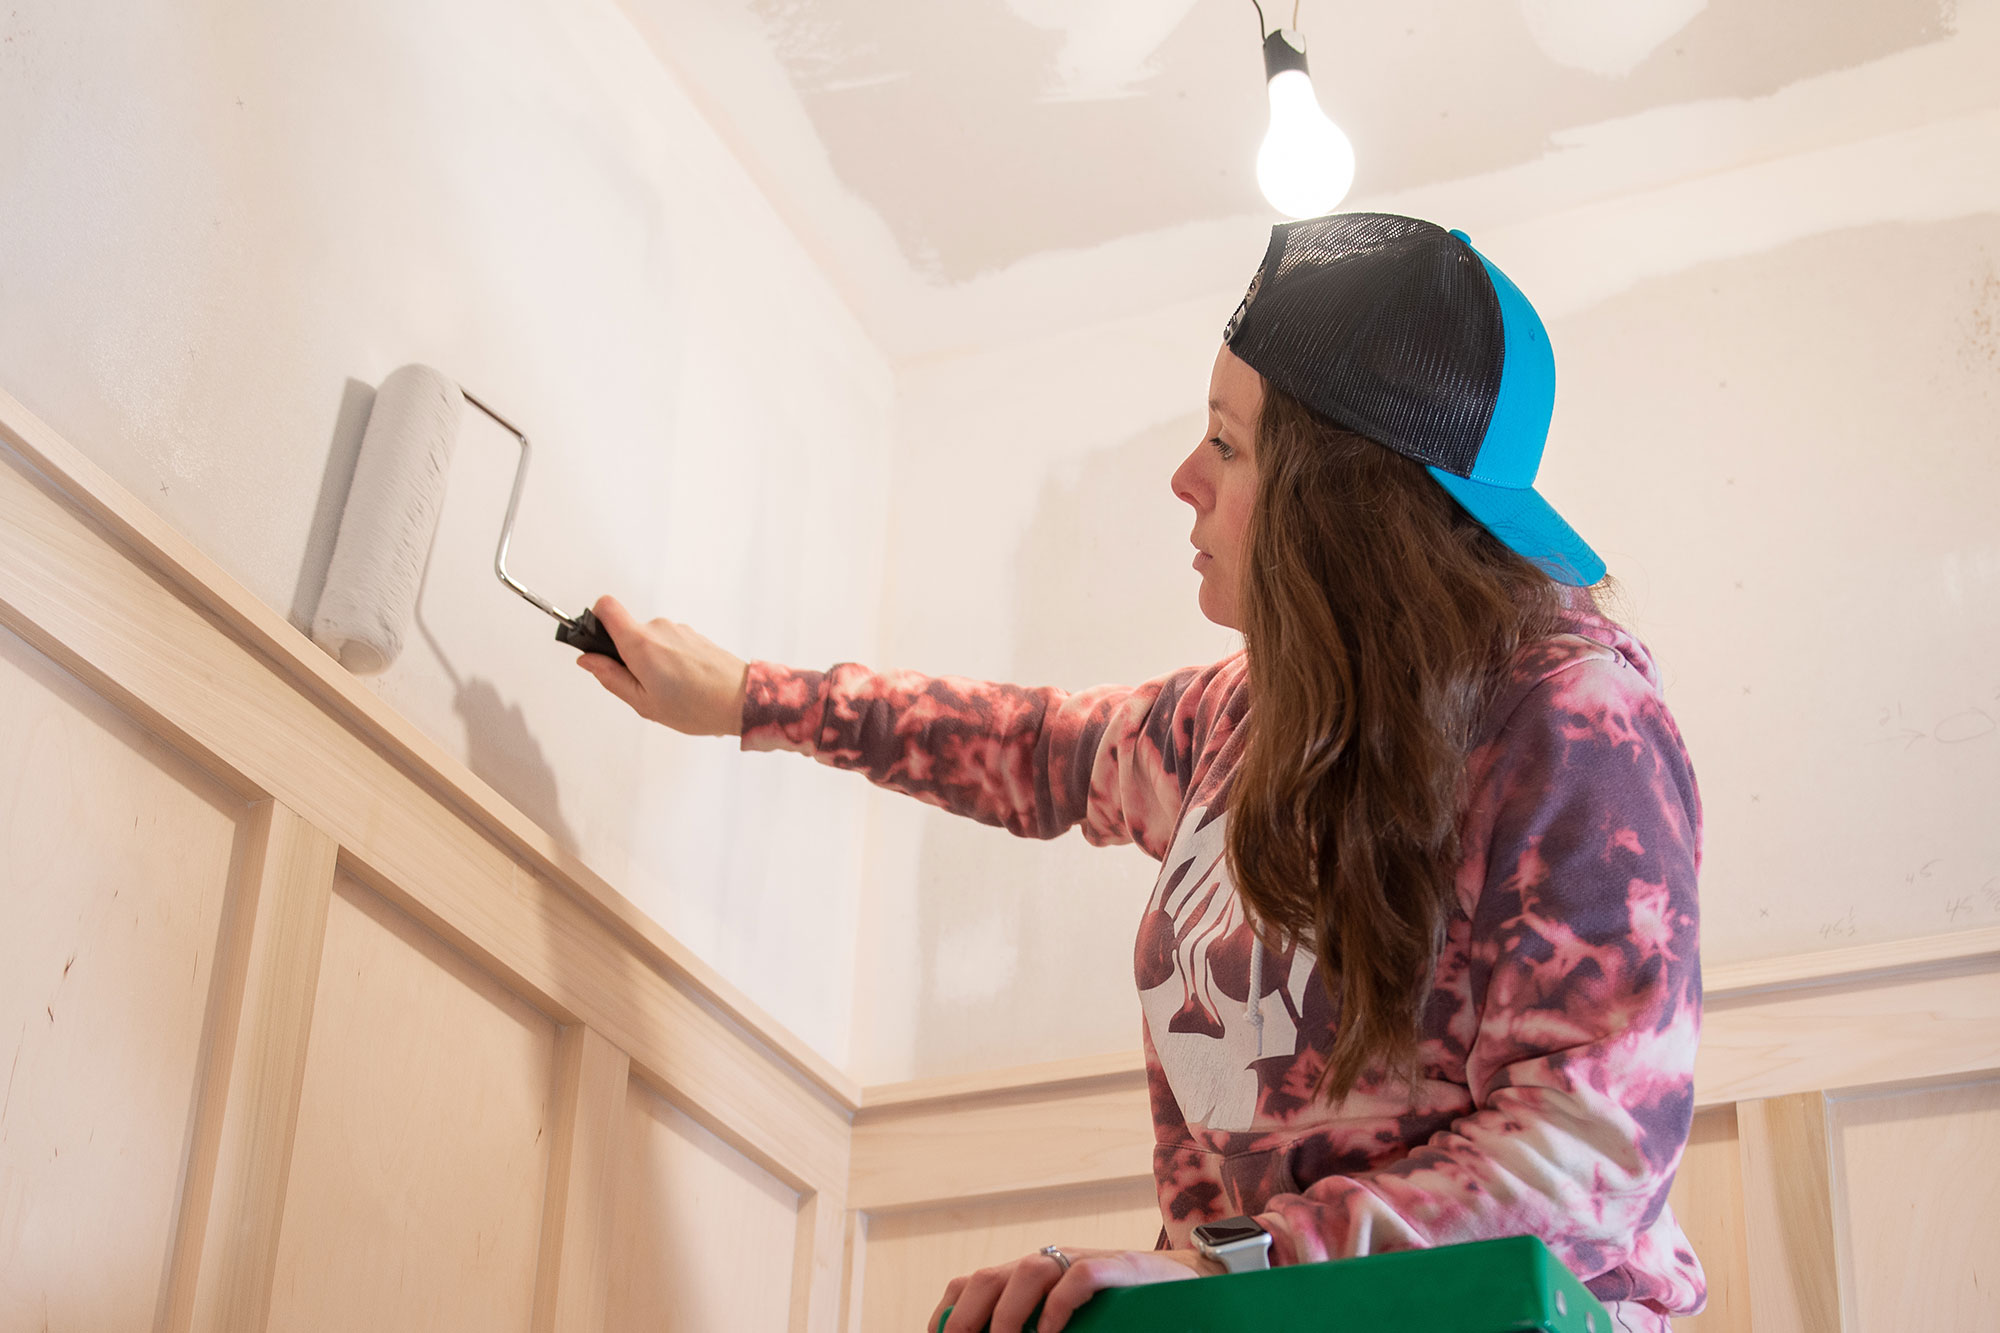
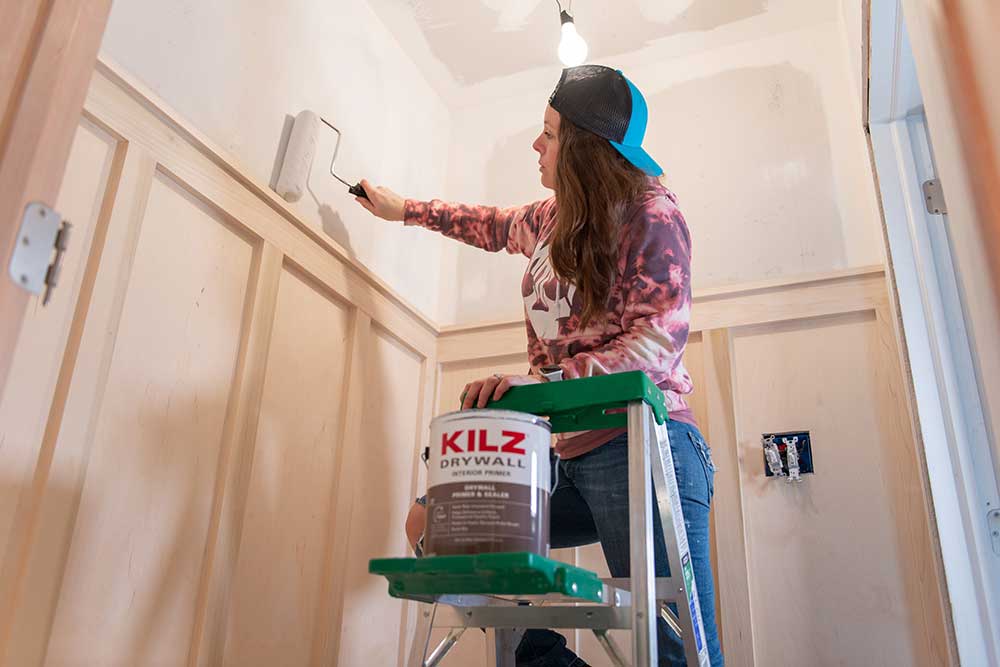
Have you ever used drywall primer before? Just a heads up, it is going to be thicker than you might expect it to be. I will say though, I have worked with thicker primers/paints and they have been somewhat unpleasant to work with because they are too thick and therefor difficult to roll on. I thought the viscosity of KILZ Drywall was just right and it was my first time using that specific primer so I was pleasantly surprised to see how quickly it coated the fresh drywall. I did two coats with fantastic coverage and that’s impressive for brand new drywall that tends to absorb the primer. And if you are wondering if your roller matters…. It does. I’ll let you know in the Q & A at the end!
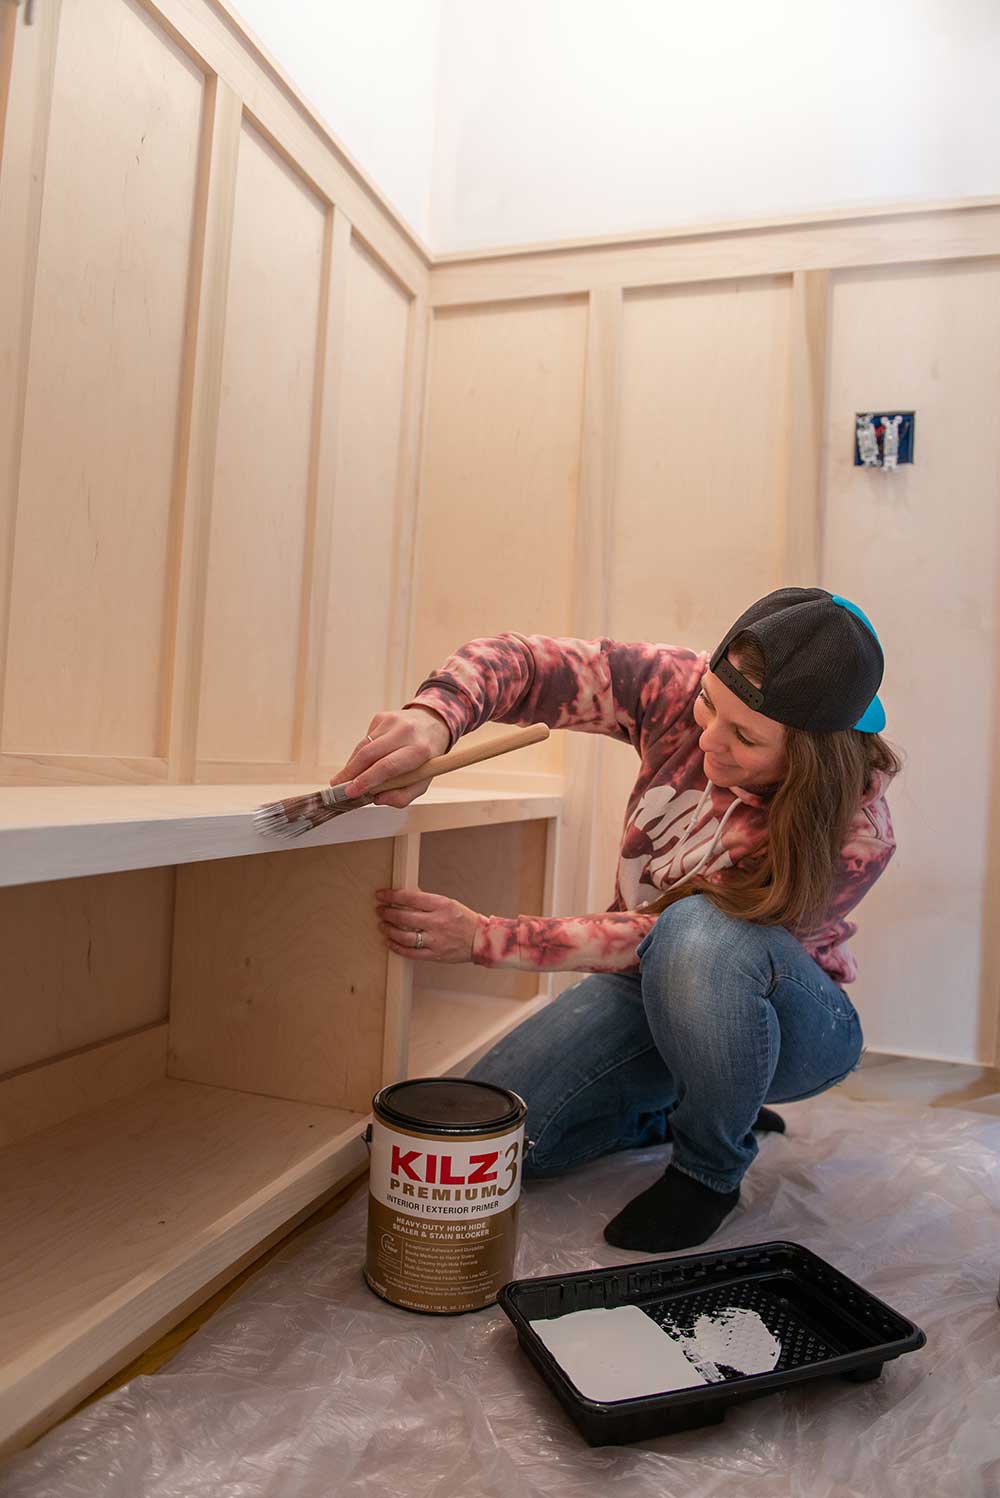
After the drywall got its first coat on, I grabbed KILZ 3® Premium primer and went to work beginning to prime the face frame of the new bench. A great primer like KILZ 3 Premium can make your DIY project a successful one, especially if you are using a knotty wood like pine. Knots in pine can release resins over time that can actually penetrate a layer of paint and leave you with an unattractive yellowish stain if you don’t use a sealing primer like KILZ to lay a proper foundation for your paint.
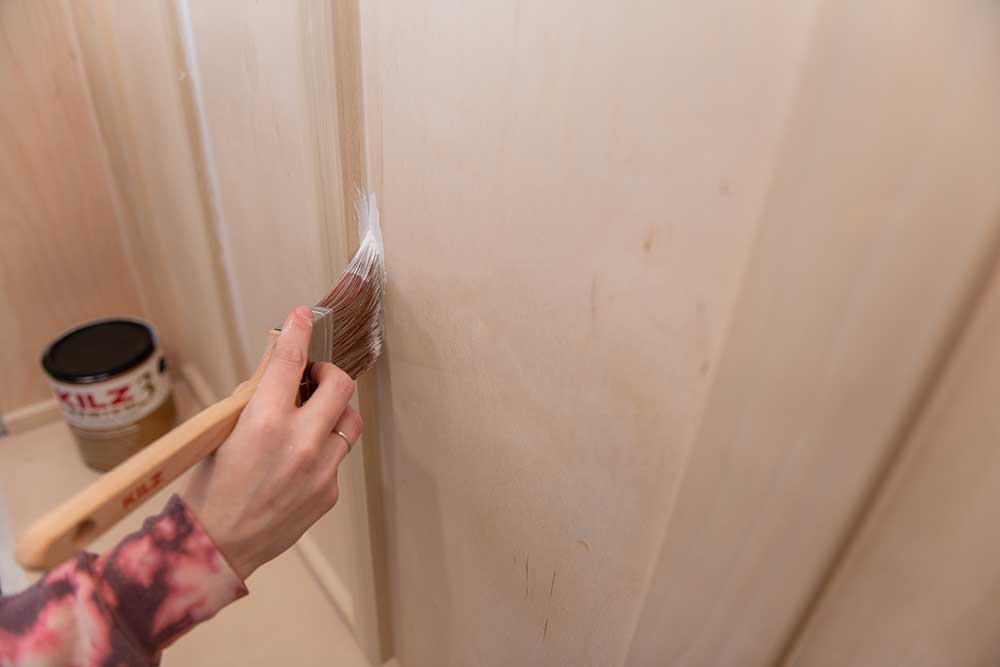
My next goal was to “trim out” the board & batten. This is when you use a brush to get into the corners and tighter spaces that a roller won’t reach. I like to trim out a few spots and then use my roller to fill in and slightly overlap where the brush left off. If you can manage to get the rolling going while the part you trimmed out is still wet, they will blend more seamlessly than it would if the brushed-on paint dries before you have a chance to roll the rest.
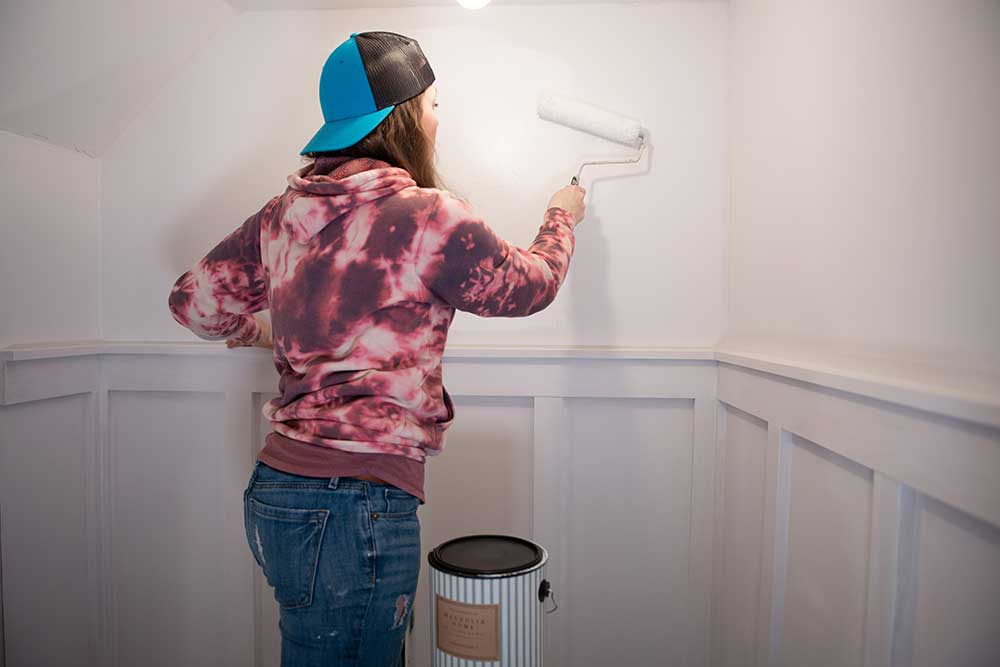
The primers both dried very quickly and allowed me to get to painting in just over an hour from when I applied the primer! It was incredibly helpful to be able to start AND finish priming and painting this room in a single day. I made sure to roll on the True White paint on the drywall first so that any accidental splatters would land on a primed bench below rather than a freshly painted one. If you don’t know this trick yet, you can always stick your roller in a bag or wrap it in foil and then put it in your refrigerator to keep the paint from drying if you need to take a short break.
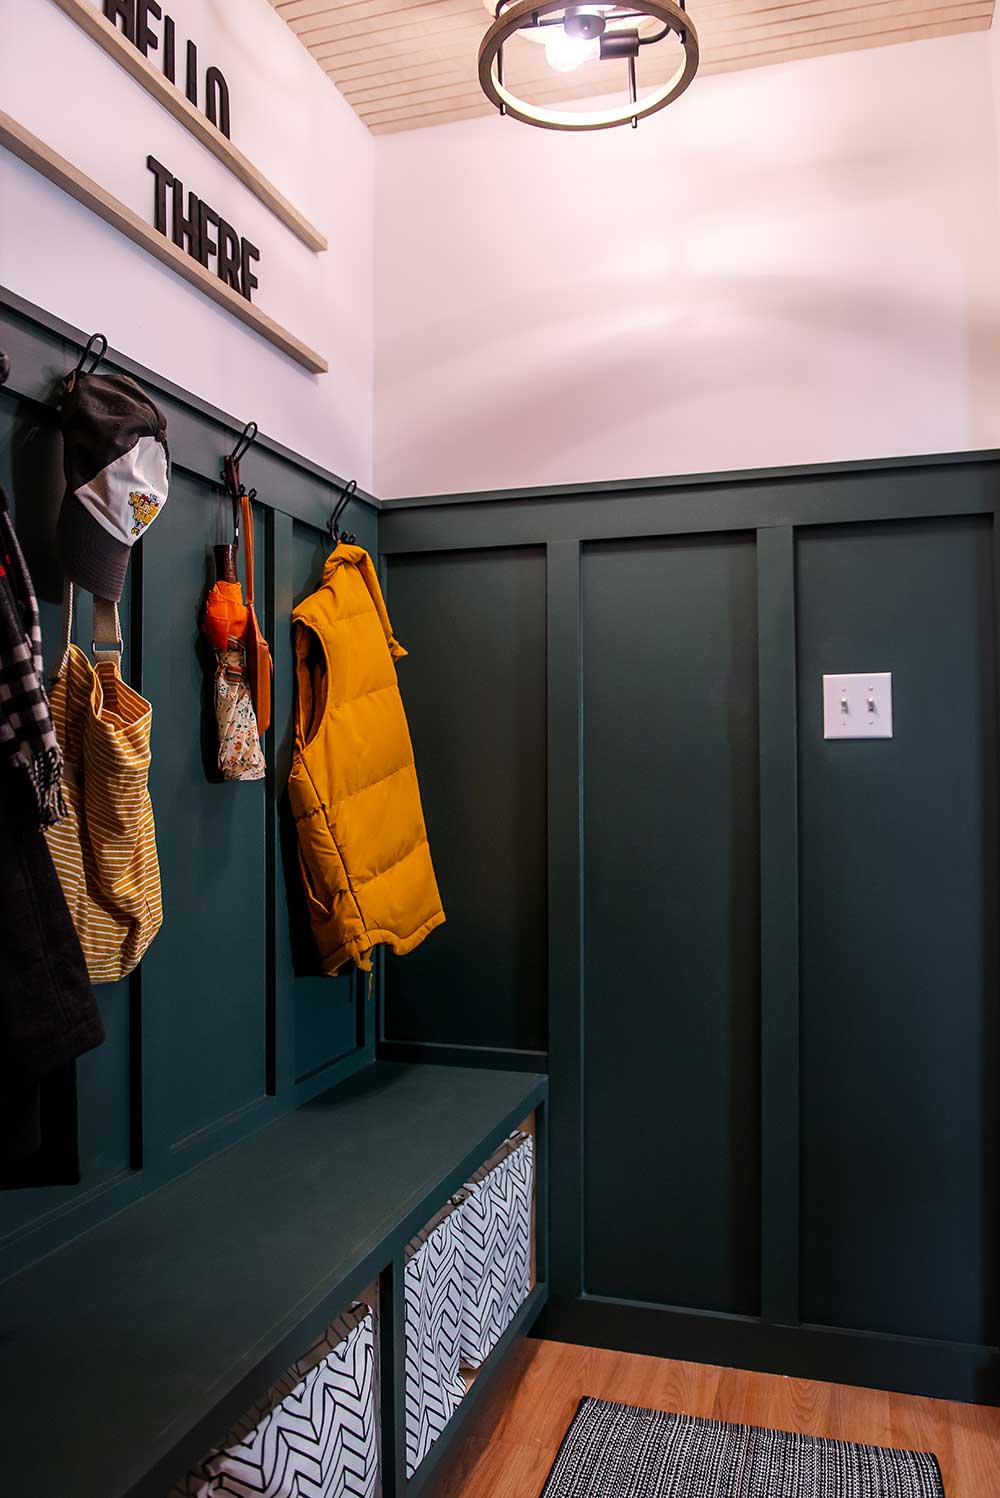
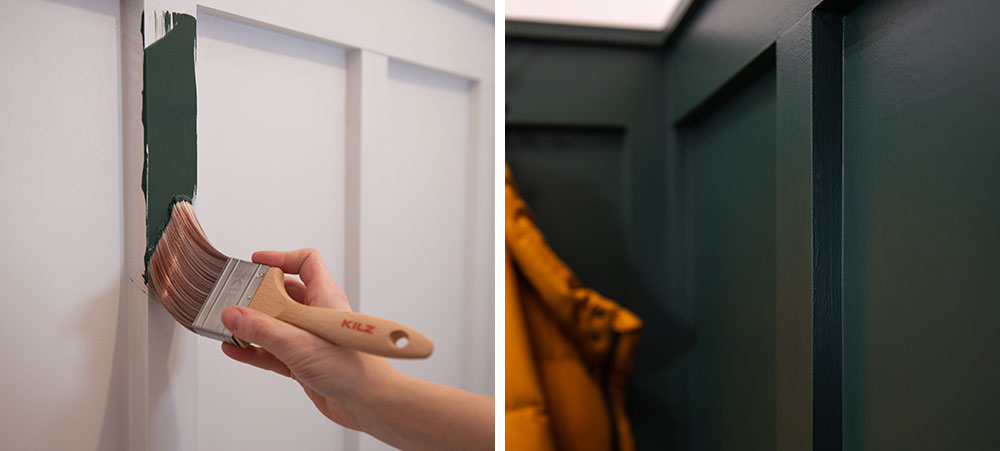
In three weeks, I had completely demolished the old room, rebuilt it, and given it new purpose. Instead of a messy drop-spot for our coats and shoes, my mudroom was transforming into a transition place. It was time to begin painting and I was growing more excited by the minute seeing my vision come to life. I had seen the new 1905 Green color from the Magnolia Home by Joanna Gaines® paint line and knew I had to have it for the board and batten and everything below it. All the things! I was gonna paint the town… green.
You see, when you take the time to properly prepare and design a space, you can redefine it. A mudroom can be more than just the designated place to kick off shoes and hang jackets – I believe it can be the room that shifts your mindset upon coming home Returning home to our old mudroom made me irritable because it was often cluttered and wasn’t my style. My new mudroom with freshly painted walls and customized to my liking all the sudden feels like a room with purpose. I don’t know about you but when I come home to clutter, my mindset tends to immediately be more on the negative side. It’s incredible what paint & primer can do to transform a space, and ultimately, your mindset.
Quick Tips from Christy:
Q: I thought primer was just to cover up dark paint colors before painting with a new, lighter color. Do I really have to prime?
A: Yes. You do. Primers lay a foundation that is multi-purpose. Primer is not just to make the aesthetics of your paint more pleasing. Although this is true, you should primarily view primer as a sealant.
Q: A sealant?
A: Yep, something that seals another material like drywall or wood. KILZ brand primers come in a variety of types to serve specific substrates. For me, I needed a primer specific to coating new drywall. Drywall has zero protection against moisture and, in fact, is engineered in such a way that can actually make it pretty susceptible to attracting water. Priming with KILZ Drywall primer is going to protect your drywall from moisture. If we’re talking about wood, using KILZ 3 Premium can seal in tannins and resins that are naturally found in wood to lock them in so that they don’t bleed through your topcoat.
Q: Why is the moisture such a big deal?
A: Materials like drywall & wood are porous in nature. This literally means that if not sealed properly, they can take on water. What’s the big deal, you ask? Sometimes this is a really sneaky amount of water that you have no idea is accumulating in a space. Over time, water can grow mold… and I’m a nurse too so I’ll try not to bore you with the health implications here but mold can be extremely dangerous for people with breathing conditions like asthma.
Q: Does roller type/nap matter?
A: Yes, it does, and I’m not the type of person to buy the insurance plan for my cell phone if that gives you any indication on whether or not you can trust me when I say this: roller quality is real and you need to spend the couple extra bucks for the higher quality roller. A ½” nap will work in most interior painting applications.
Q: What’s one benefit of priming with KILZ that most people don’t think of?
A: A layer of primer beneath paint actually makes your topcoat more durable! With a young family, my walls see a lot of action. Sports bags get chucked at them, shoes get kicked off, and lots and lots of hands touch the walls. Durability is something that my paint needs to have!
Alright, there ya have it. Hope this was empowering, entertaining, or educational for you! Please reach out to me on Instagram at @oakhillmillworks with any other questions you might have. I’ll always do my best to help.
Christy
Always remember to refer to our website kilz.com or product back labels for additional information on which primer is right for your project and detailed instructions on how to apply our products.
Ask the Pro: Misconceptions about Primer
February 12, 2021
Here on The Perfect Finish, we’ve shared what primer can do for your paint job, tips on choosing the right primer for your project and step-by-step instructions on how to prime various surfaces. In this post, we’re excited to turn the tables and talk about what primer is not – debunking seven common misconceptions about primer.
To discuss these often-believed myths and misunderstandings about primer, we sat down with John Golamco – Product Manager, Primers at KILZ. A member of the KILZ team for over six years, John is a true expert on all things primer and has a wealth of knowledge to share. Ready to learn more? Let’s get rolling!
Misconception #1: Primer is just paint without color in it.
Although both primer and paint are classified as “architectural coatings” they are not the same. The formula of paint is different from the formula for primer. Paint is formulated to deliver color while primer is formulated to stick, better protect the surface, and in some cases block stains.
Misconception #2: Priming before painting takes too much time and won’t have a considerable effect my paint job.
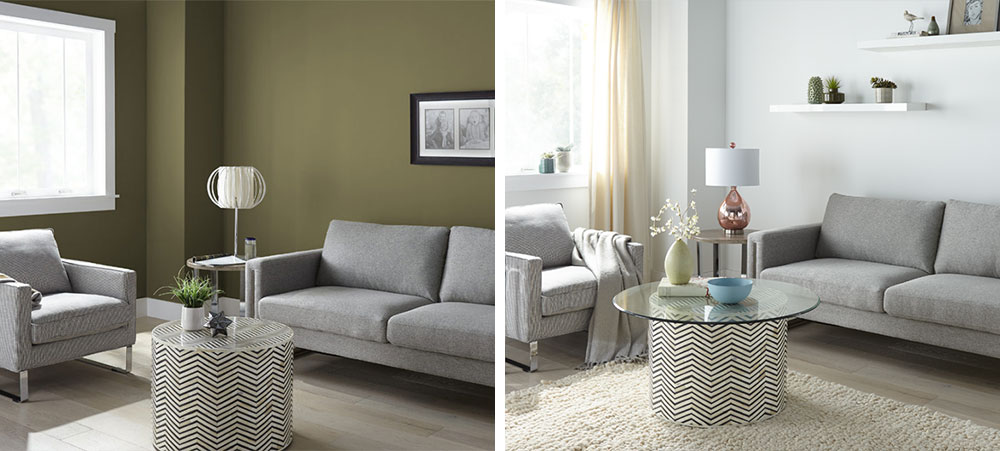
Applying primer is indeed an additional step in the painting process but, depending on the surface condition and problem areas that might be present, investing in the primer step might actually save time and money. Applying primer to solve the problem (for example uneven, porous surfaces, strong colors or stains that might bleed through the paint, or adhesion issues that might cause peeling of the paint) before applying paint may prevent the need to re-paint or add several more coats of paint to get desired results.
Misconception #3: If I use primer over a stain and I can still see the stain through the coat of primer, the primer didn’t work.
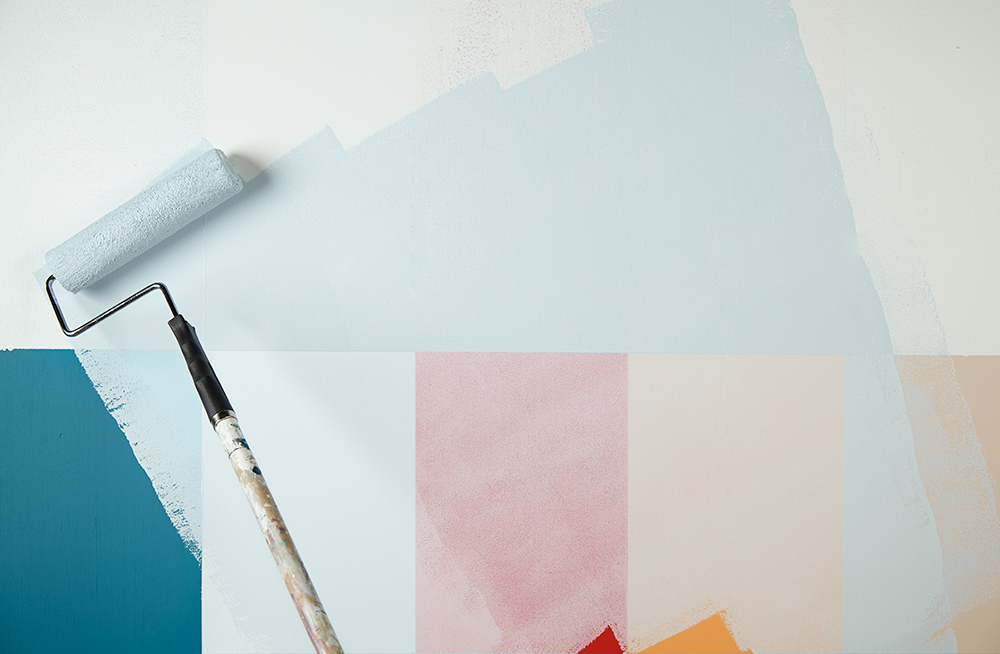
This is a quite common misconception about primer. A primer coat or coats is not meant to look like the finished topcoat paint. Primer is supposed to work underneath the paint to create a uniform surface, hiding strong or bright colors, block stains that might bleed through or show through the paint and enhance the paint’s ability to stick to the surface better and last longer. So even if the primer coat does not look like a fully painted wall, it will still perform the above functions. Then it is the paint’s job to completely cover the surface, deliver the color and look great.
Misconception #4: Primer is only for the walls.
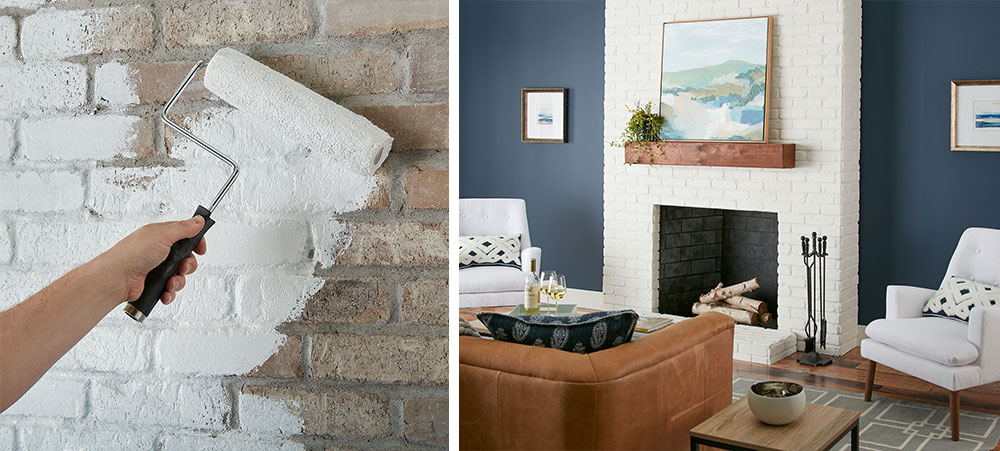
Primer is mainly applied to walls, but it is not only used for that surface. It can also be used on other vertical surfaces like wood paneling, brick or stone fireplaces or other masonry. Some types of primers are also designed to apply to horizontal surfaces like furniture, windowsills, floors and countertops. It depends on the type of primer and where it is designed to be used for – always read the label and follow label instructions.
Misconception #5: I’m using primer, I don’t need to clean the surface first.
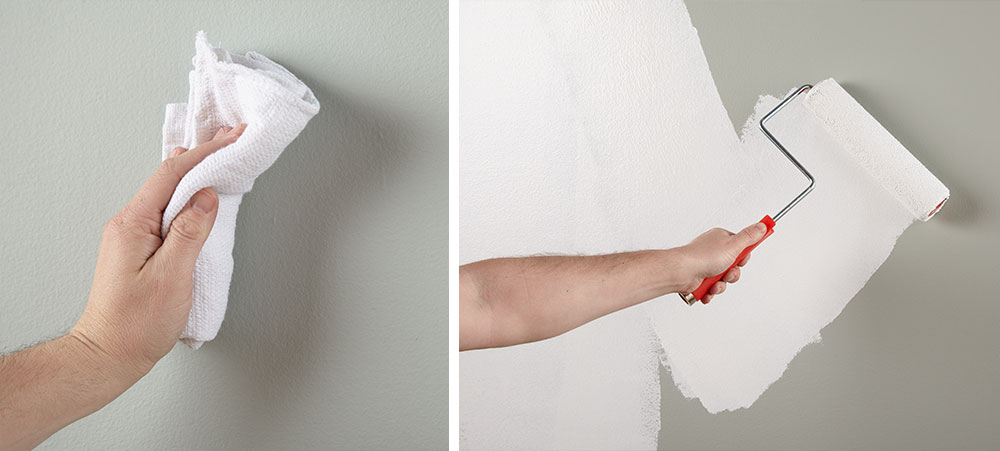
It is always important to properly prepare the surface before applying primer. At the very least, the surface has to be clean and free of dust, dirt and debris. Failing to clean the surface prior to applying primer may compromise the adhesion of the primer to the surface – which could lead to peeling and blistering.
Misconception #6: I need to add multiple coats of primer if I can still see my previous color.
Depending on how strong or bold the previous color is, it may be necessary to apply more than one coat of primer. However, it is not necessary to over apply the primer with so many coats. As long as the primer applies uniformly over the previous color, then one or two coats should be sufficient. Again, it is not necessary to apply several coats of primer to try to get a perfect white finish. That is the job of the topcoat (paint) which has to be applied on top of the primer.
Misconception #7: I don’t need to prime when painting outside.
Priming outside is just as important, if not more important, than priming inside. Exterior surfaces are typically exposed to the elements and are subject to expansion (from heat) and contraction (from cold). This and the exposure to wind, rain, snow and even dust, dirt, pollution, sunlight (UV) may cause the paint to fail due to lack of adhesion to the surface. Using an exterior primer first on a properly prepared surface can make a big difference to whether the paint lasts or potentially cracks, peels or blisters after a short period of time.
Always remember to refer to our website kilz.com or product back labels for additional information on which primer is right for your project and detailed instructions on how to apply our products.
Primer Tips for Odor-Sensitive Spaces
September 29, 2020If you’re a regular reader of the KILZ blog or a seasoned DIY-er, you understand the importance of priming before painting for most all project types. Here on The Perfect Finish we’ve covered primer tips for kitchens, bathrooms, living rooms, and even the outdoors! But there are a few spaces in the home that might be sensitive to solvent odors, and for those we recommend using KILZ Original Low Odor Interior Primer.
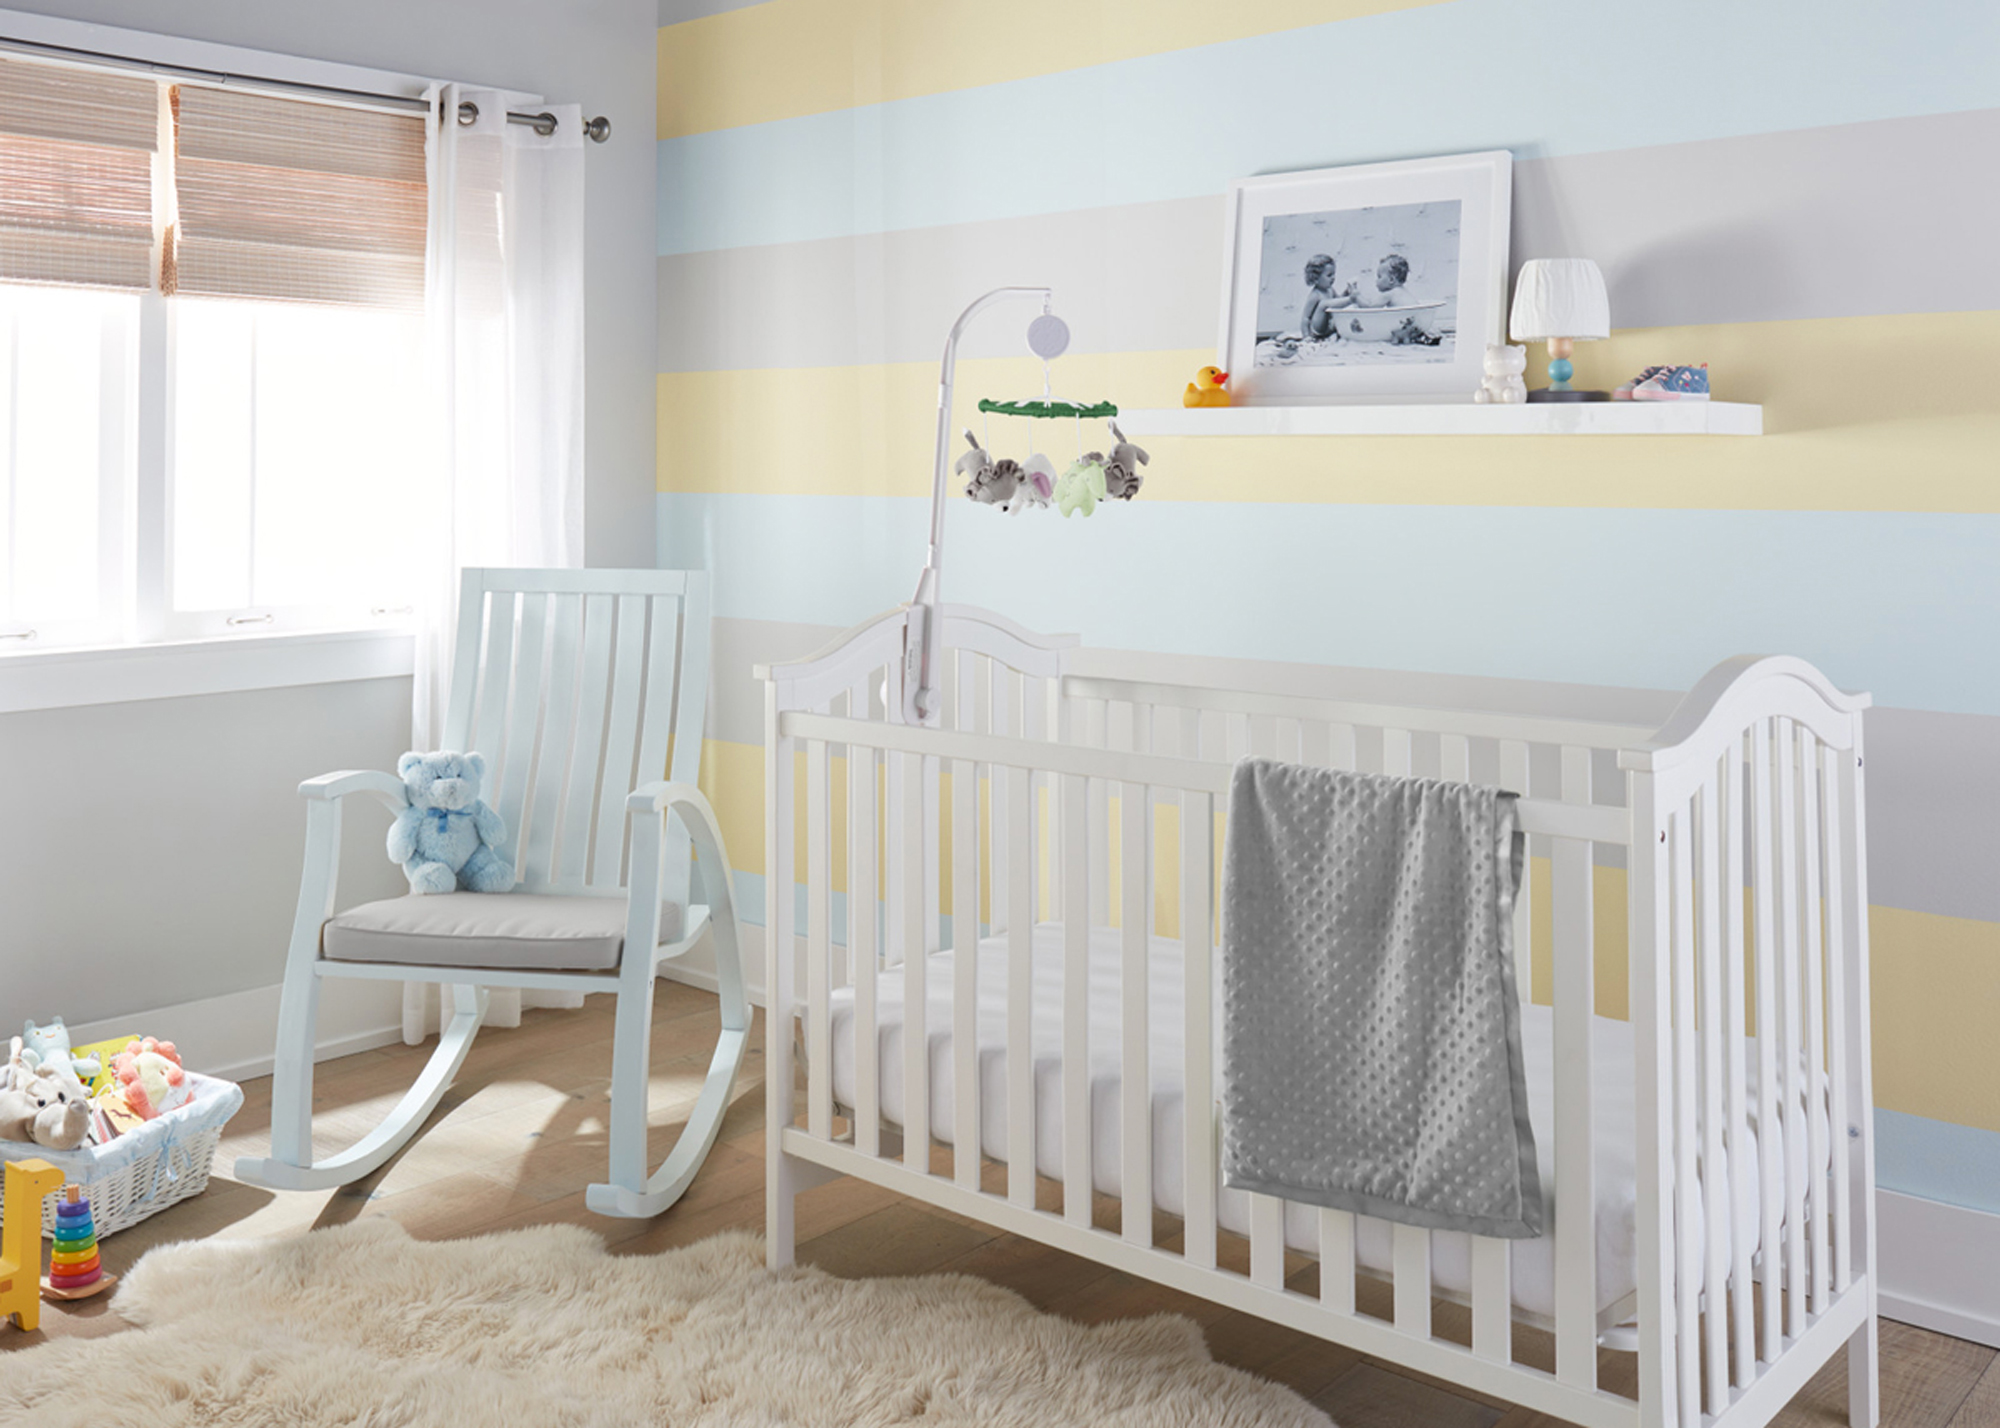
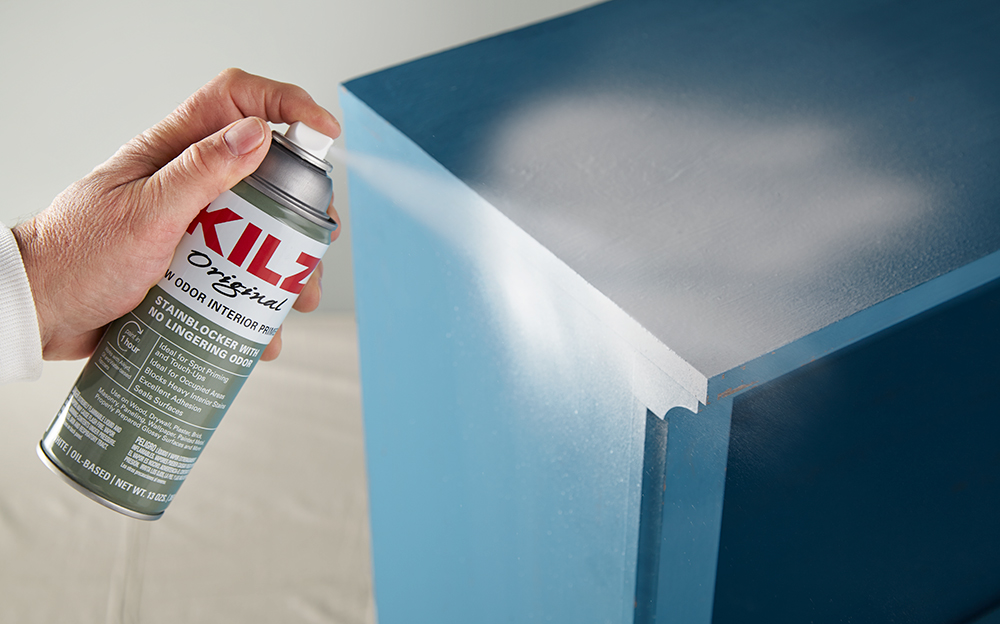
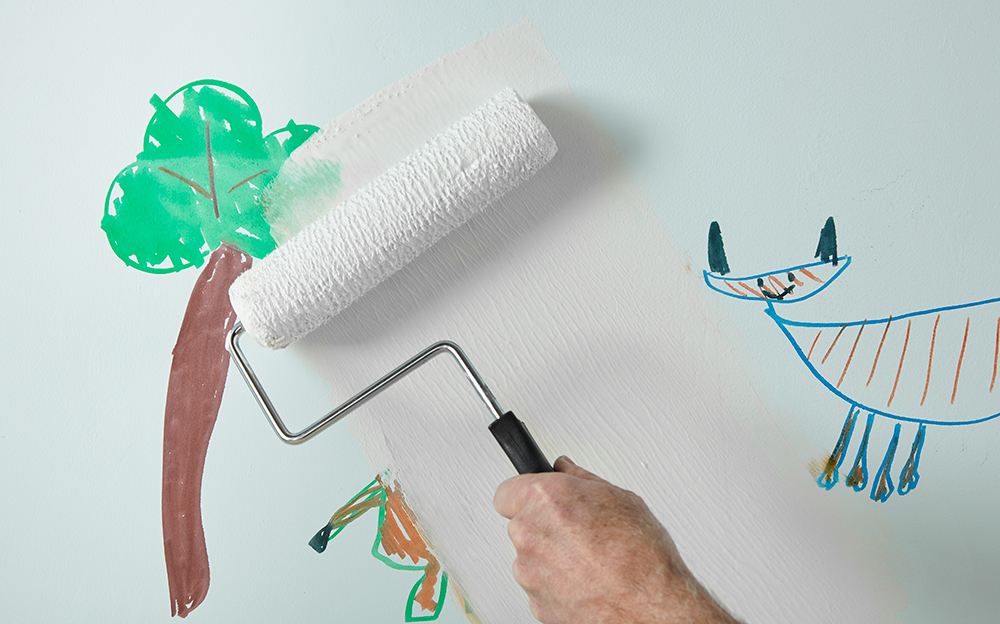
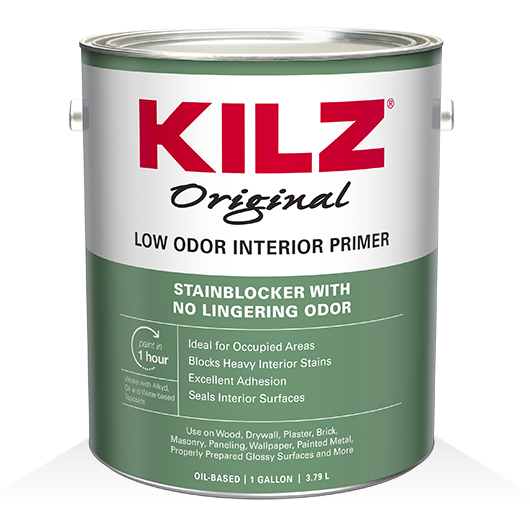
For use on interior spaces, KILZ Original Low Odor primer is an oil-based sealer, adhesion promoter and stain blocker with less odor than typical oil-based primers. Available in both liquid and aerosol form, KILZ Original Low Odor Interior Primer features fast odor dissipation technology which means no lingering odor†. Consider using KILZ Original Low Odor in spaces sensitive to solvent odors including children’s rooms, offices and small dining rooms.
The convenient aerosol formula of KILZ Original Low Odor Interior Primer is ideal for small paint projects like furniture upcycling and can also be used for spot priming and touching up interior surfaces. The liquid formulation can be used on most interior surfaces including wood, plaster, drywall, brick, masonry and properly prepared glossy surfaces.
Depending on the type of paint used for your top coat and the ventilation of your space, it is recommended when painting children’s rooms to wait 2-3 days before resuming use of the space.
Always remember to refer to our website kilz.com or product back labels for additional information on which primer is right for your project and detailed instructions on how to apply our products.


join the conversation:
SHARE this post: