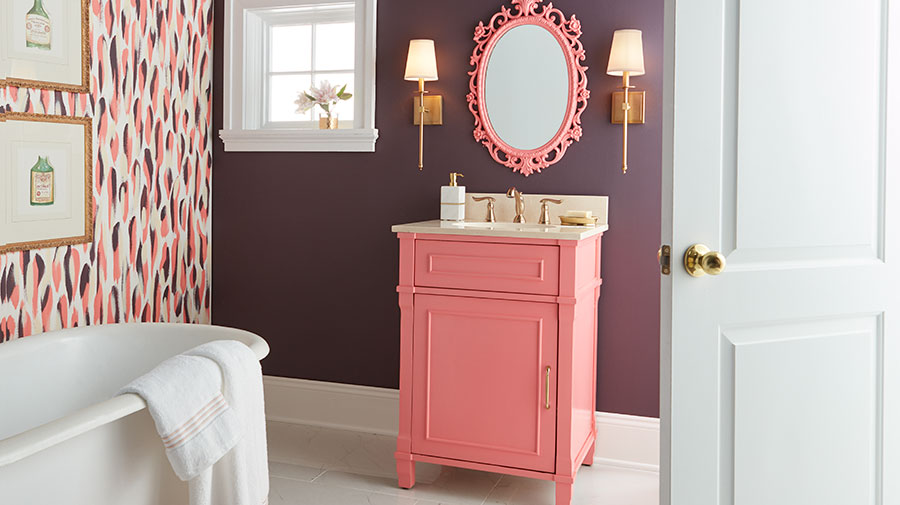
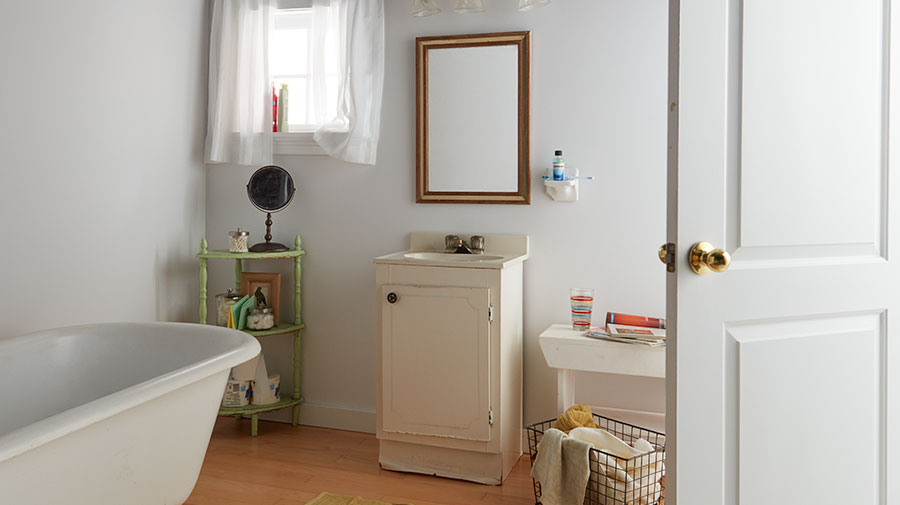
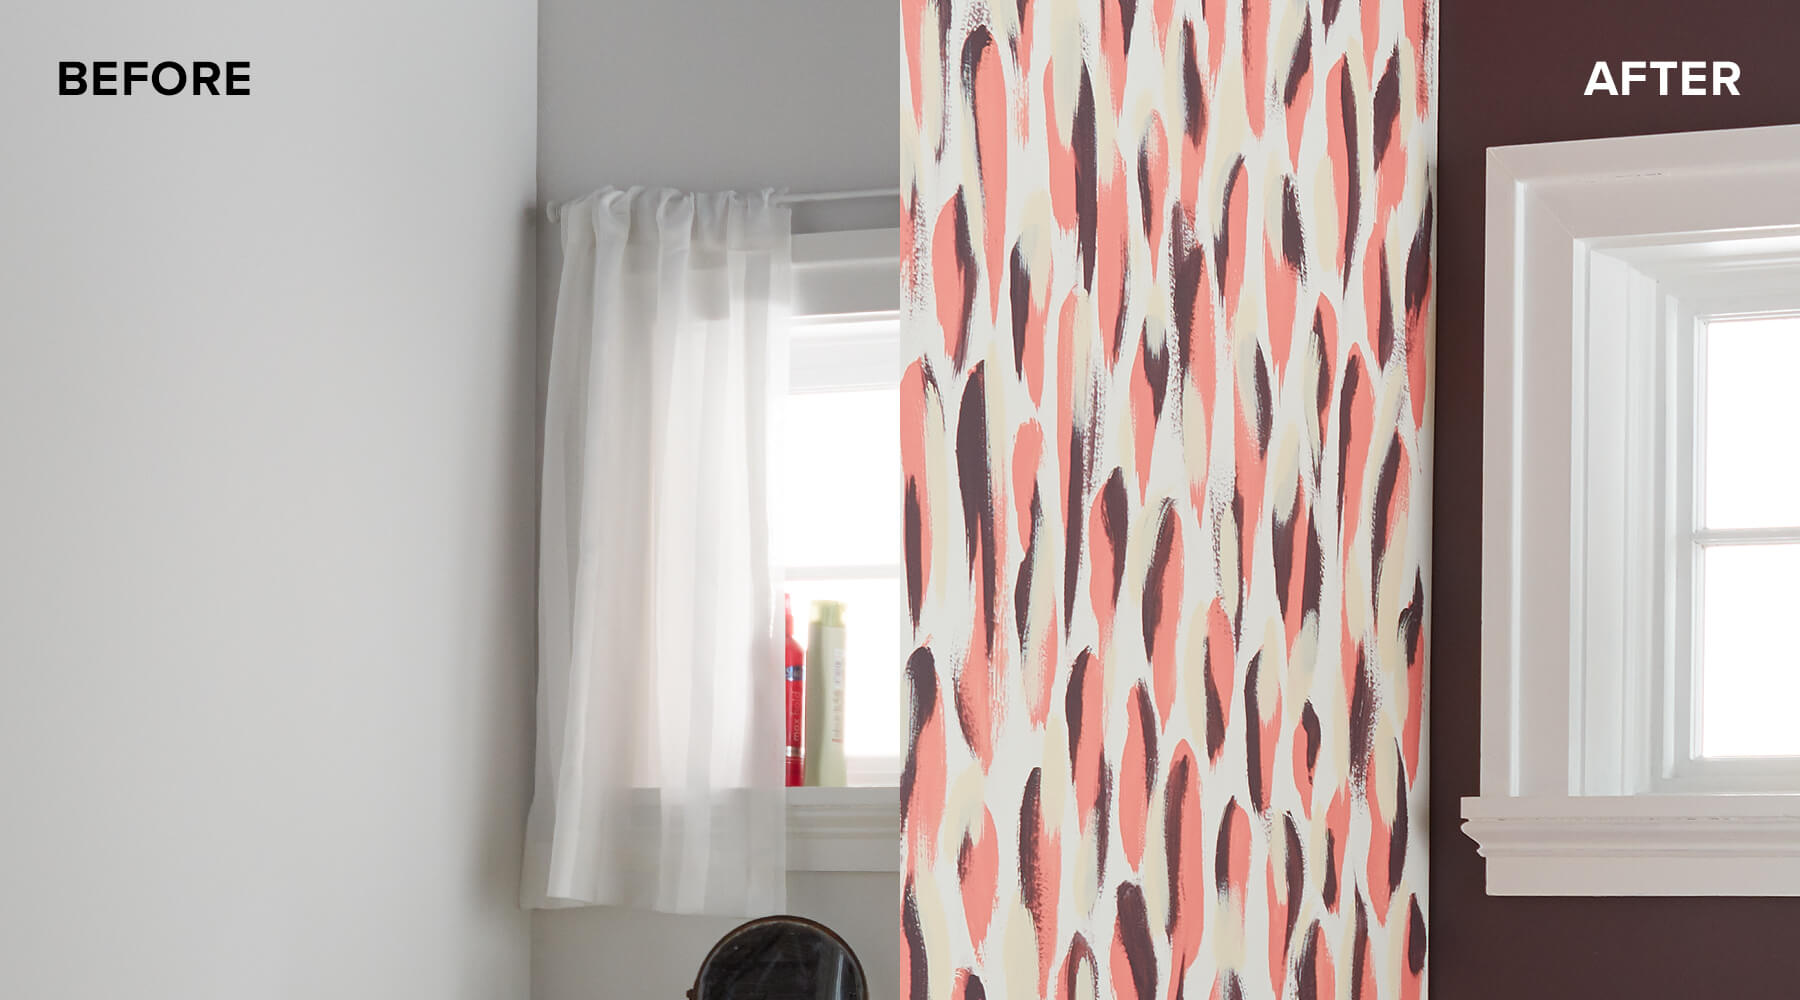
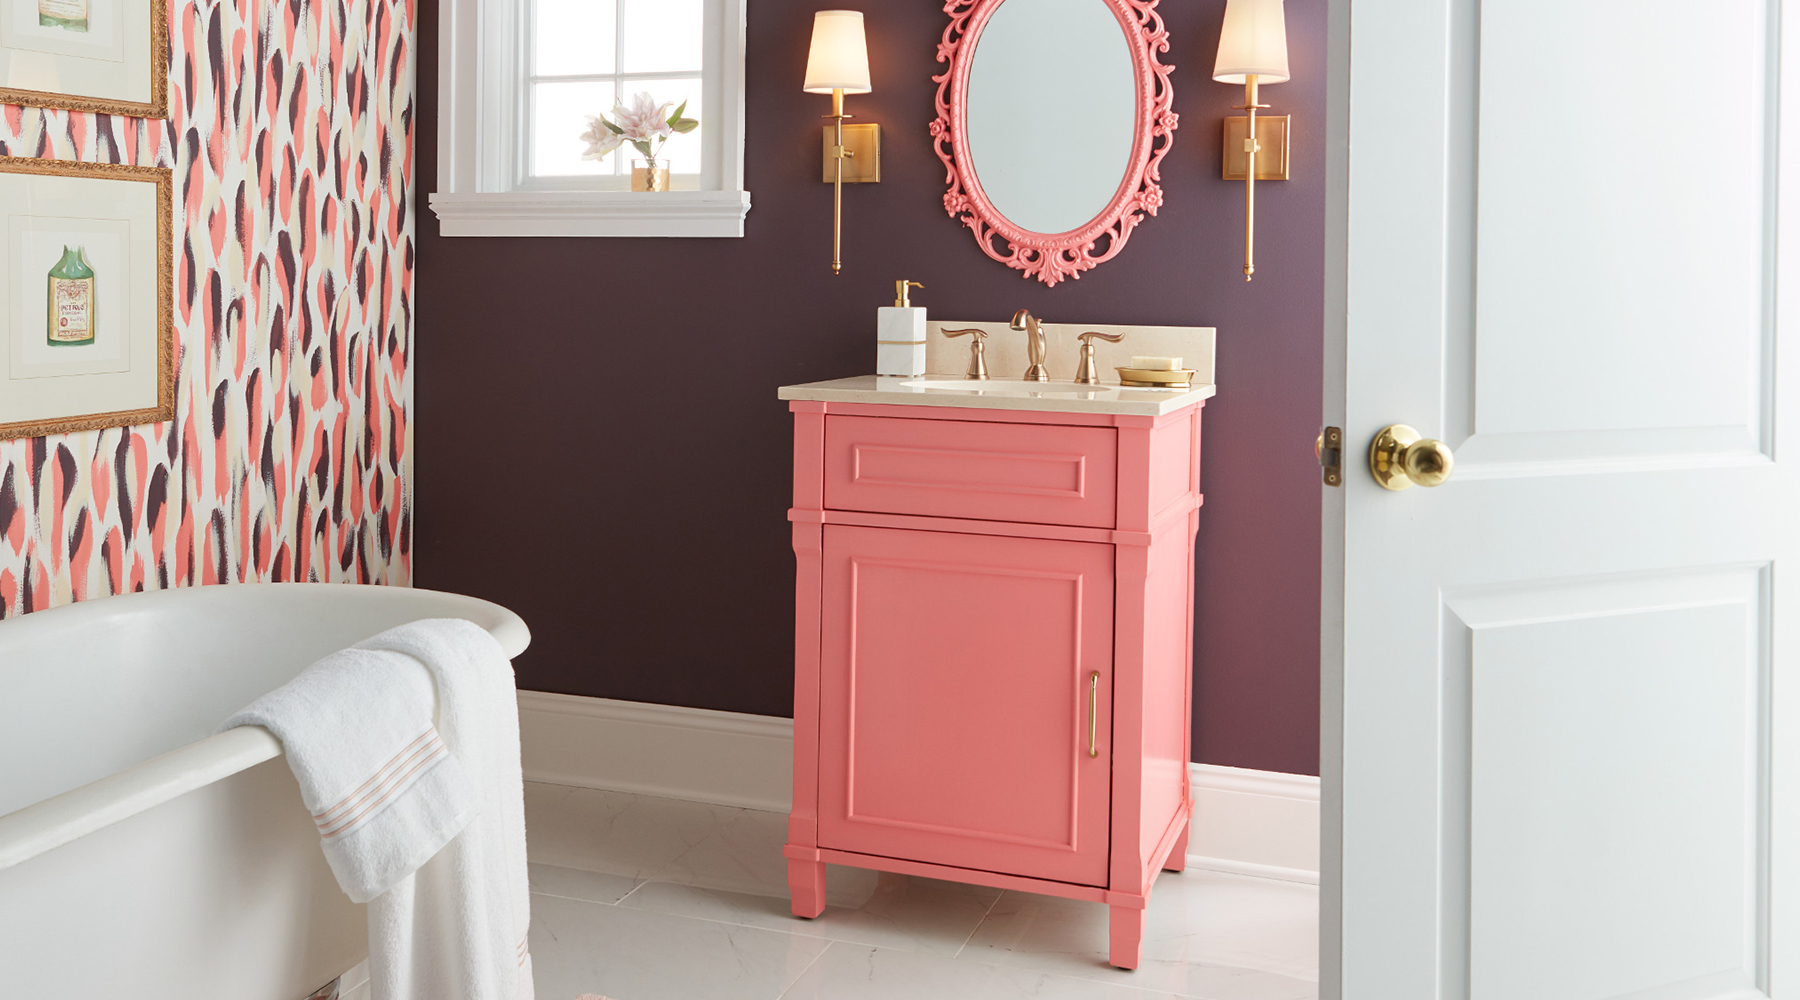
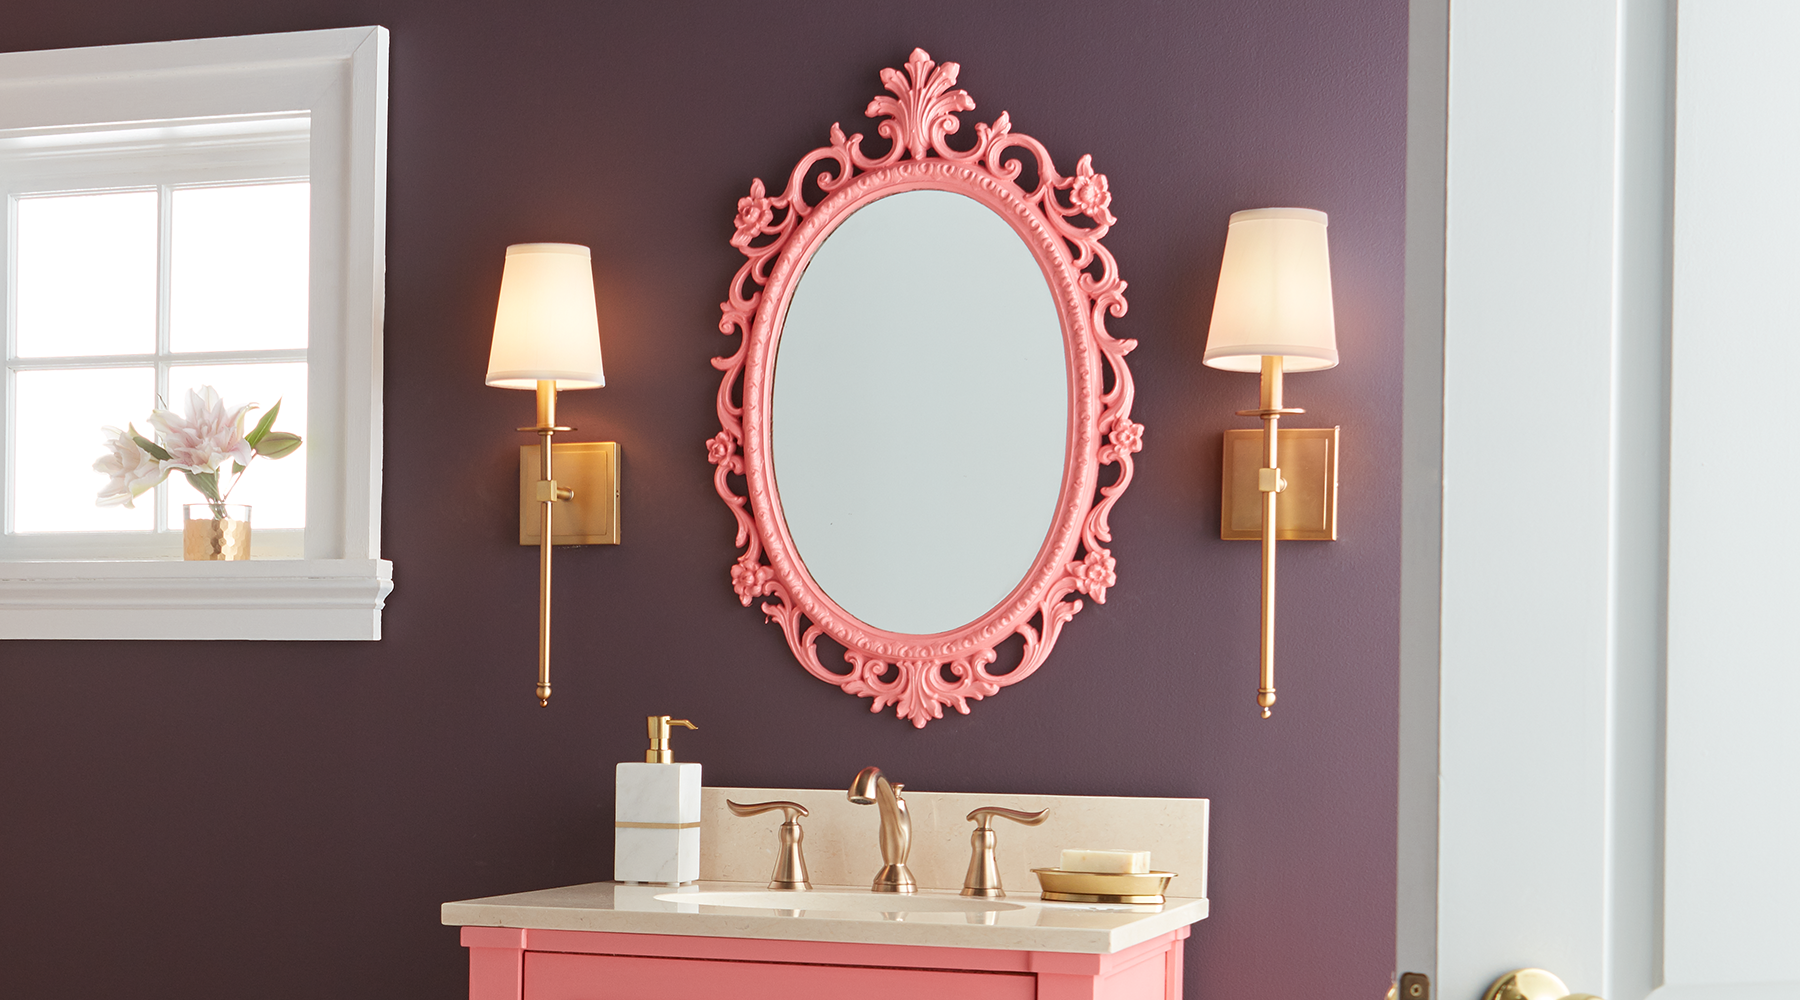
Dream Bathroom
An everyday space gets a coat of unexpected flair in this stylish bathroom makeover. Priming the walls and vanity with KILZ® Kitchen & Bath ensures a mildew resistant finish that can withstand a bathroom’s typical humidity, moisture and changing temperatures. Proper priming also provides a solid anchor for paints – in this case a deep purple wall and coral-hued bath vanity. A painted “wall paper” accent wall and grapefruit-pink mirror complete the space.
BOLD ACCENT WALL
WHAT TO USE
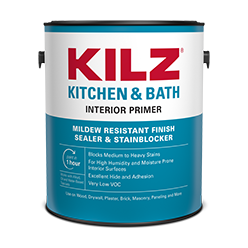
- Primer: KILZ® Kitchen & Bath
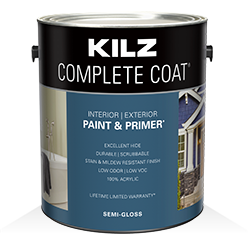
- Paint: KILZ Complete Coat® in
Mulberry RA100-02 - Tape
- Damp Cloth
- Drop Cloth
- Nylon / Polyester Blend Brush
- 1/2”-3/4” Nap Roller
- Paint Tray
- Can Key
- Stir Stick
WHAT TO DO
Step 1:
Wipe down the chosen accent wall with a damp cloth to ensure it is clean and free of dust. Allow the surface to dry.
Step 2:
Tape around the baseboards, trim and moldings.
Step 3:
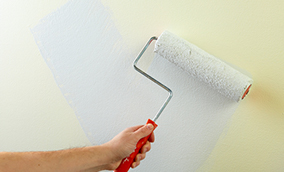
To ensure a mildew-resistant finish, apply 1 coat of KILZ Kitchen & Bath (stirring thoroughly before and occasionally during use) and allow to dry. Apply primer using a brush first to “cut in" around the edges, then use a roller to fill in.
Step 4:
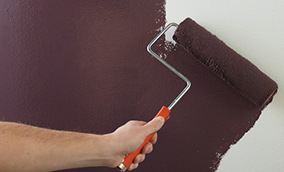
Once primer is dry, apply KILZ Complete Coat in Mulberry* RA100-02 using the same application method as the primer (using a brush first to cut in around the edges 4 to 6 feet at a time, then use a roller to fill in those sections before moving along).
Step 5:
Remove tape before paint is fully dry and you’re done!
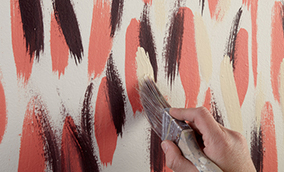
PAINTED WALL PAPER
WHAT TO USE
- Primer: KILZ® Kitchen & Bath
- Paint: KILZ Complete Coat® in
Mulberry RA100-02 - Paint: KILZ Complete Coat® in
Ruffle Pink Dress LA180-01 - Paint: KILZ Complete Coat® in
Ginger Root LD210-02 - Nylon / Polyester Blend Brush (Multiple)
- Paint Tray
- Tape
- Can Key
- Stir Stick
WHAT TO DO
Step 1:
Once the wall is primed (use same method as above), apply base color.
Step 2:
Starting with KILZ Complete Coat in Ruffle Pink Dress LA180-01, use a brush and apply vertical strokes across the entire wall. Once dry, use KILZ Complete Coat in Mulberry RA100-02 and repeat, slightly overlaying the vertical strokes across the first pink strokes. Allow to dry and repeat with KILZ Complete Coat in Ginger Root LD210-02 and your statement-making paint project is complete!
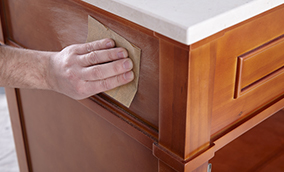
BATHROOM VANITY REFRESH
WHAT TO USE
- Primer: KILZ® Kitchen & Bath
- Paint: KILZ Complete Coat® in
Ruffle Pink Dress LA180-01 - Screwdriver
- Tape
- 100-150 Grit Sandpaper
- Damp Cloth
- Drop Cloth
- Nylon / Polyester Blend Brush
- Can Key
- Stir Stick
WHAT TO DO
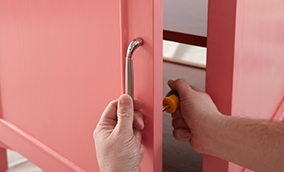
Step 1:
Remove drawers and hardware.
Step 2:
Sand the surface; do a first pass with 100-150 grit sandpaper then finish with a second pass of 180-220 grit sandpaper.
Step 3:
After sanding, wipe down the surface with a damp cloth to remove any dust or residue and allow the surface to dry. Once dry, apply painter’s tape around the countertop edges.
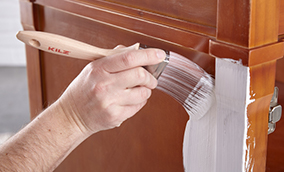
Step 4:
Apply KILZ Kitchen & Bath (stirring thoroughly before and occasionally during use), moving in the same direction as the wood grain for best results. Allow primer to dry for 1 hour.
Step 5:
Next it’s time for a pop of pink! Apply KILZ Complete Coat in Ruffle Pink Dress LA180-01 (a satin or semi-gloss finish is recommended for superior mildew resistance). Remove the painter’s tape before the paint is fully dry.

Step 6:
Once the vanity is dry, reattach your hardware and you’re done!
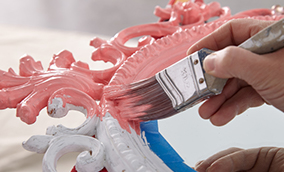
MIRROR REFRESH
WHAT TO USE
- Primer: KILZ® Kitchen & Bath
- Paint: KILZ Complete Coat® in
Ruffle Pink Dress LA180-01 - 100-150 Grit Sandpaper
- 180-220 Grit Sandpaper
- Damp Cloth
- Tape
- Nylon / Polyester Blend Brush
- Paint Tray
WHAT TO DO
Step 1:
Sand the mirror frame, first with 100-150 grit sandpaper and then finish with a second pass of 180-220 grit sandpaper.
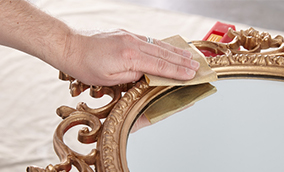
Step 2:
After sanding, wipe down the surface with a damp cloth to remove any dust or residue and allow the surface to dry.
Step 3:
Apply painter’s tape to the interior edges of the frame to protect the glass.

Step 4:
Apply KILZ Kitchen & Bath primer, moving in the same direction as the wood grain for best results. Allow primer to dry for 1 hour.

Step 5:
Next, apply KILZ Complete Coat in Ruffle Pink Dress LA180-01 (a satin or semi-gloss finish is recommended to ensure superior mildew resistance) using a nylon or polyester brush. Remove the painter’s tape before paint is fully dry and your mirror is ready to shine!
MORE PROJECTS