

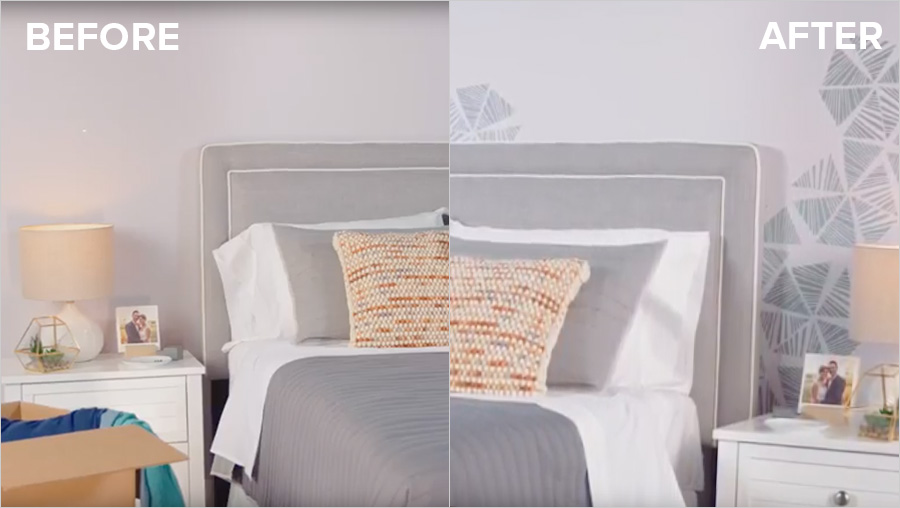
BEDROOM WALL ART
Get creative with KILZ® and a simple stencil pattern to give any room a fresh new look.
WHAT TO USE
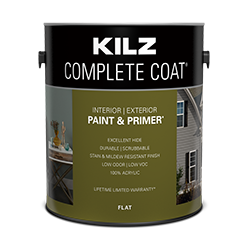
- KILZ COMPLETE COAT® Paint and Primer in One
- Stencil
- Stencil Brush
- Painter’s Tape or Spray Adhesive
- Paper Towels
- Can Key
- Drop Cloth
- Stir Stick
WHAT TO DO
Step 1:
Determine location of pattern to be stenciled on wall.
Step 2:
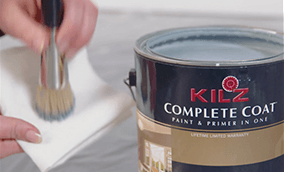
Stir paint to make sure it is mixed.
Step 3:
Spray stencil with adhesive or secure stencil with painters tape.
Step 4:
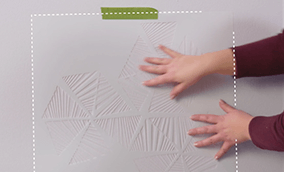
Level and then secure your stencil on the top middle of the wall with painter’s tape.
Step 5:
Stencil the pattern by lightly dabbing the paint until the areas are fully covered.
Step 6:
Move on to the second repeat of the pattern by following the registrations that are included in the stencil. These registration marks help you move and place the stencil along the wall perfectly every time!
Step 7:
Allow 2 hours dry time. Then call your best friend and invite them over for coffee because you’re all done.

Start fast and finish beautifully.
For additional KILZ® Bedroom Makeover Inspiration visit The Perfect Finish Blog.