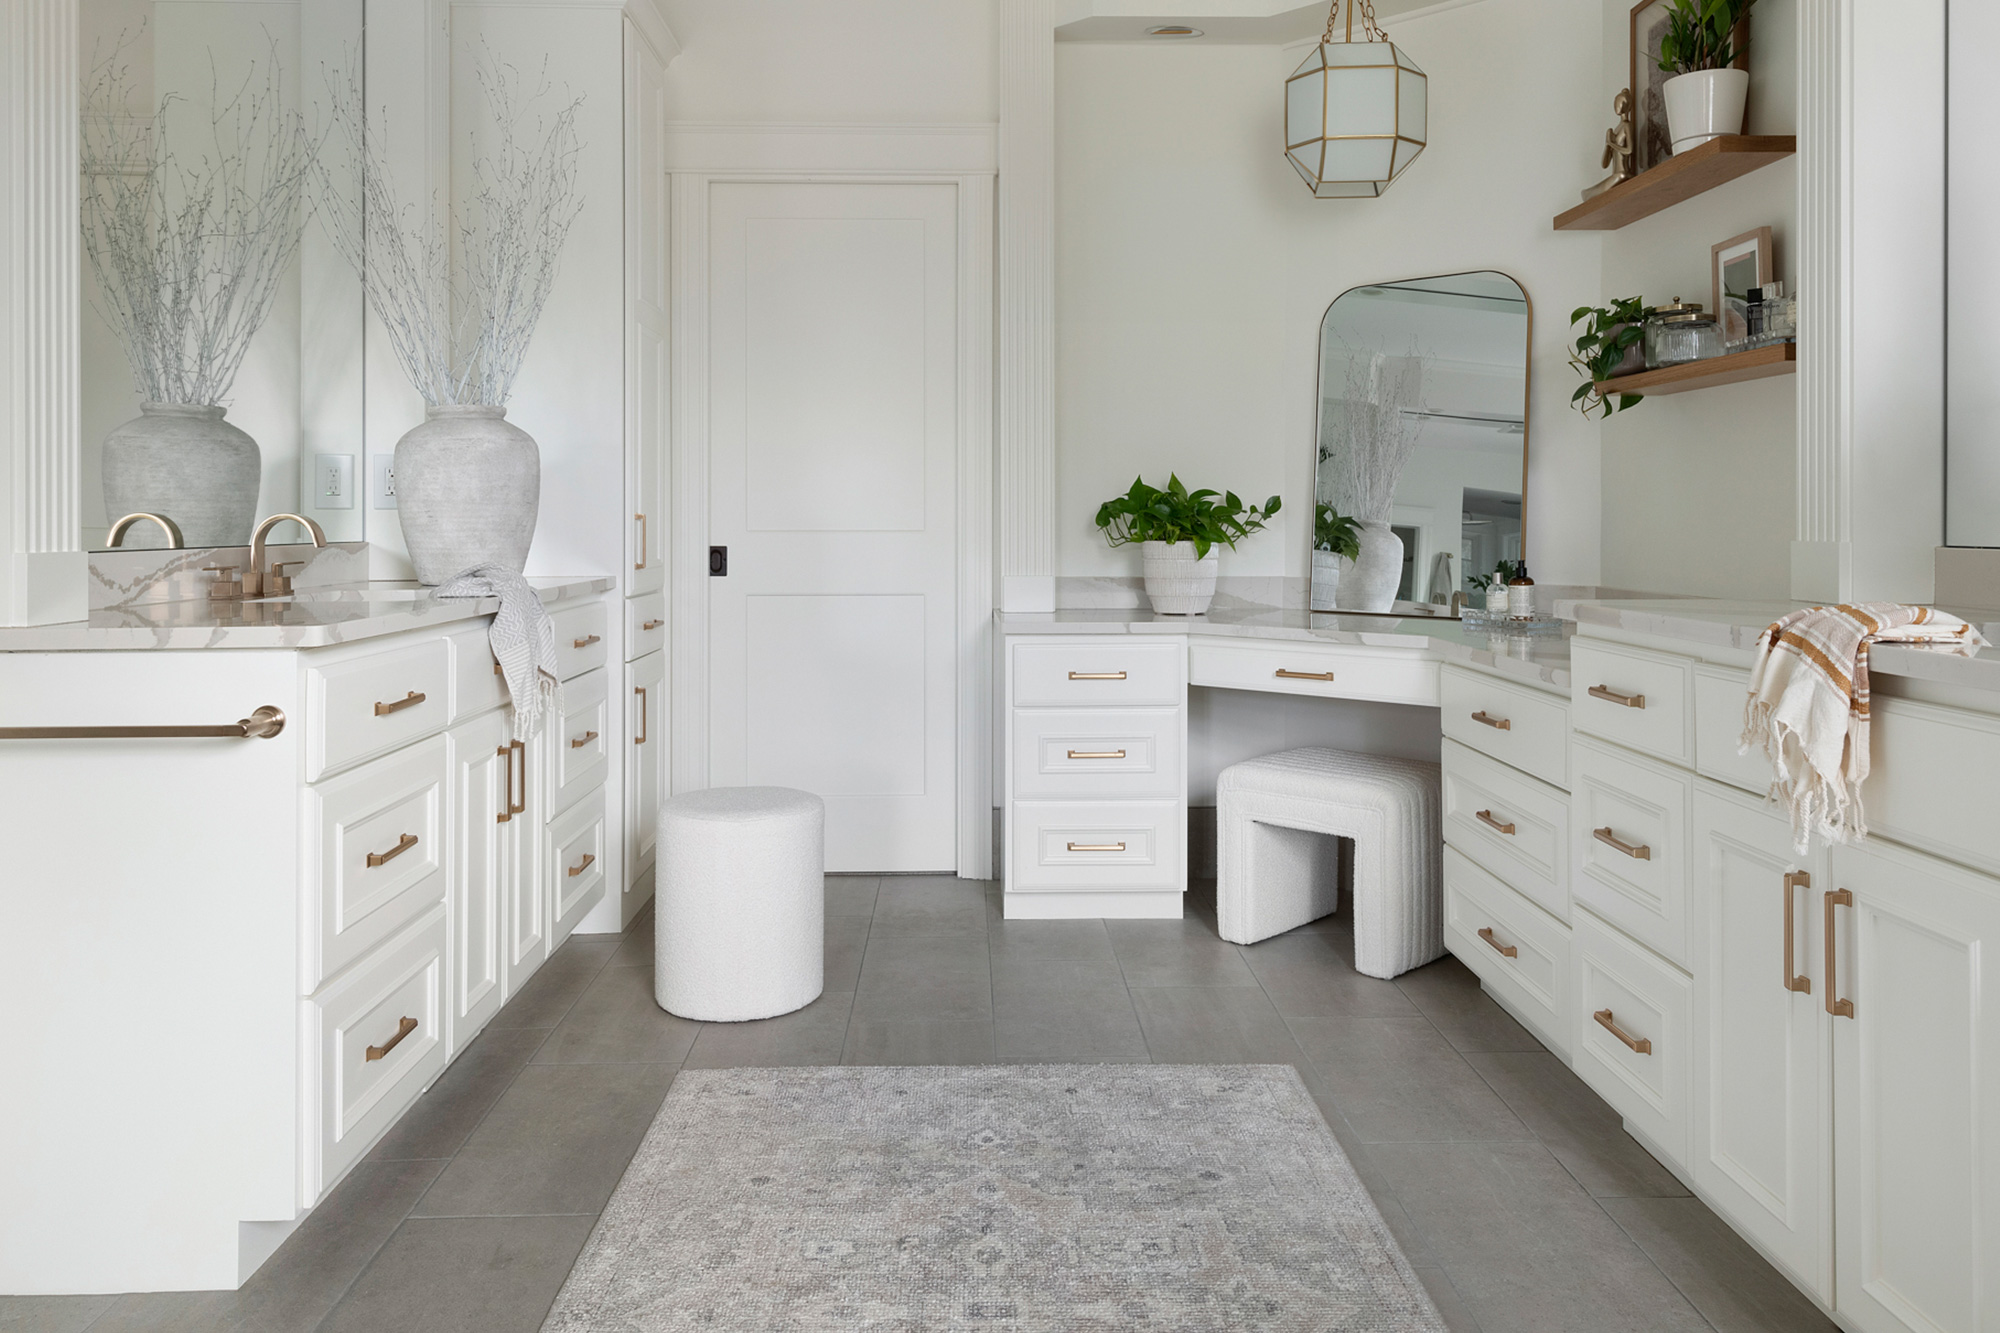
A BATHROOM REMODEL WITH
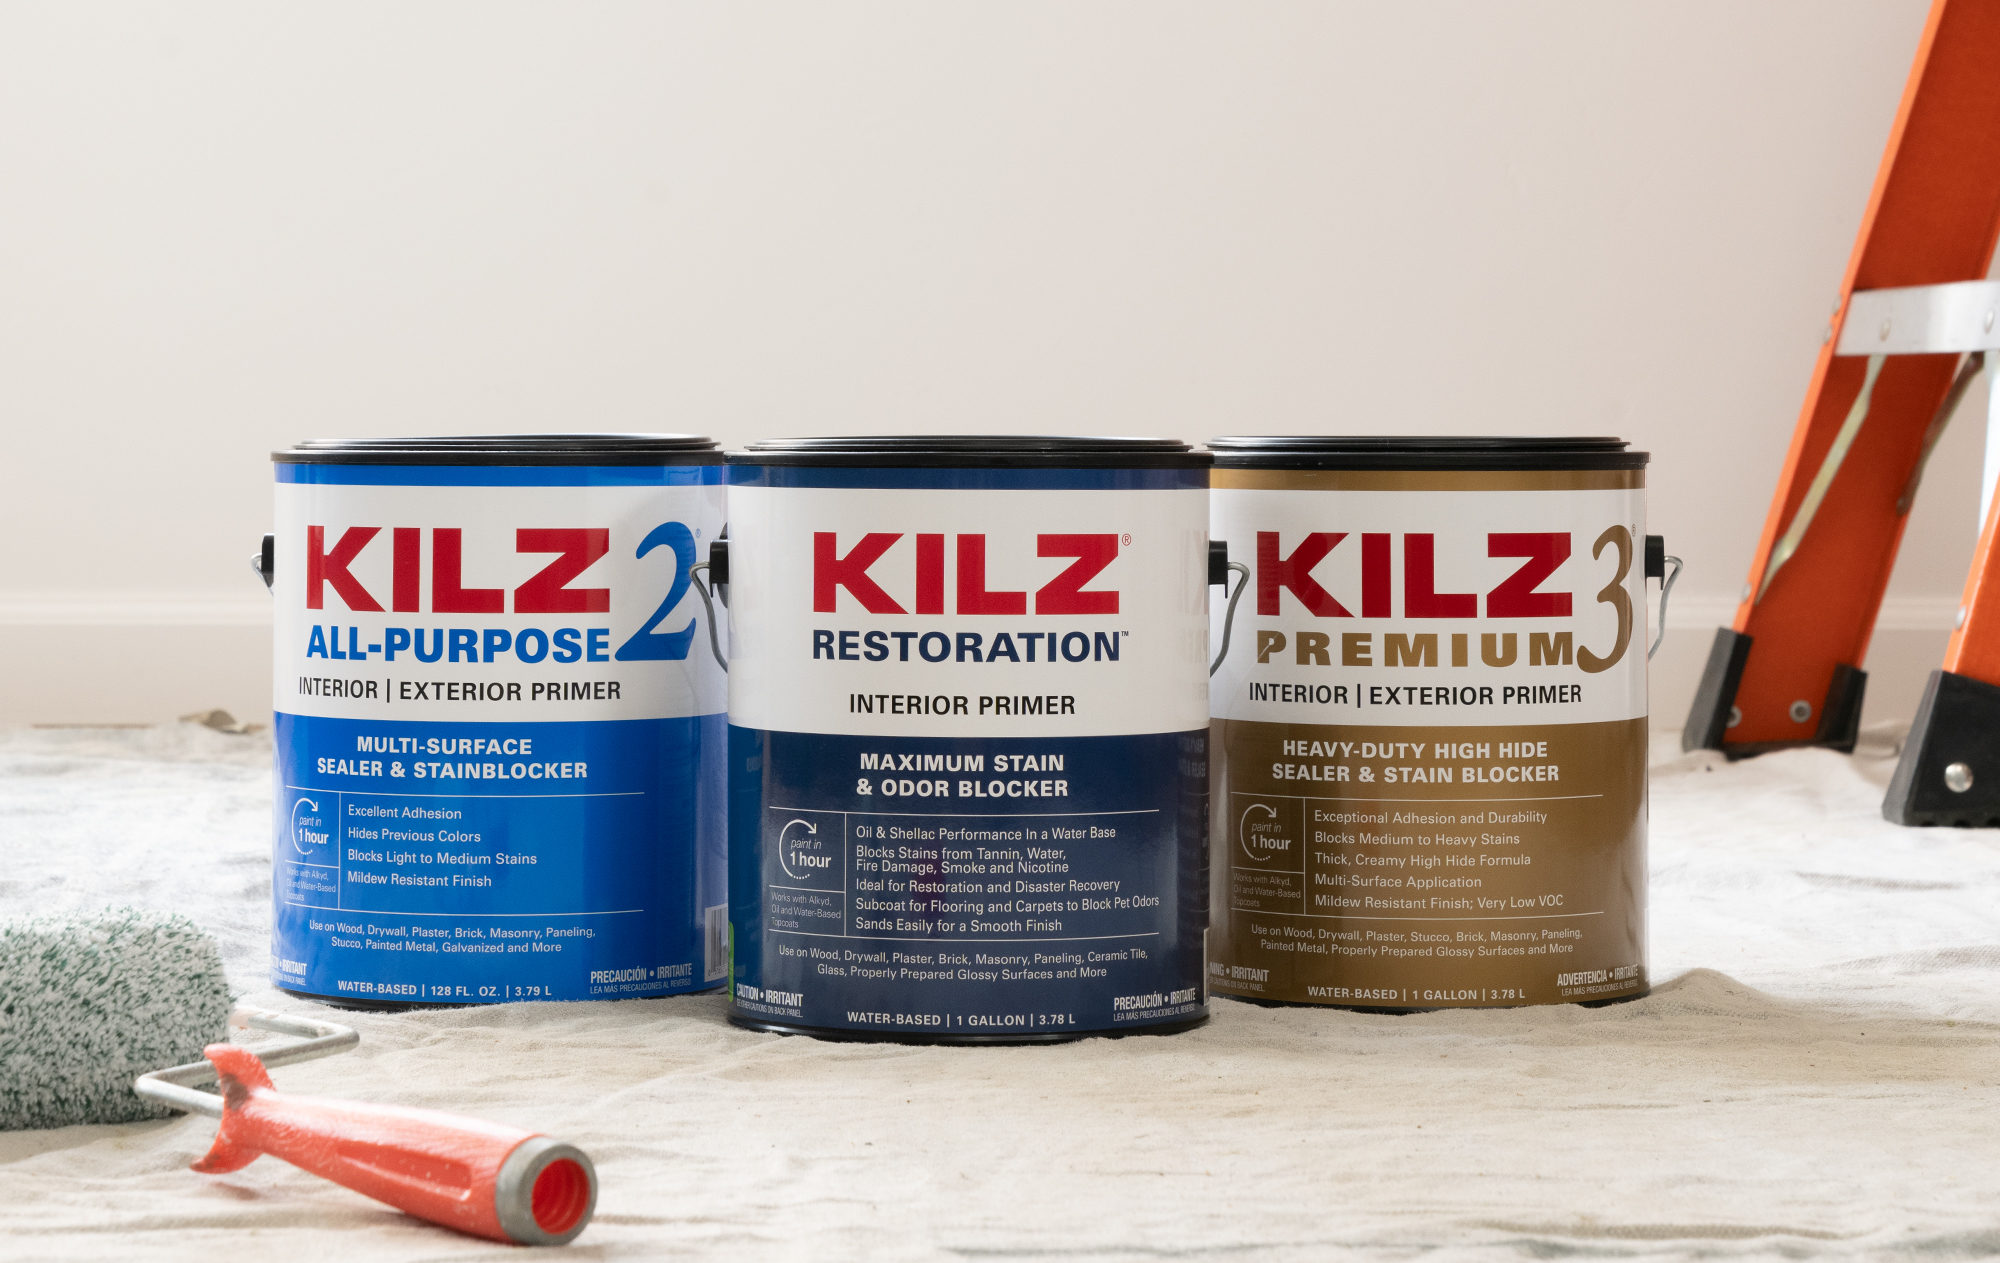
KILZ® PRIMERS – PART 2
KILZ® PRIMERS – PART 2
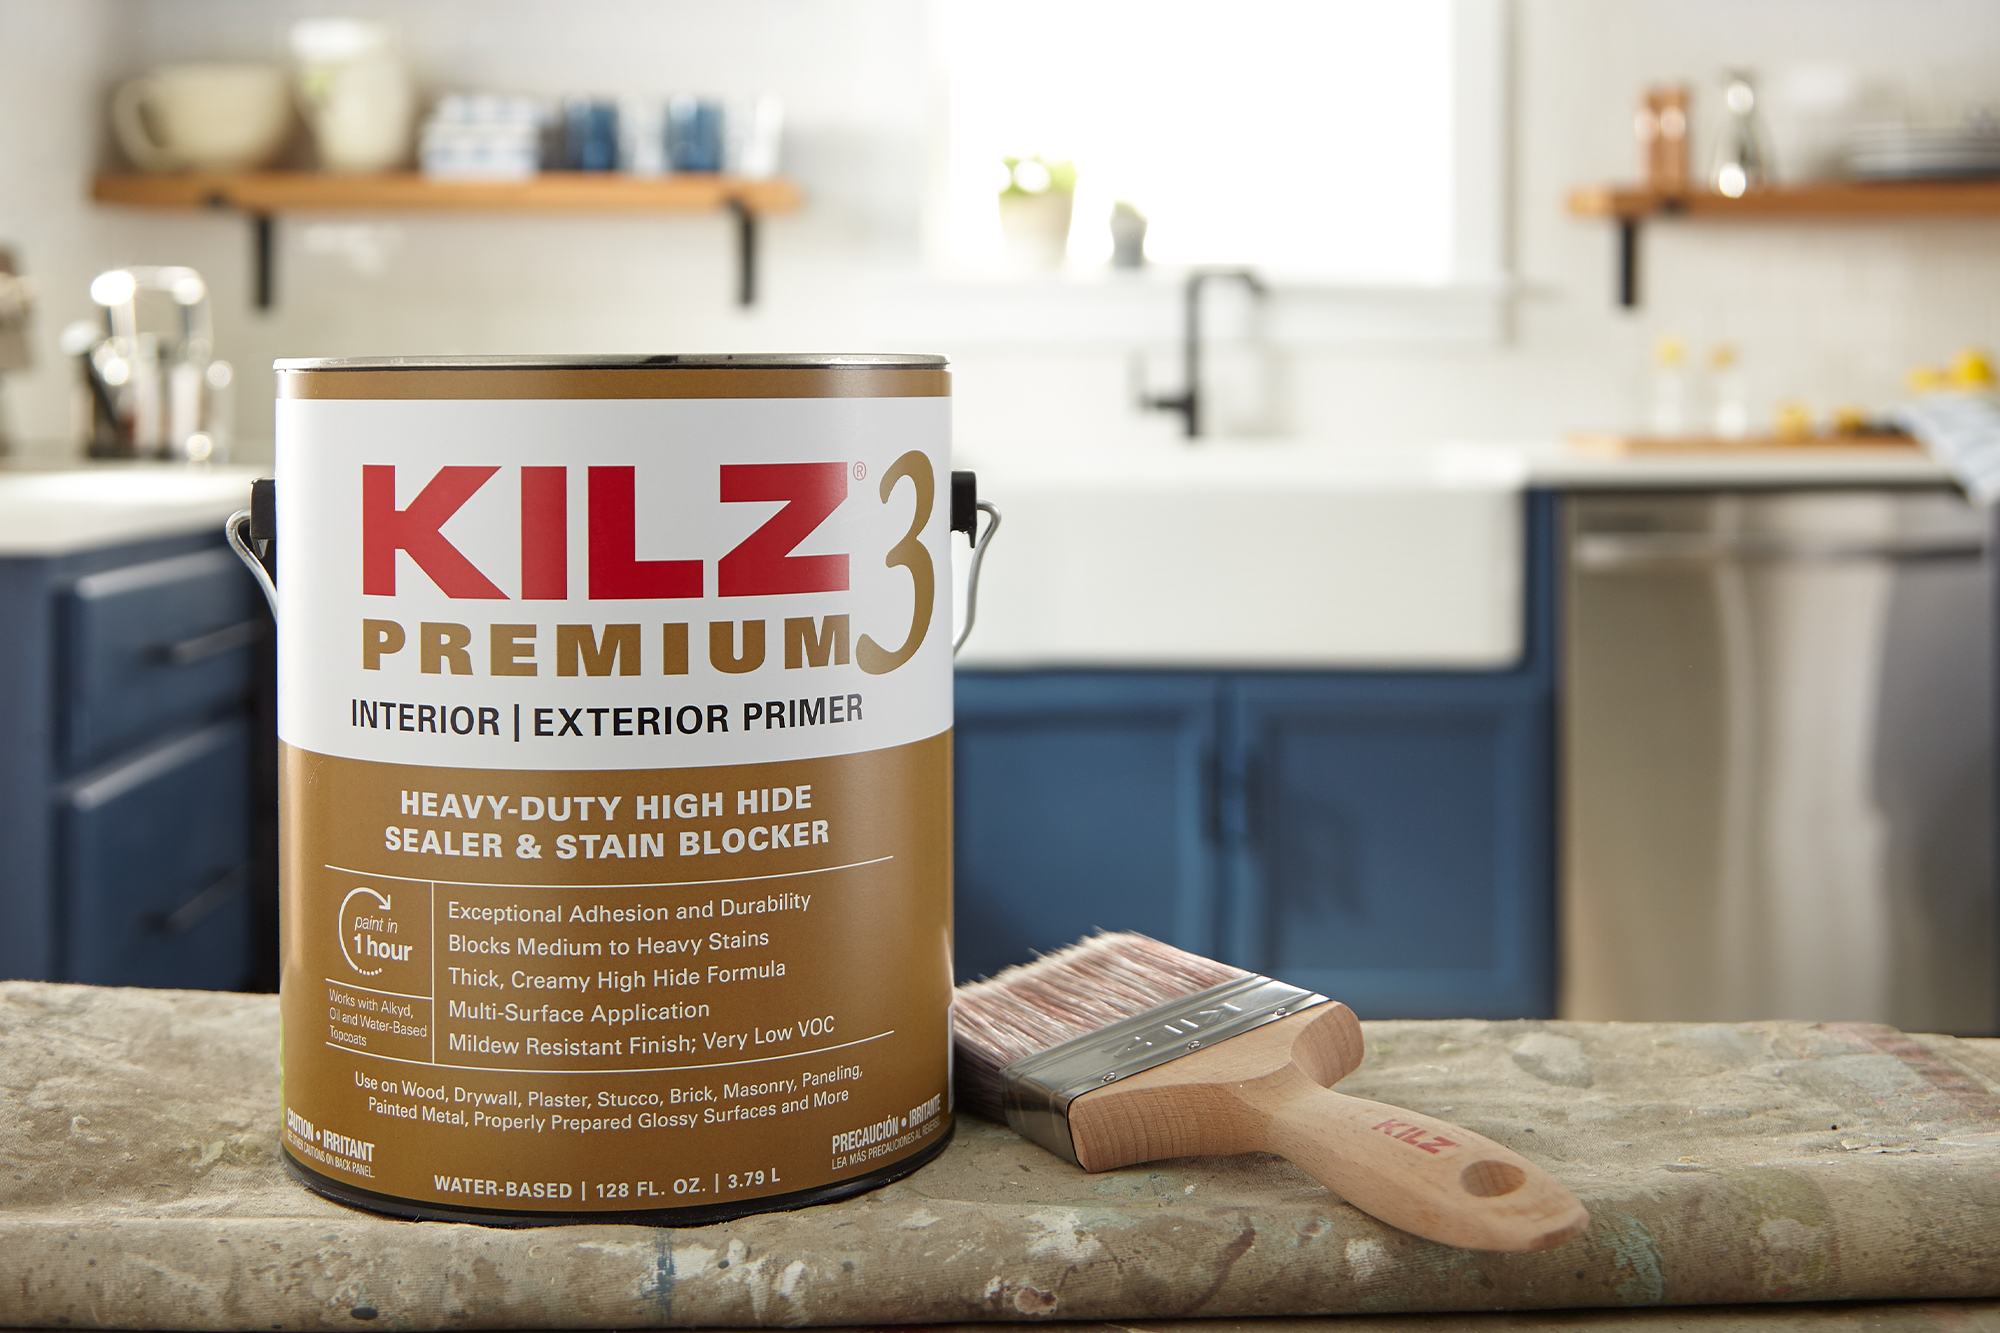
Learn how to transform your bathroom with the perfect
primer and paint combination for walls and cabinets.
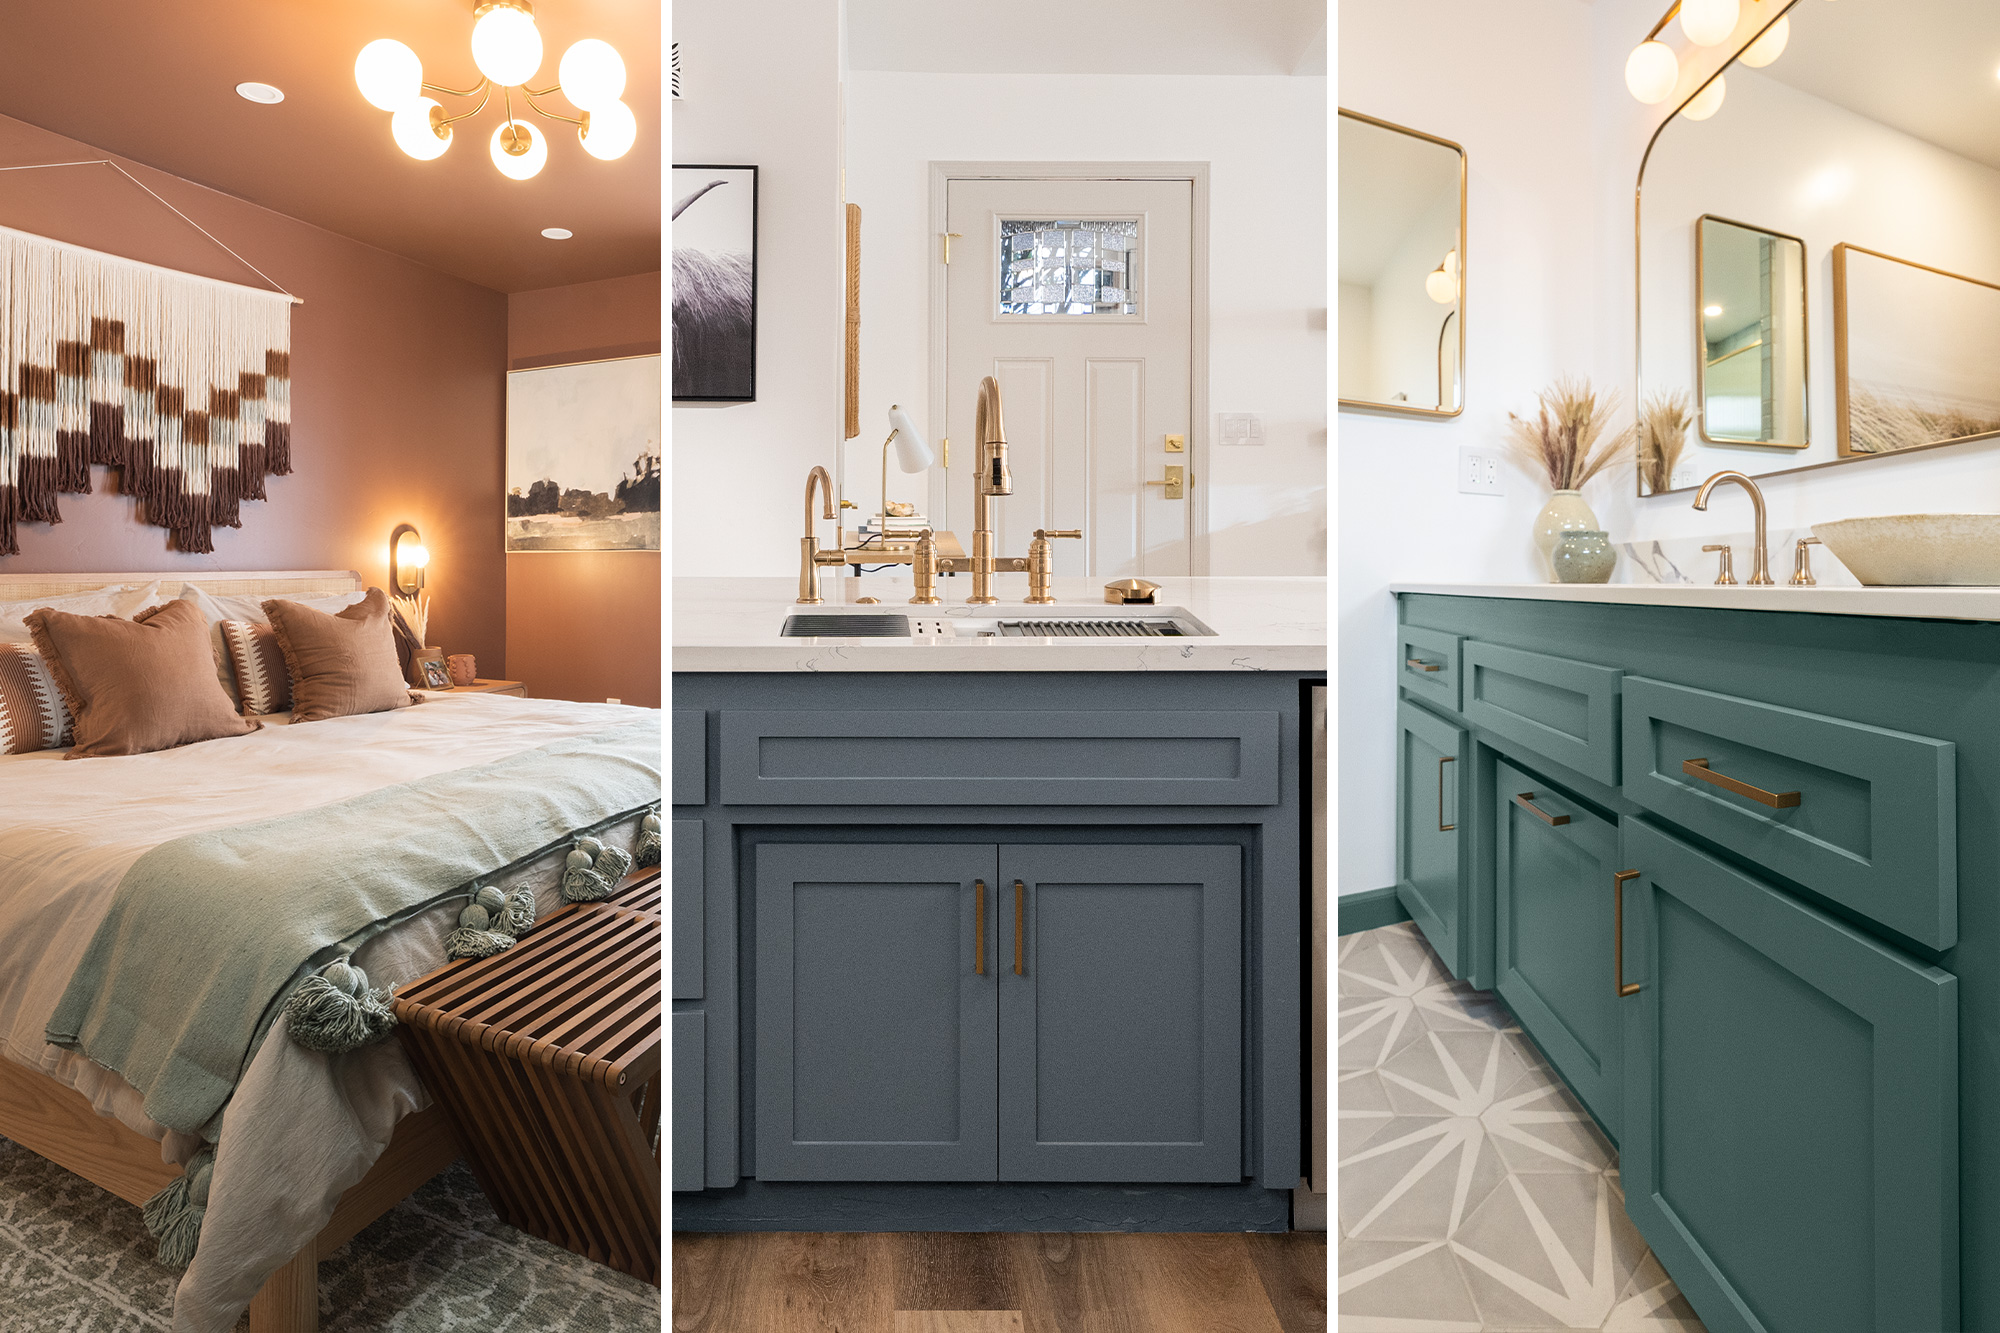
This is your one stop for everything that leads up to the perfect last stroke of a brush. Hot colors, trending techniques, places to find great accents, tips from professional painters, and room styling recommendations all here to help you create the perfect finish.
@kilzbrand